Rebuilding the Engine on my Jeep
I've detailed the process of rebuilding my Jeep engine partly for my own reference, but also in hopes that somebody, somewhere, might find a bit of the bits that I learned useful, and can save a couple of hours of going 'how the fuck do I do that...'
Background:
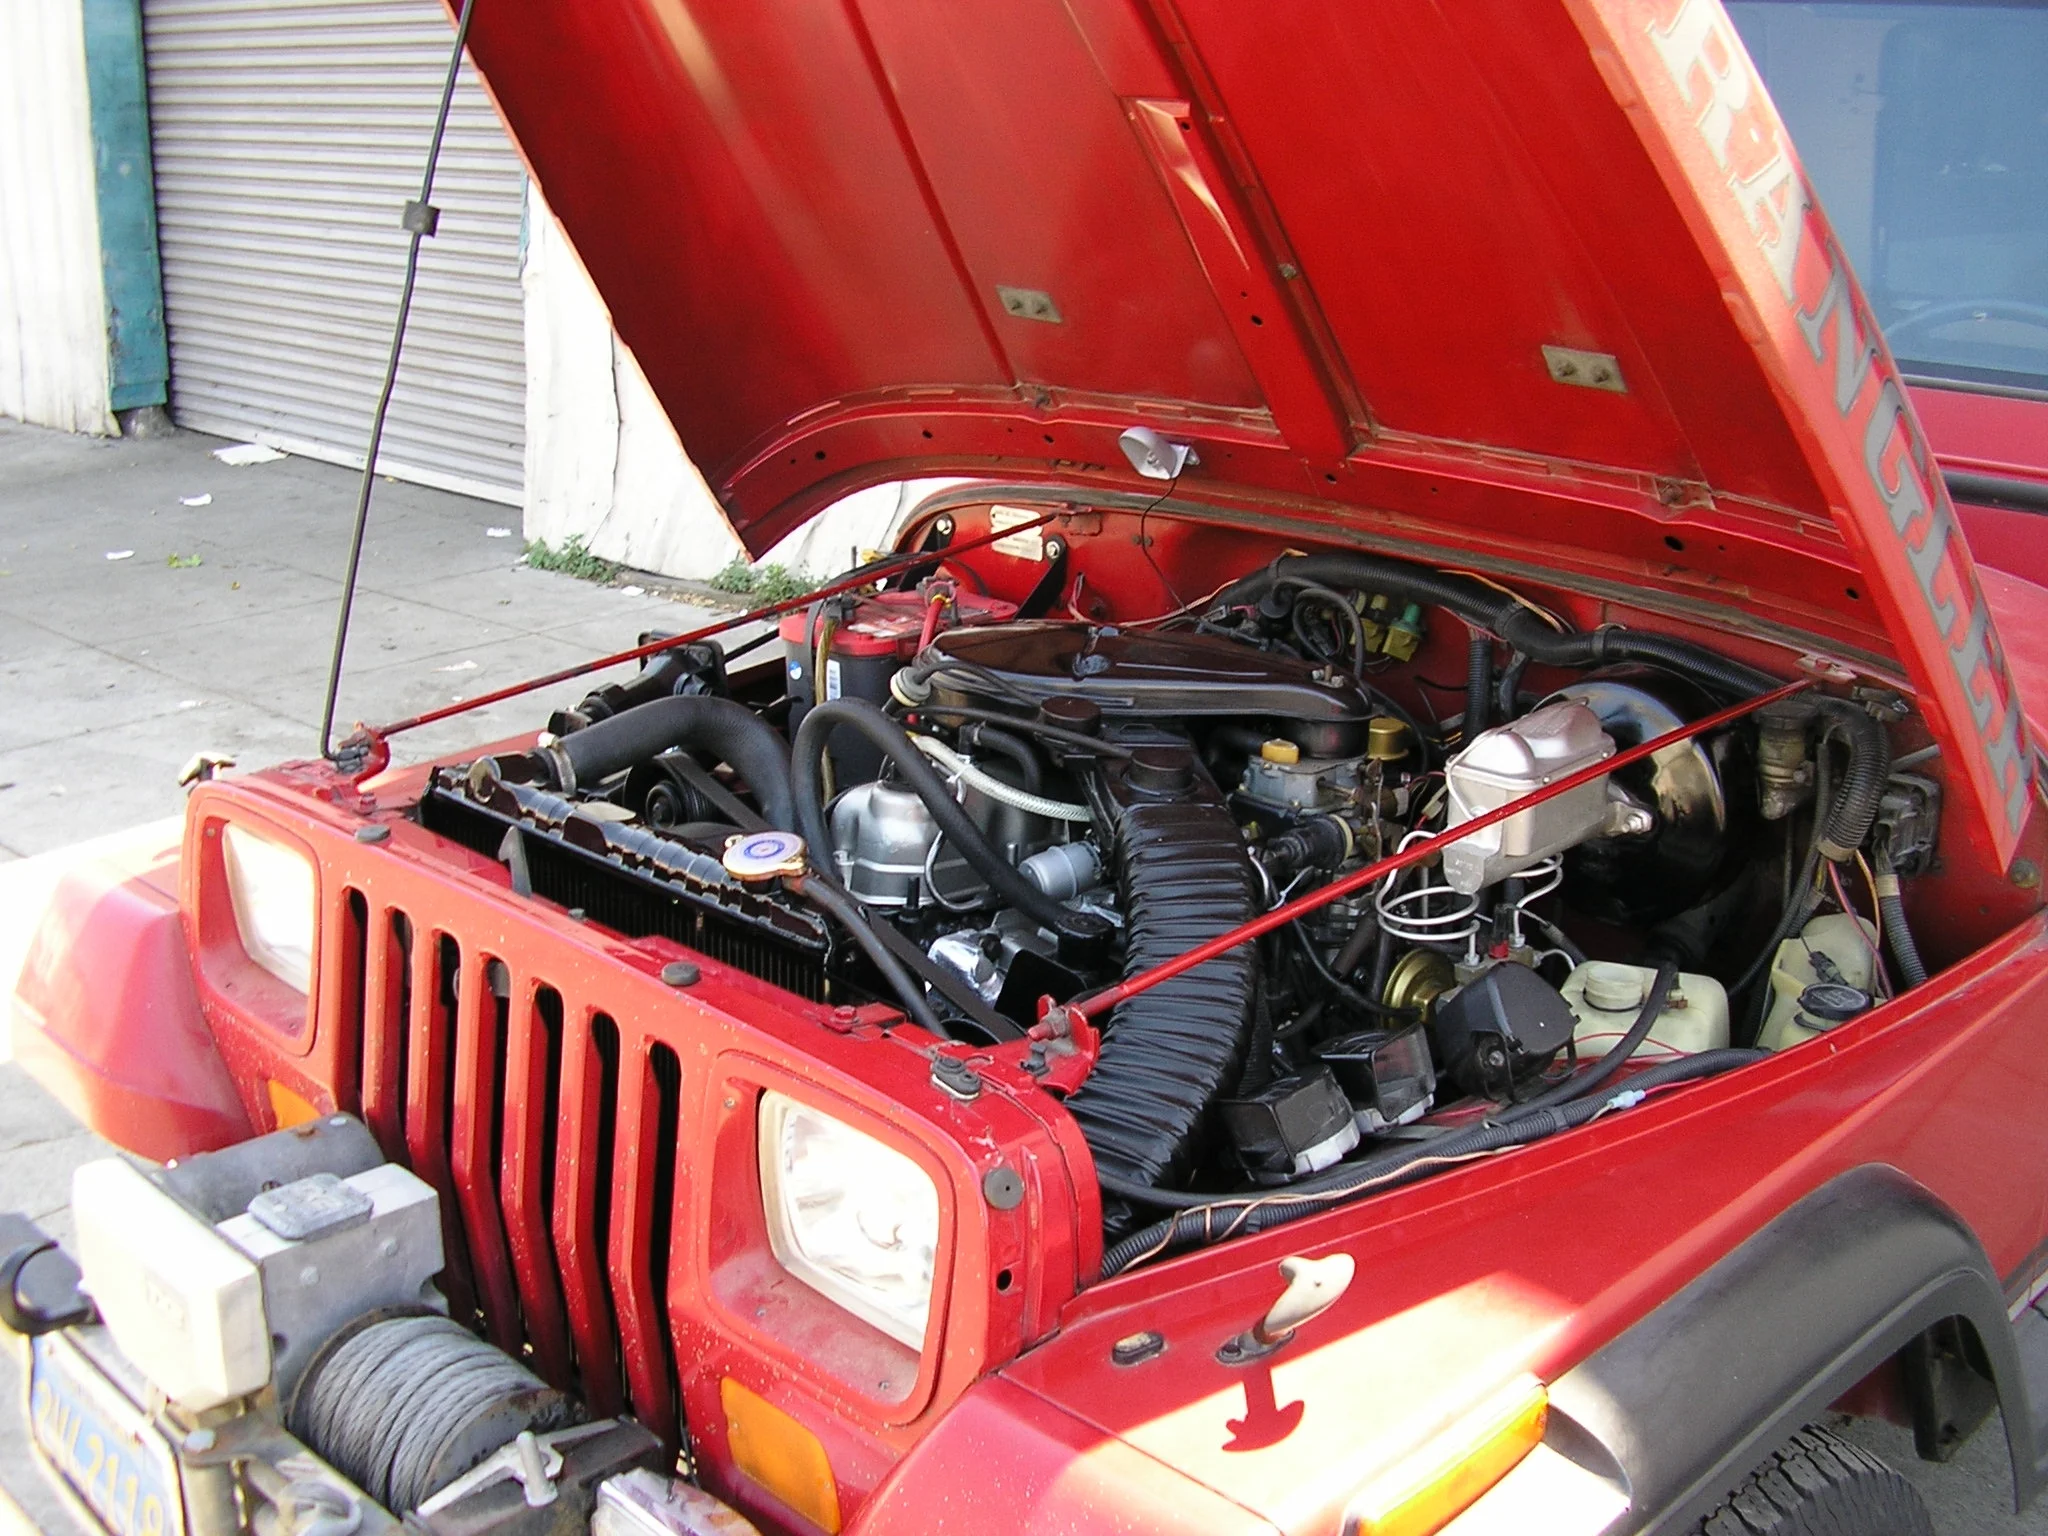
My Jeep is a 1987 Wrangler YJ with about 230,000 miles on it. It's got the standard 4.2l in-line 6 cylinder engine, 2bbl carb, manual trans and a winch. It's in pretty good shape overall considering it's age, and really doesn't see off-road much - just a few trips to the Playa and regular runs over Donner Pass in the winter.
The engine is getting rebuilt now because it is showing some age (low compression, lack of power...) and if I don't, I will wind up throwing a rod while climbing the Sierra's in the first major snowstorm of the season. That being said, this is a stock rebuild, and I'm not doing a full show-car restoration - I have to keep it street legal, get around, and pay for the gas in it...

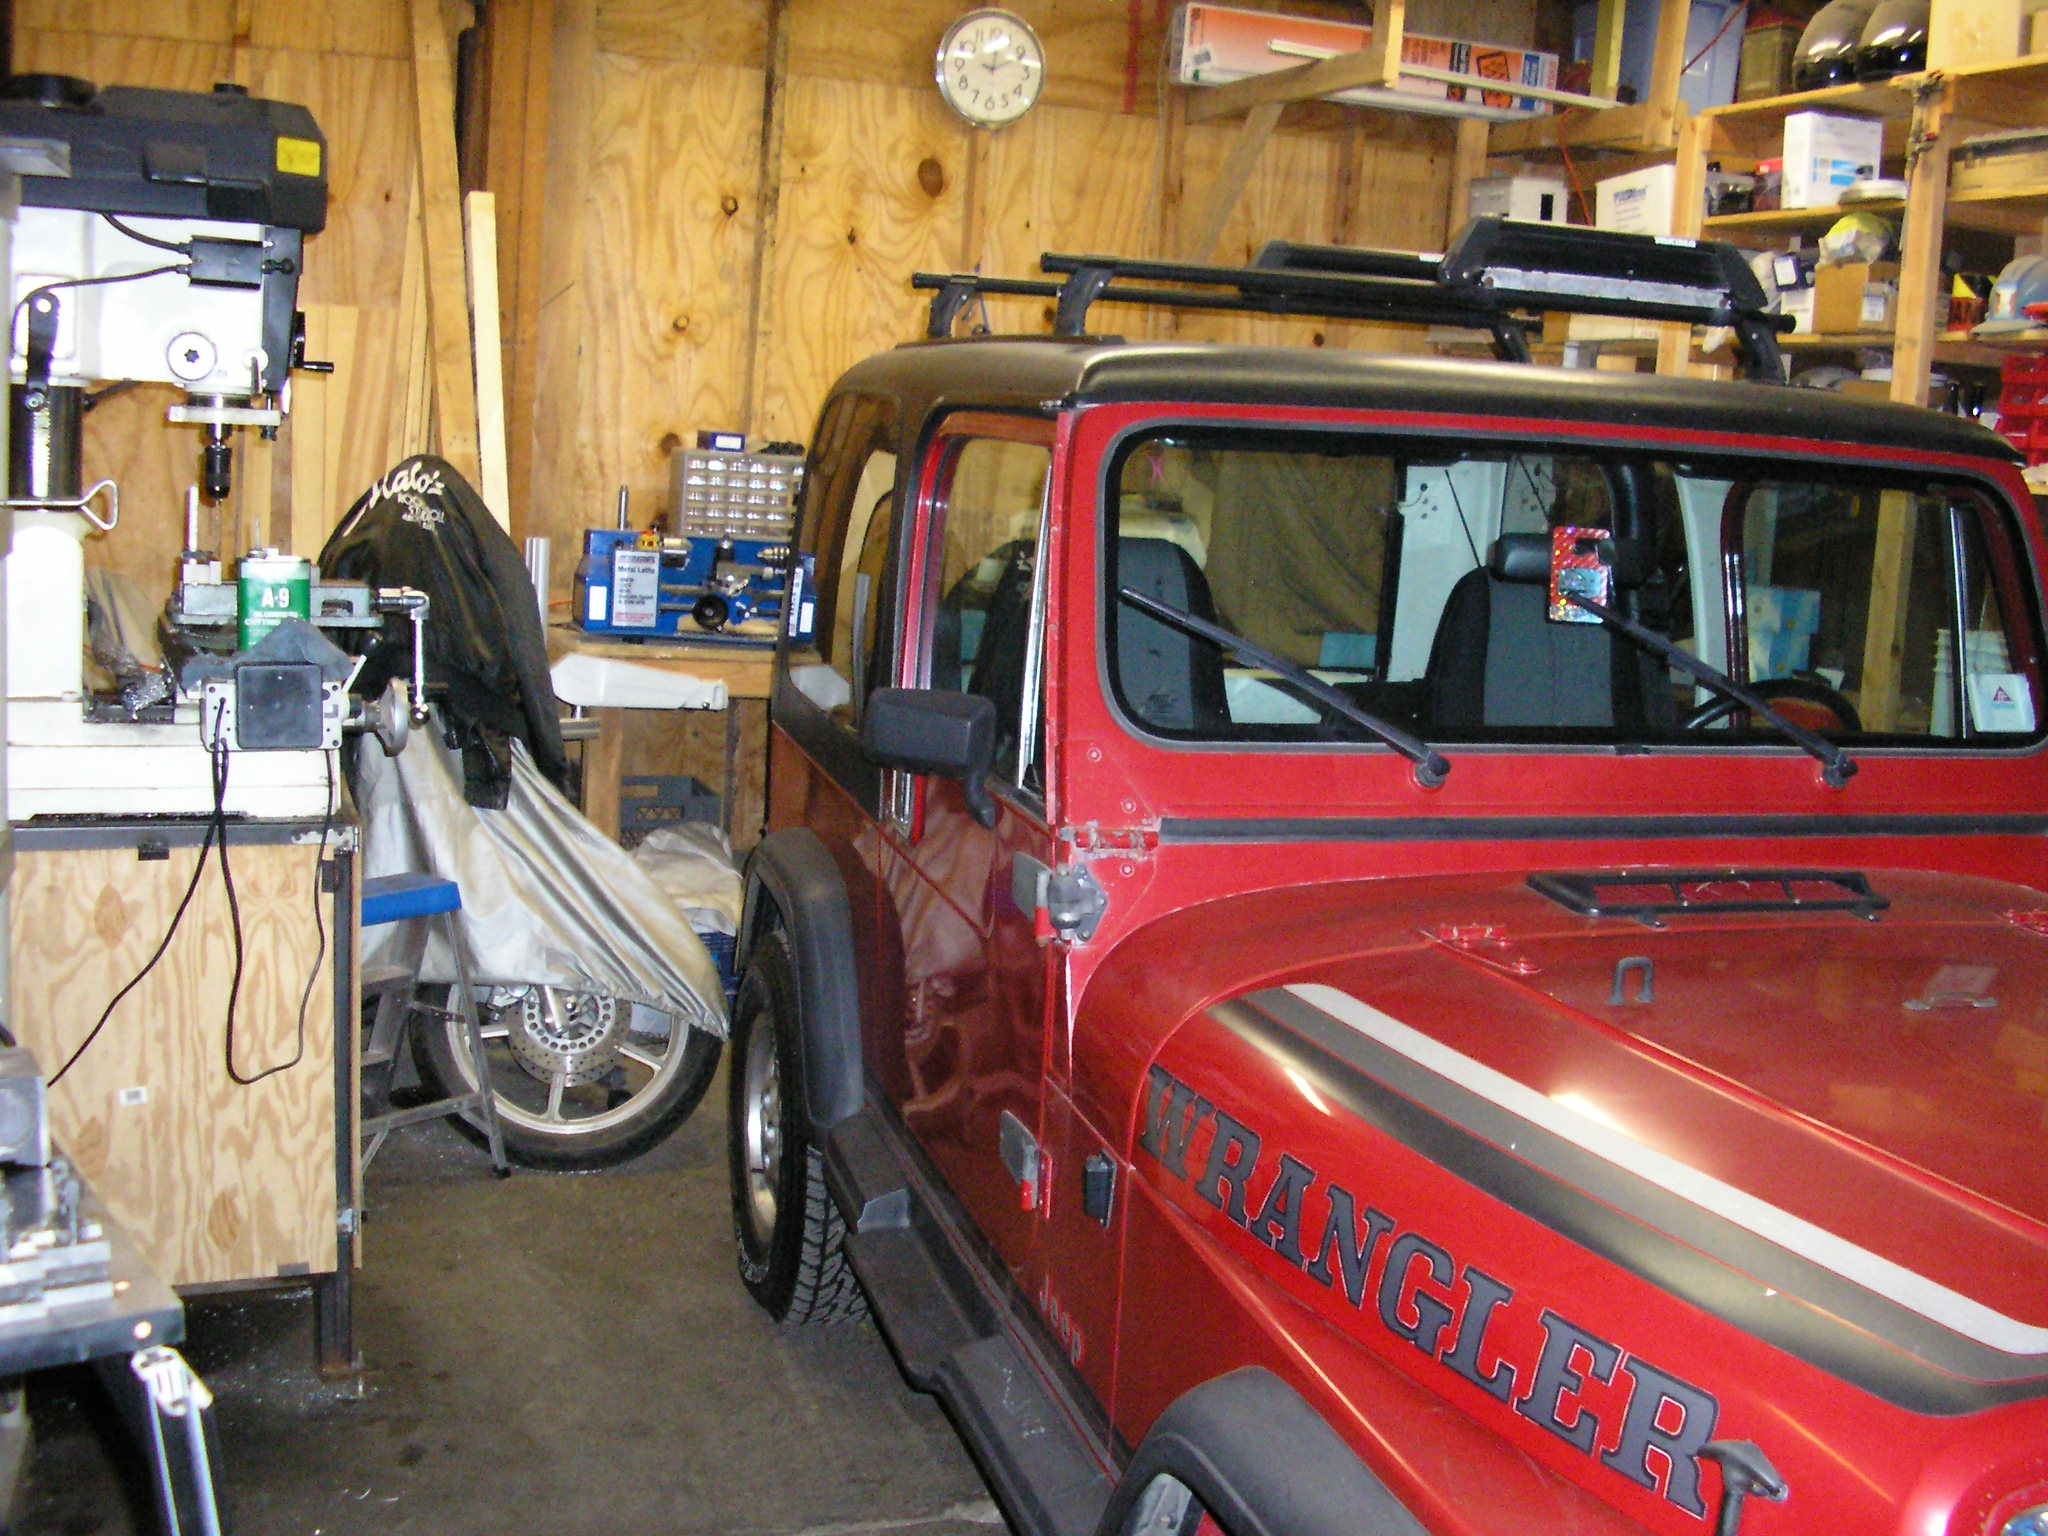

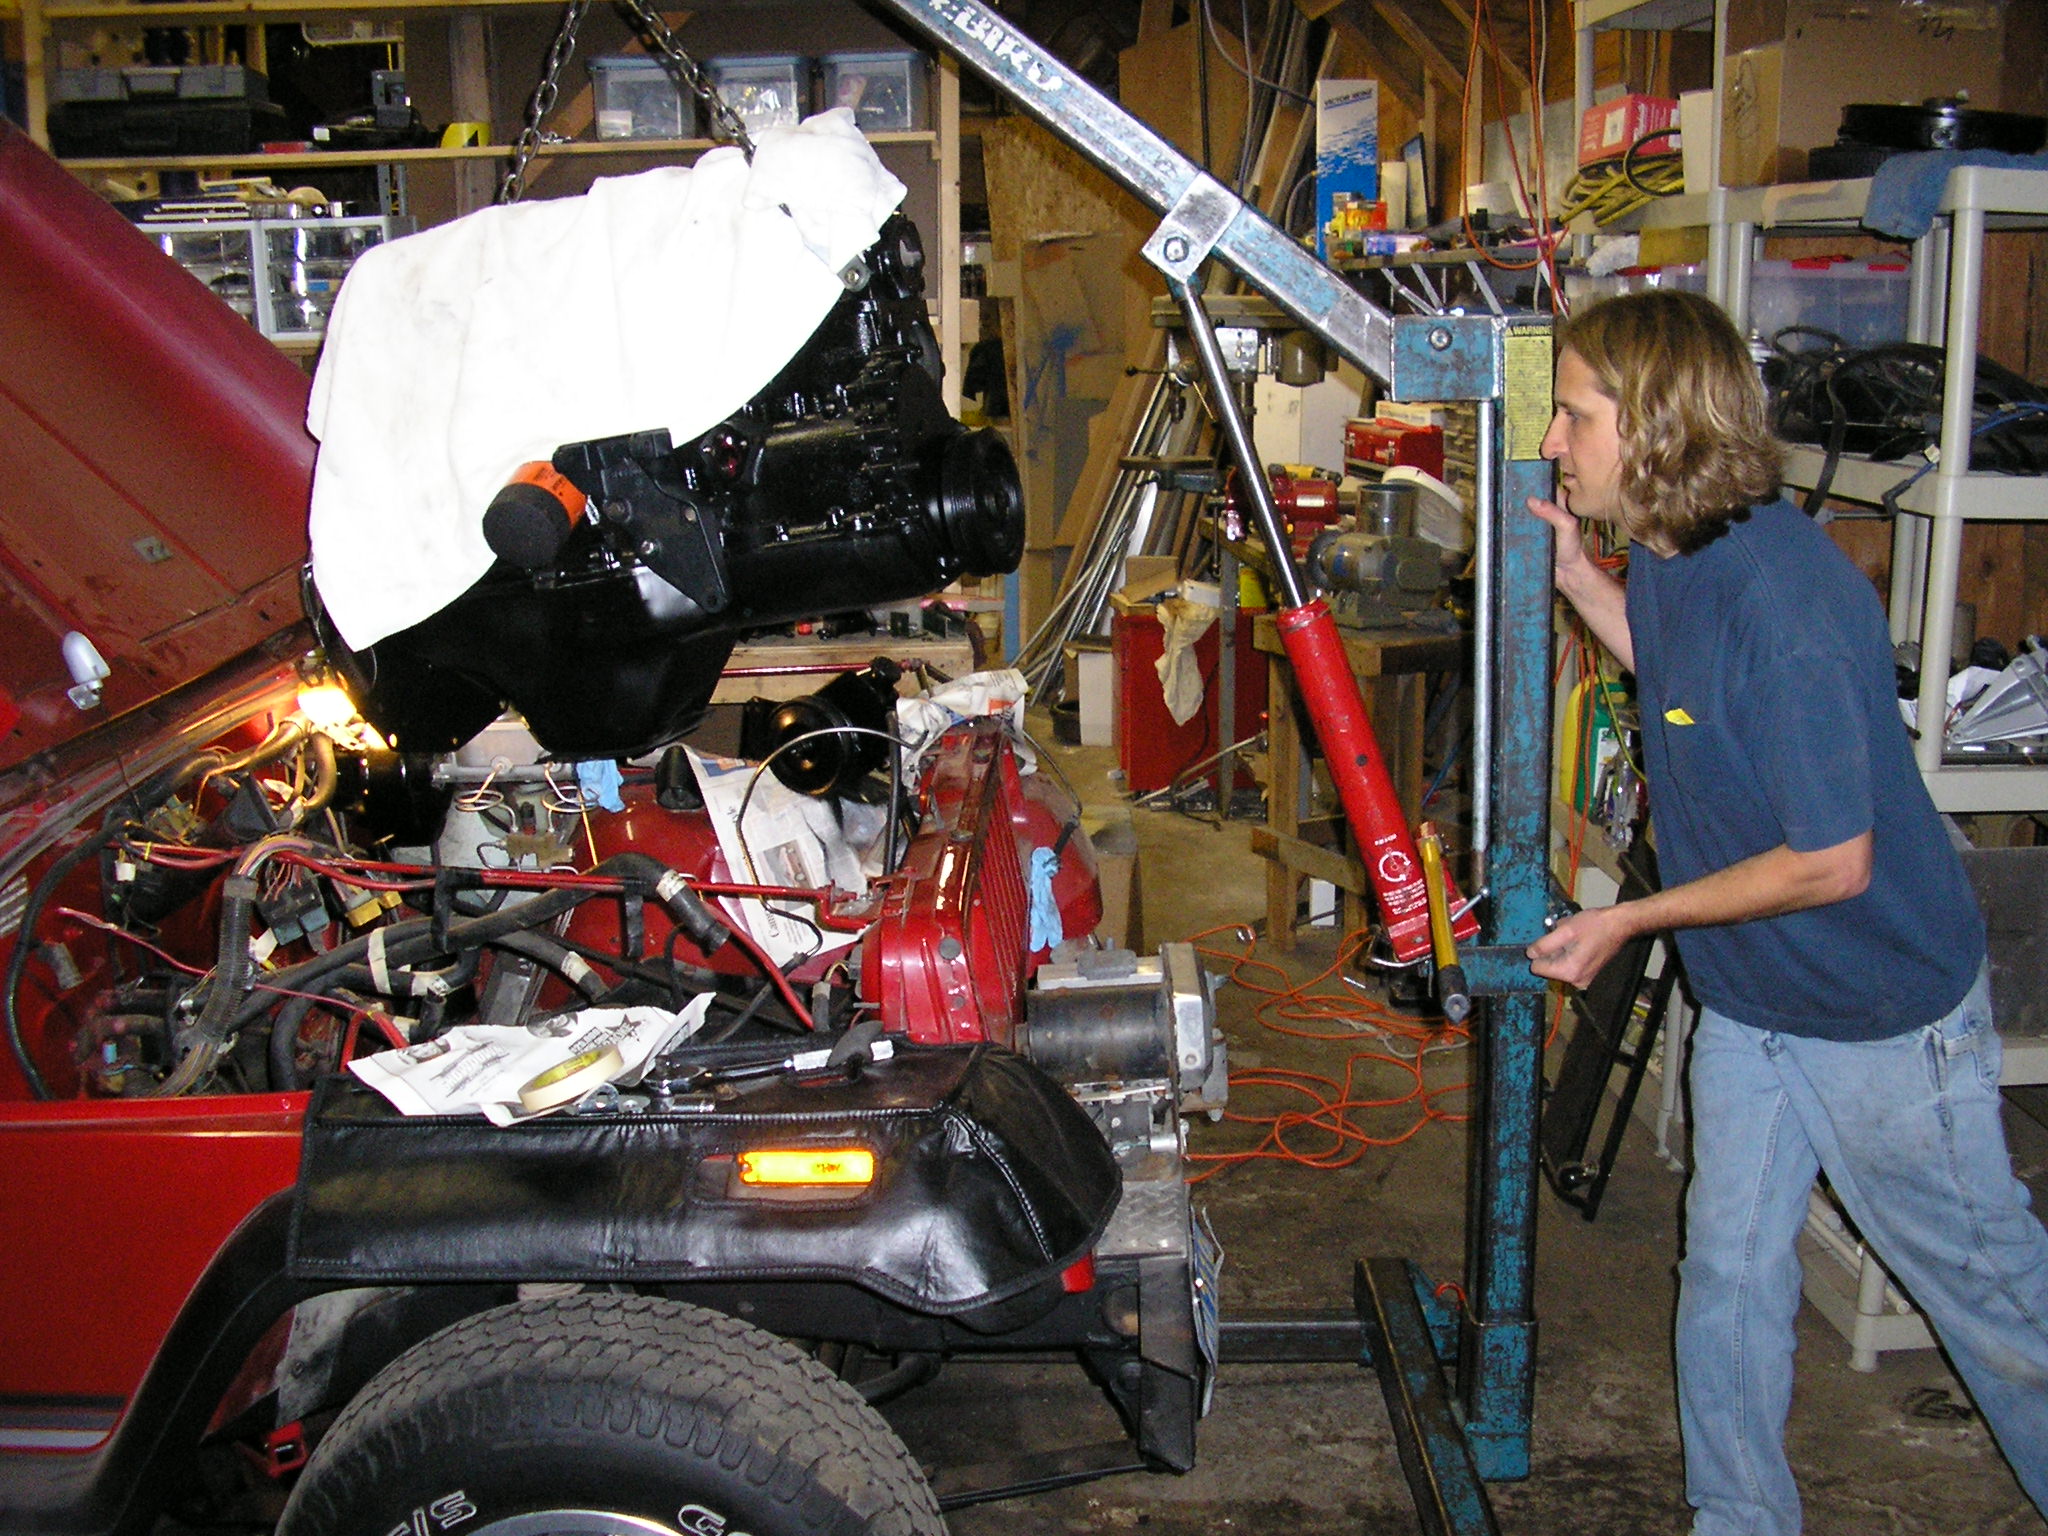
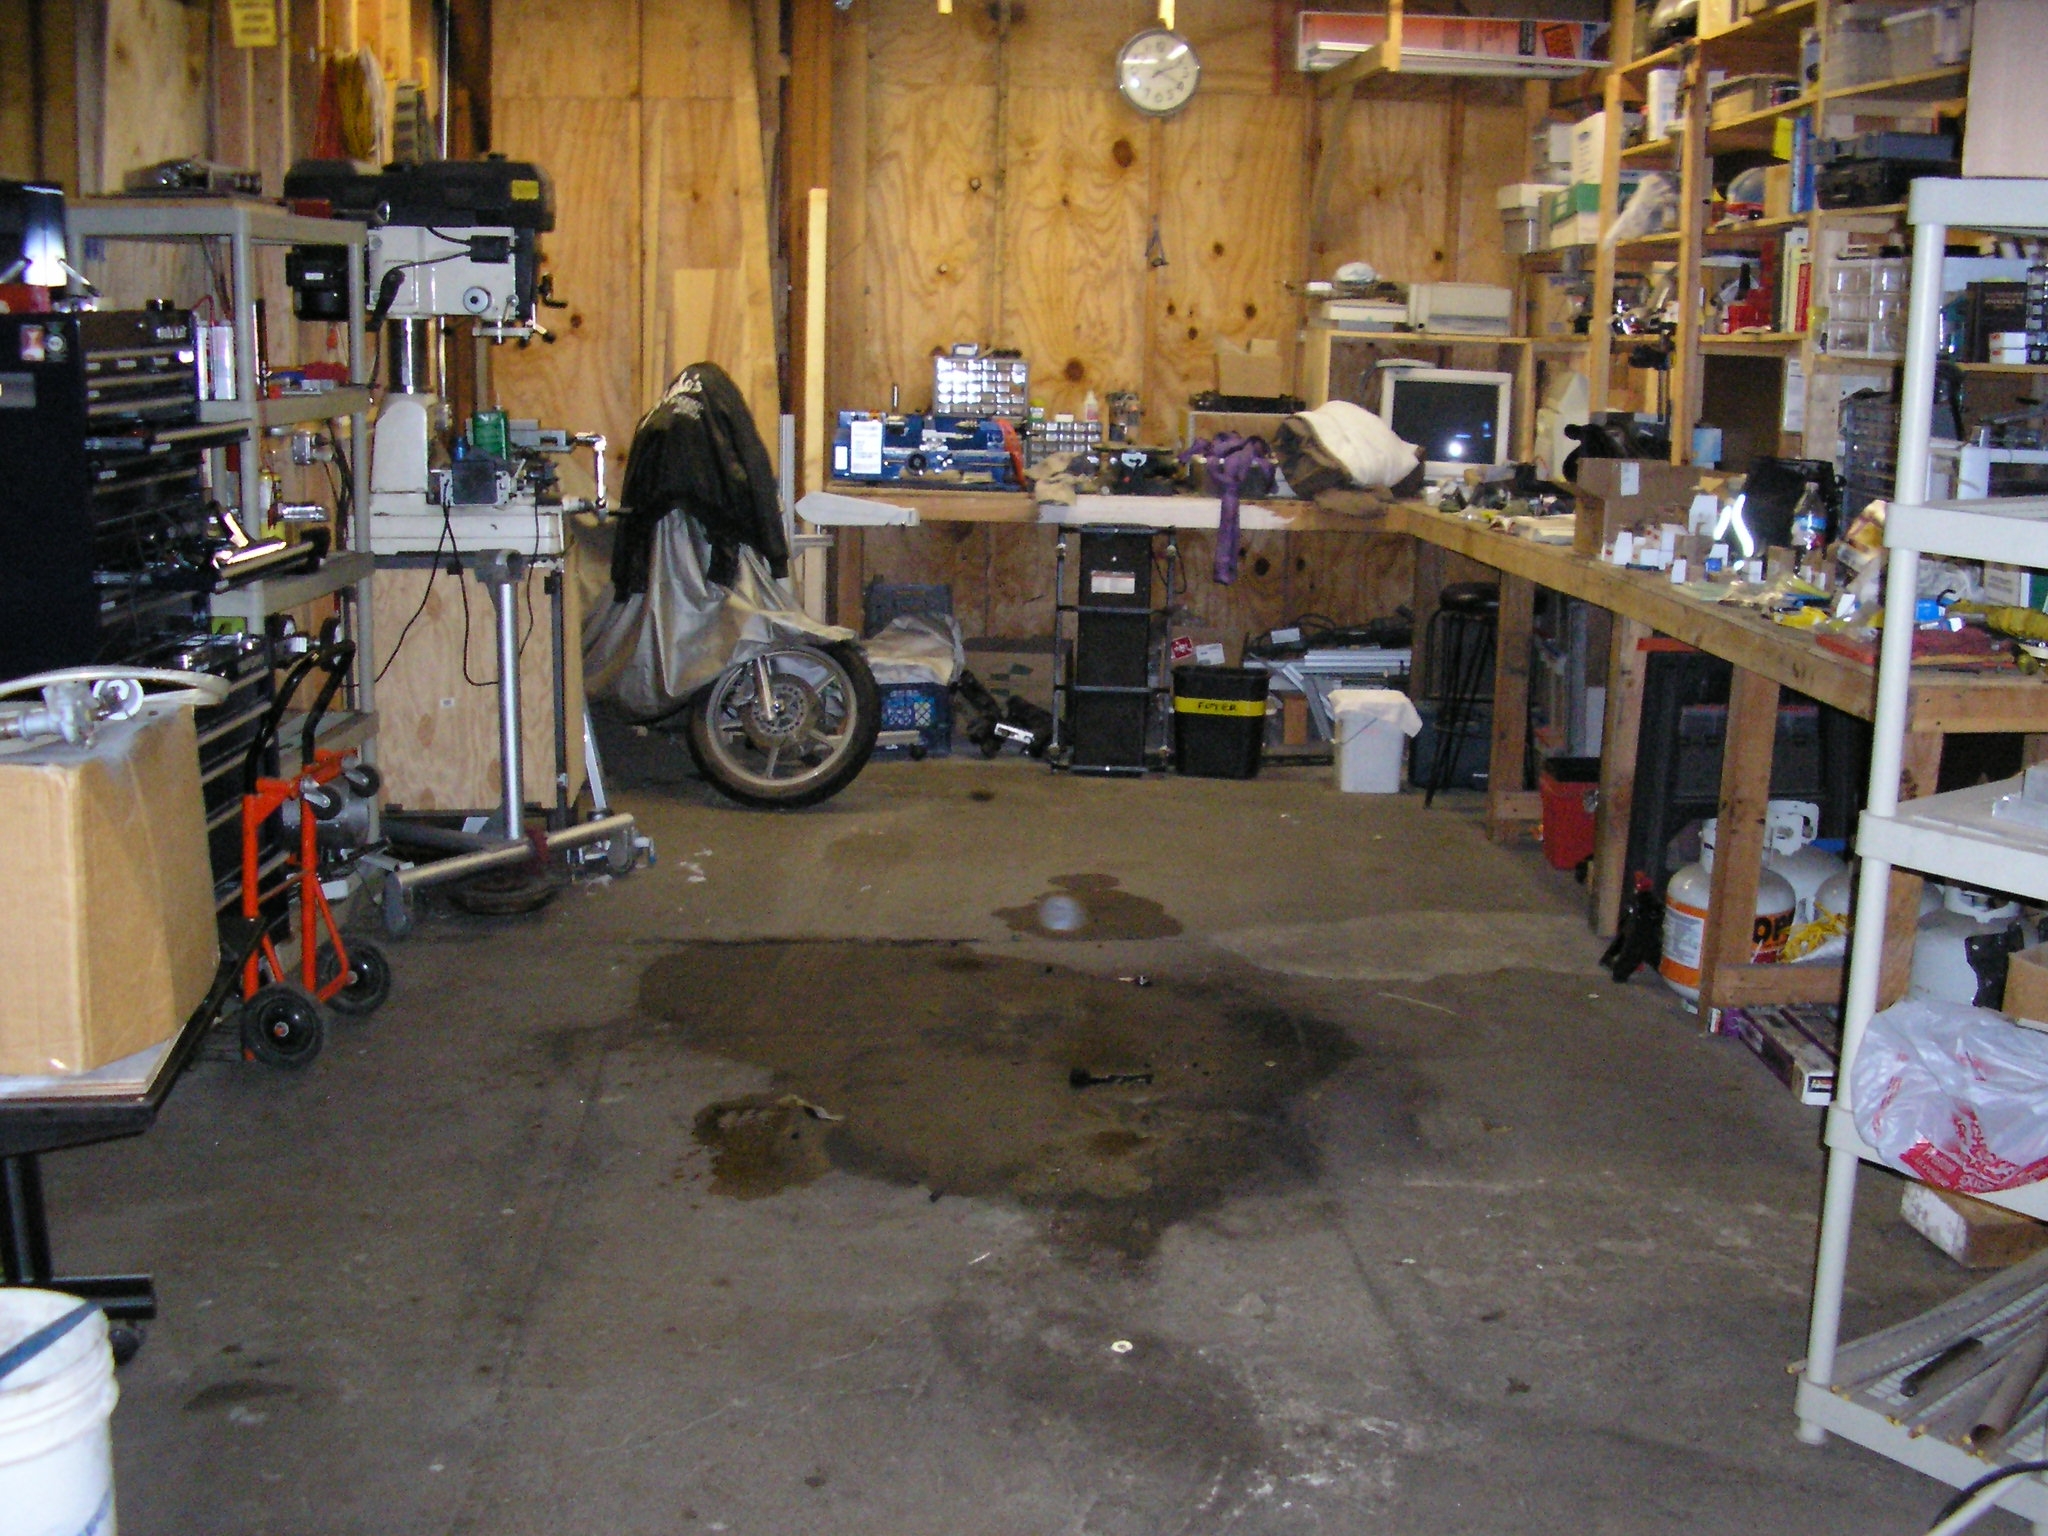
Getting it into the workspace was quite an exercise of putting 10lbs of shit in a 5lb sack.
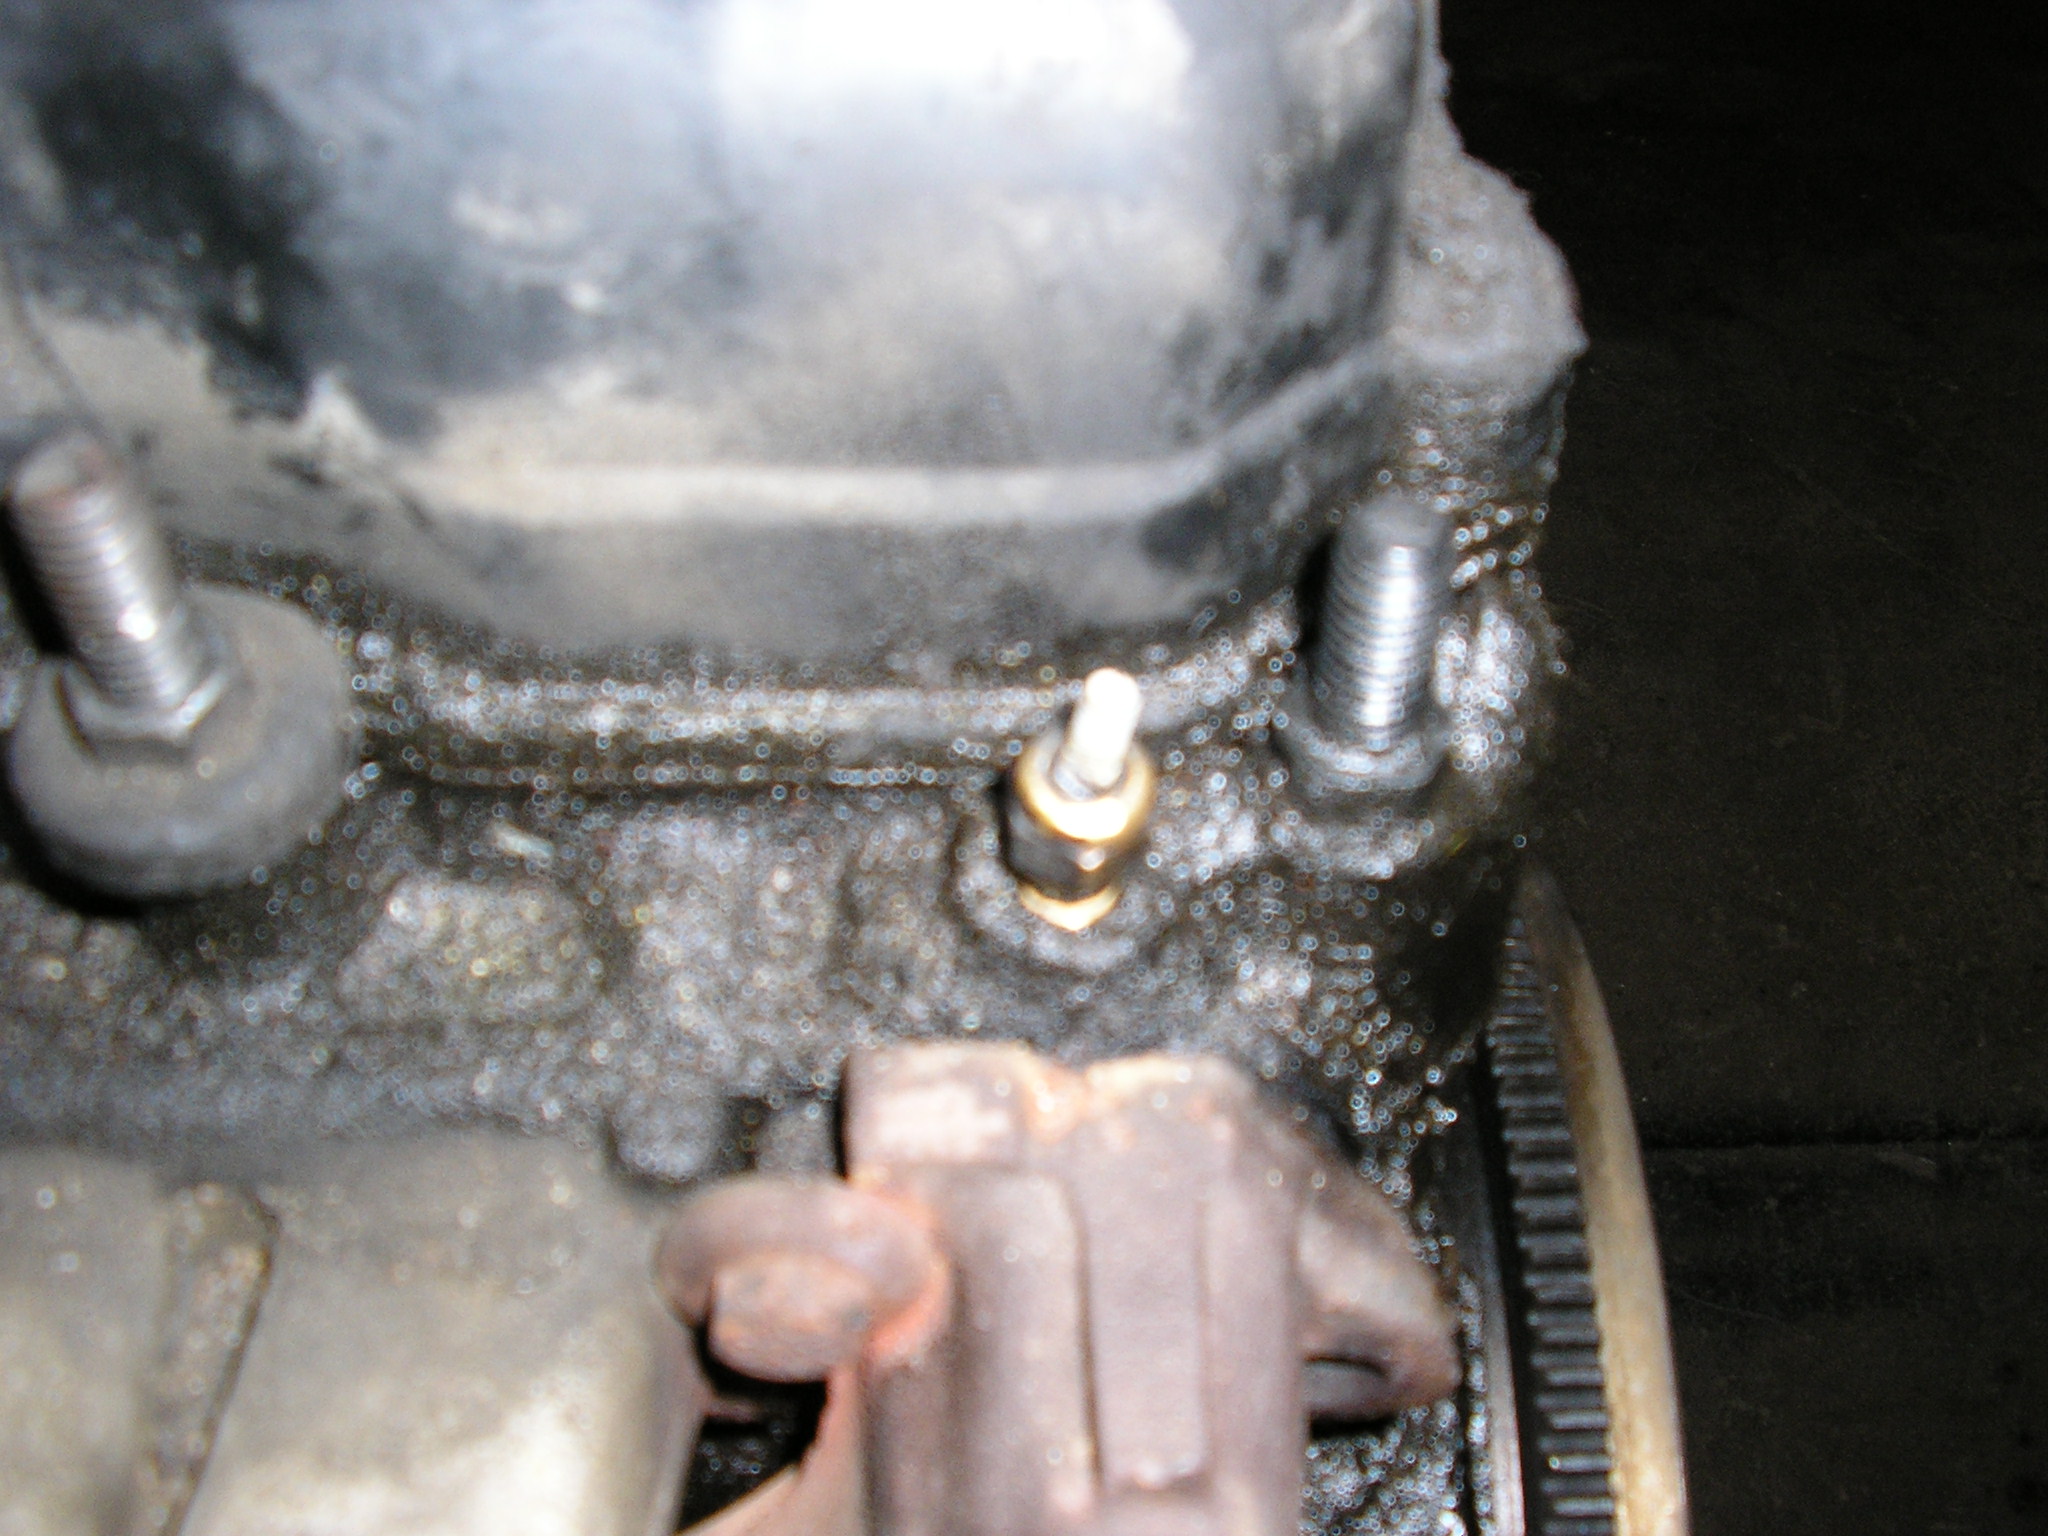
This is where I'm getting ready to start pulling things apart. A very liberal application of engine cleaner and degreaser was applied beforehand.

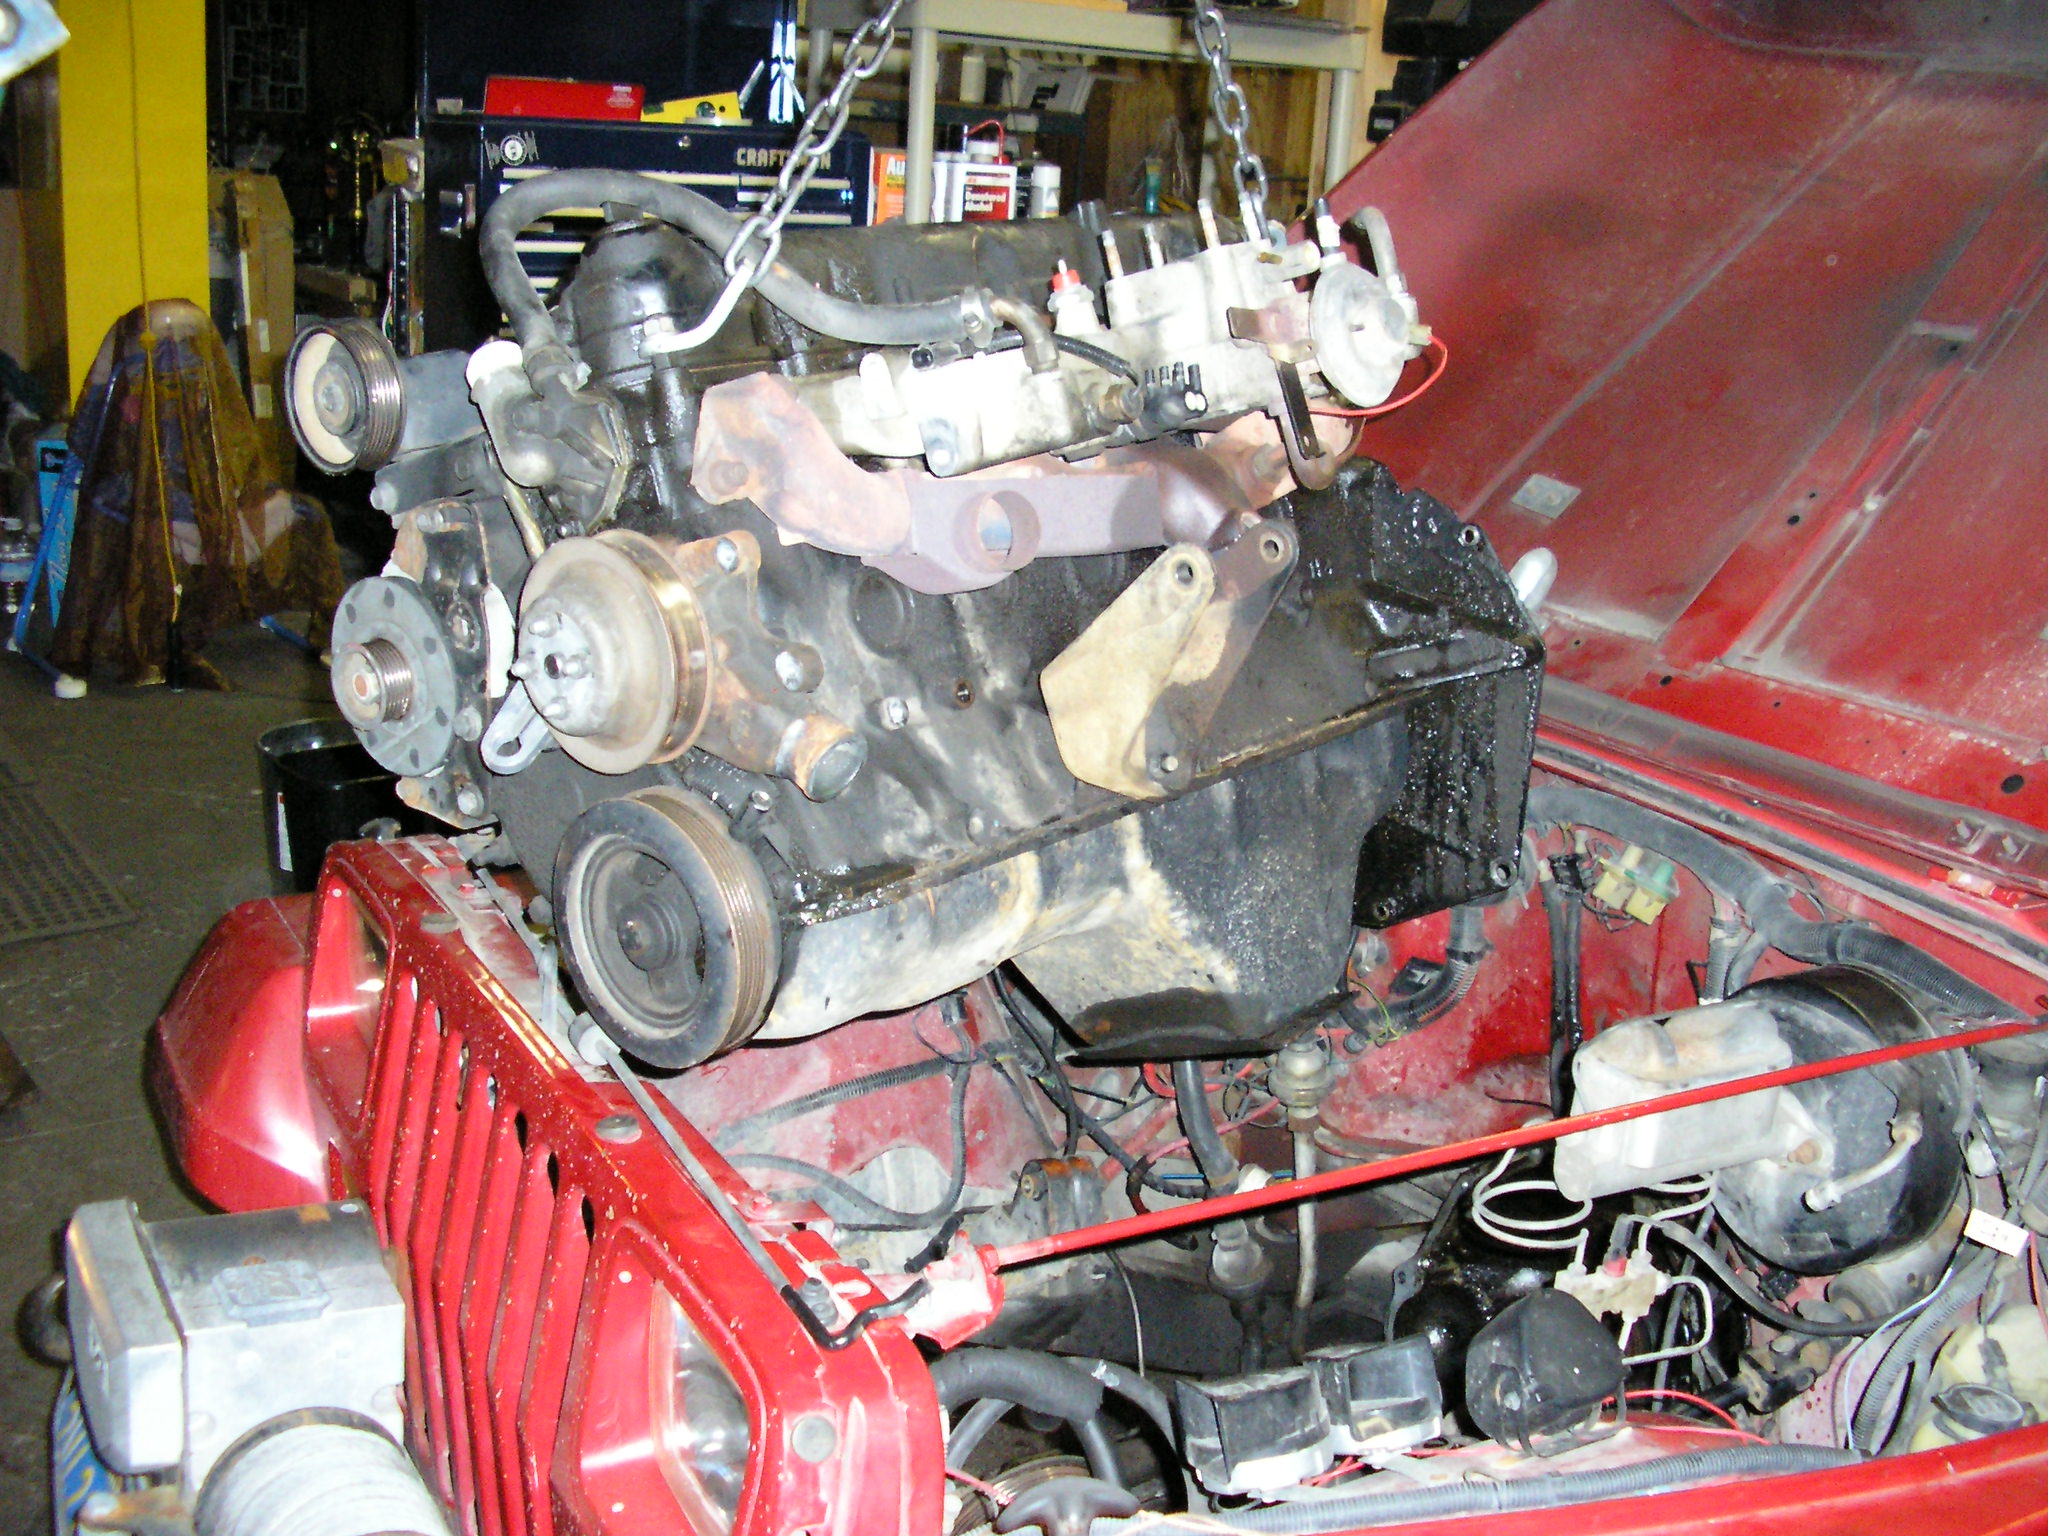


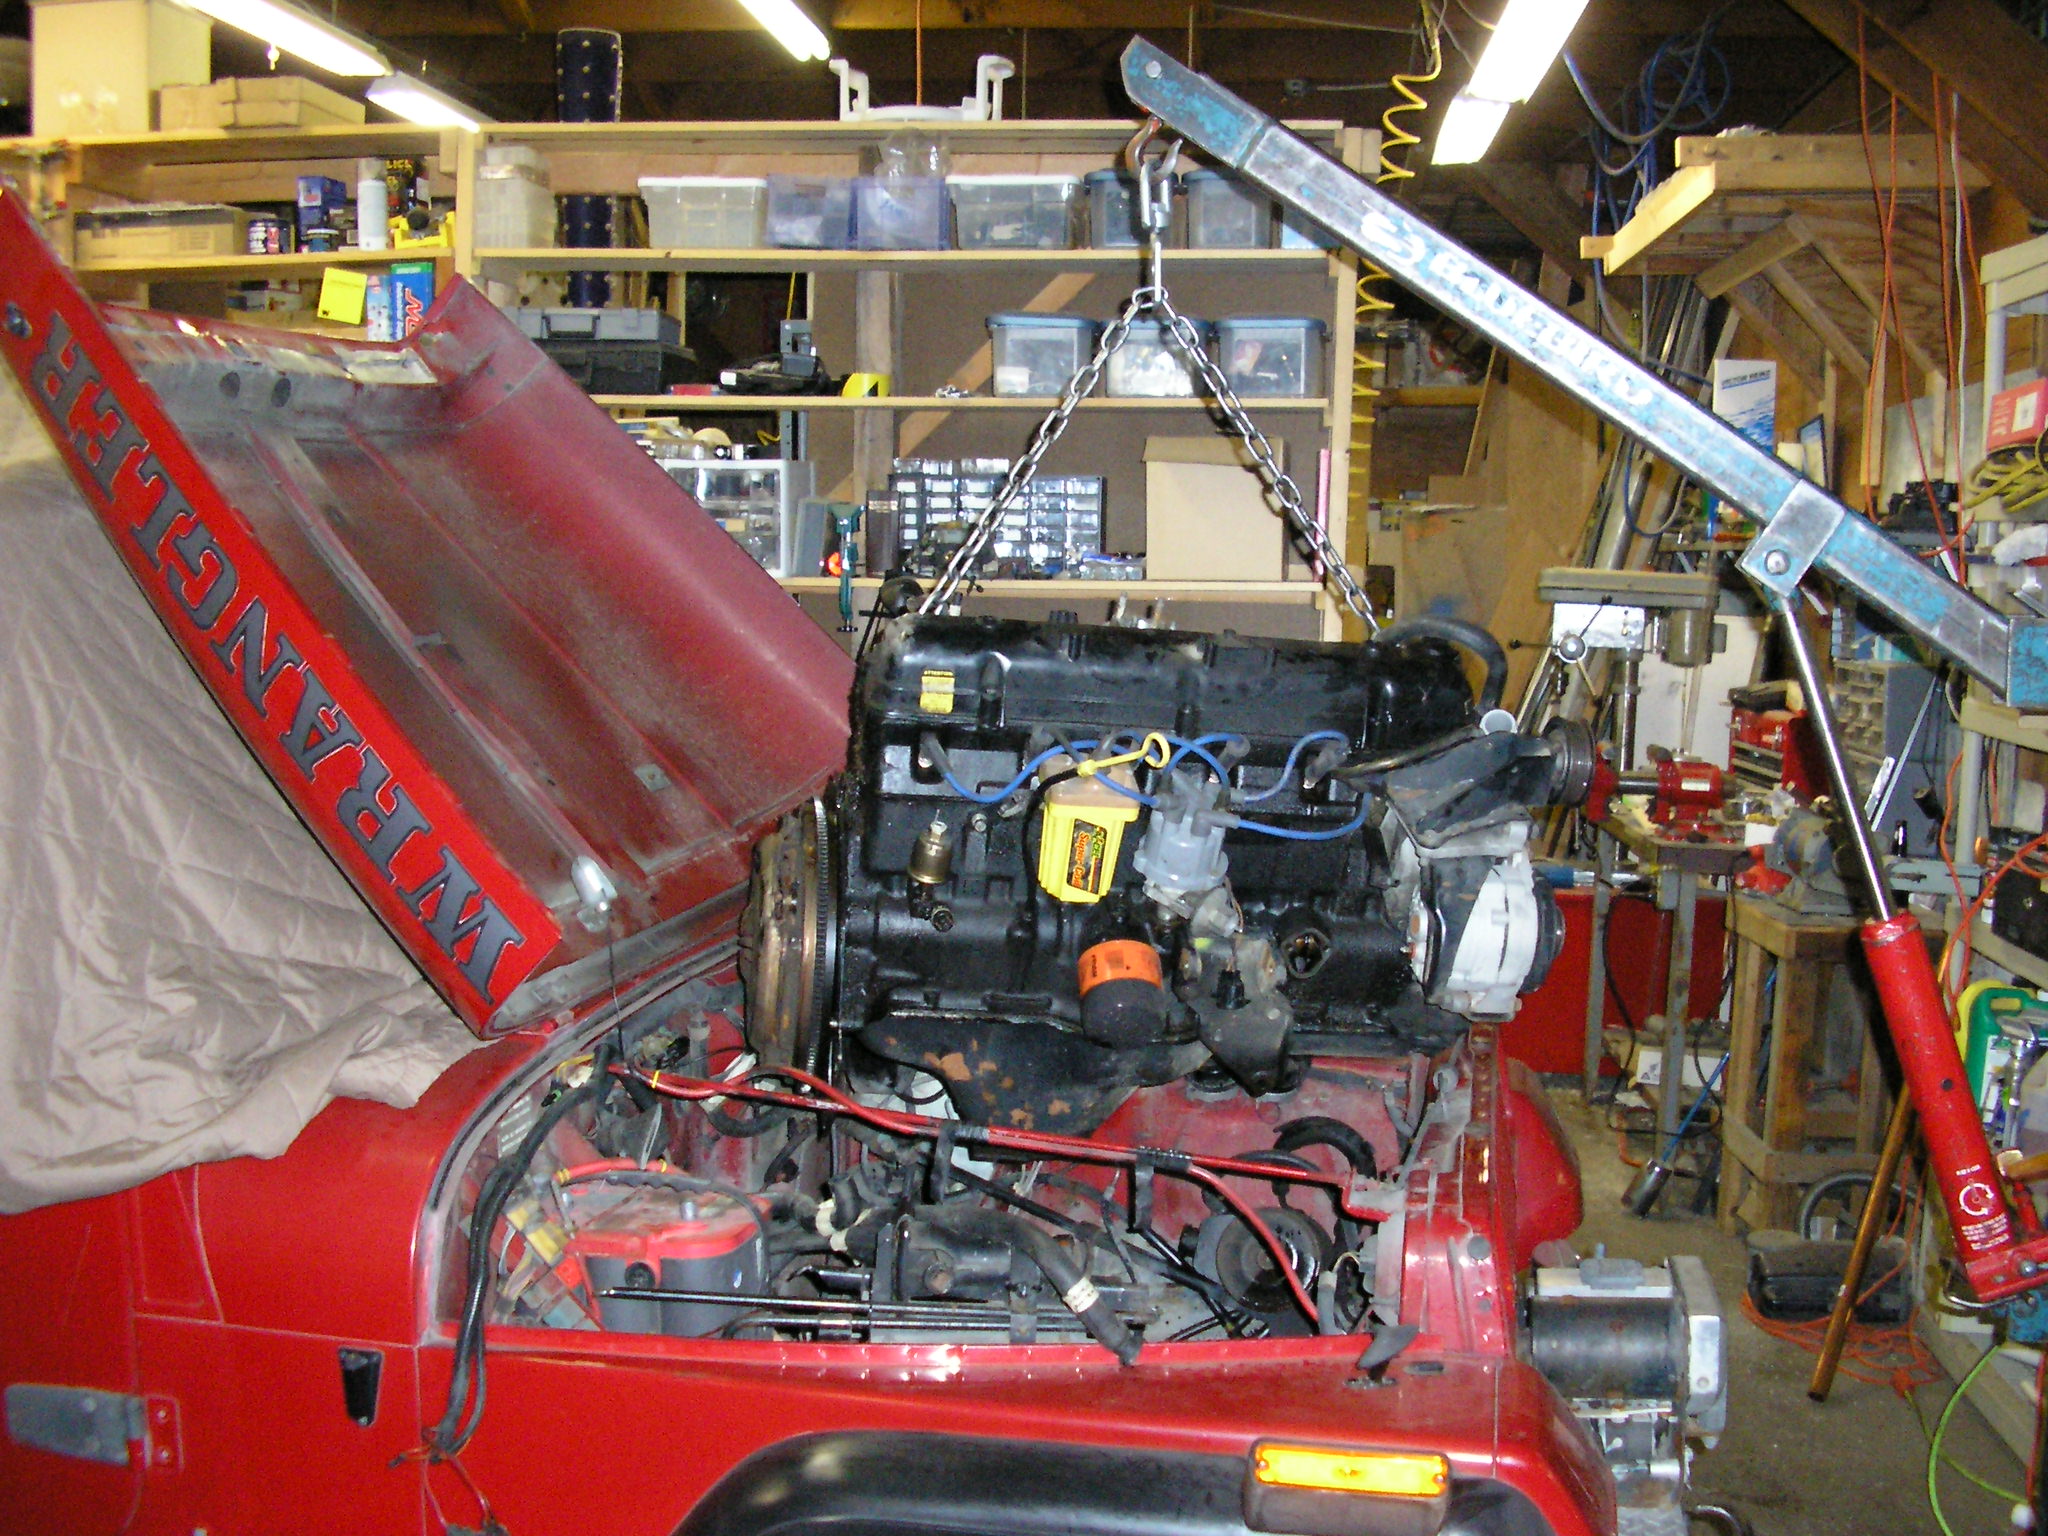


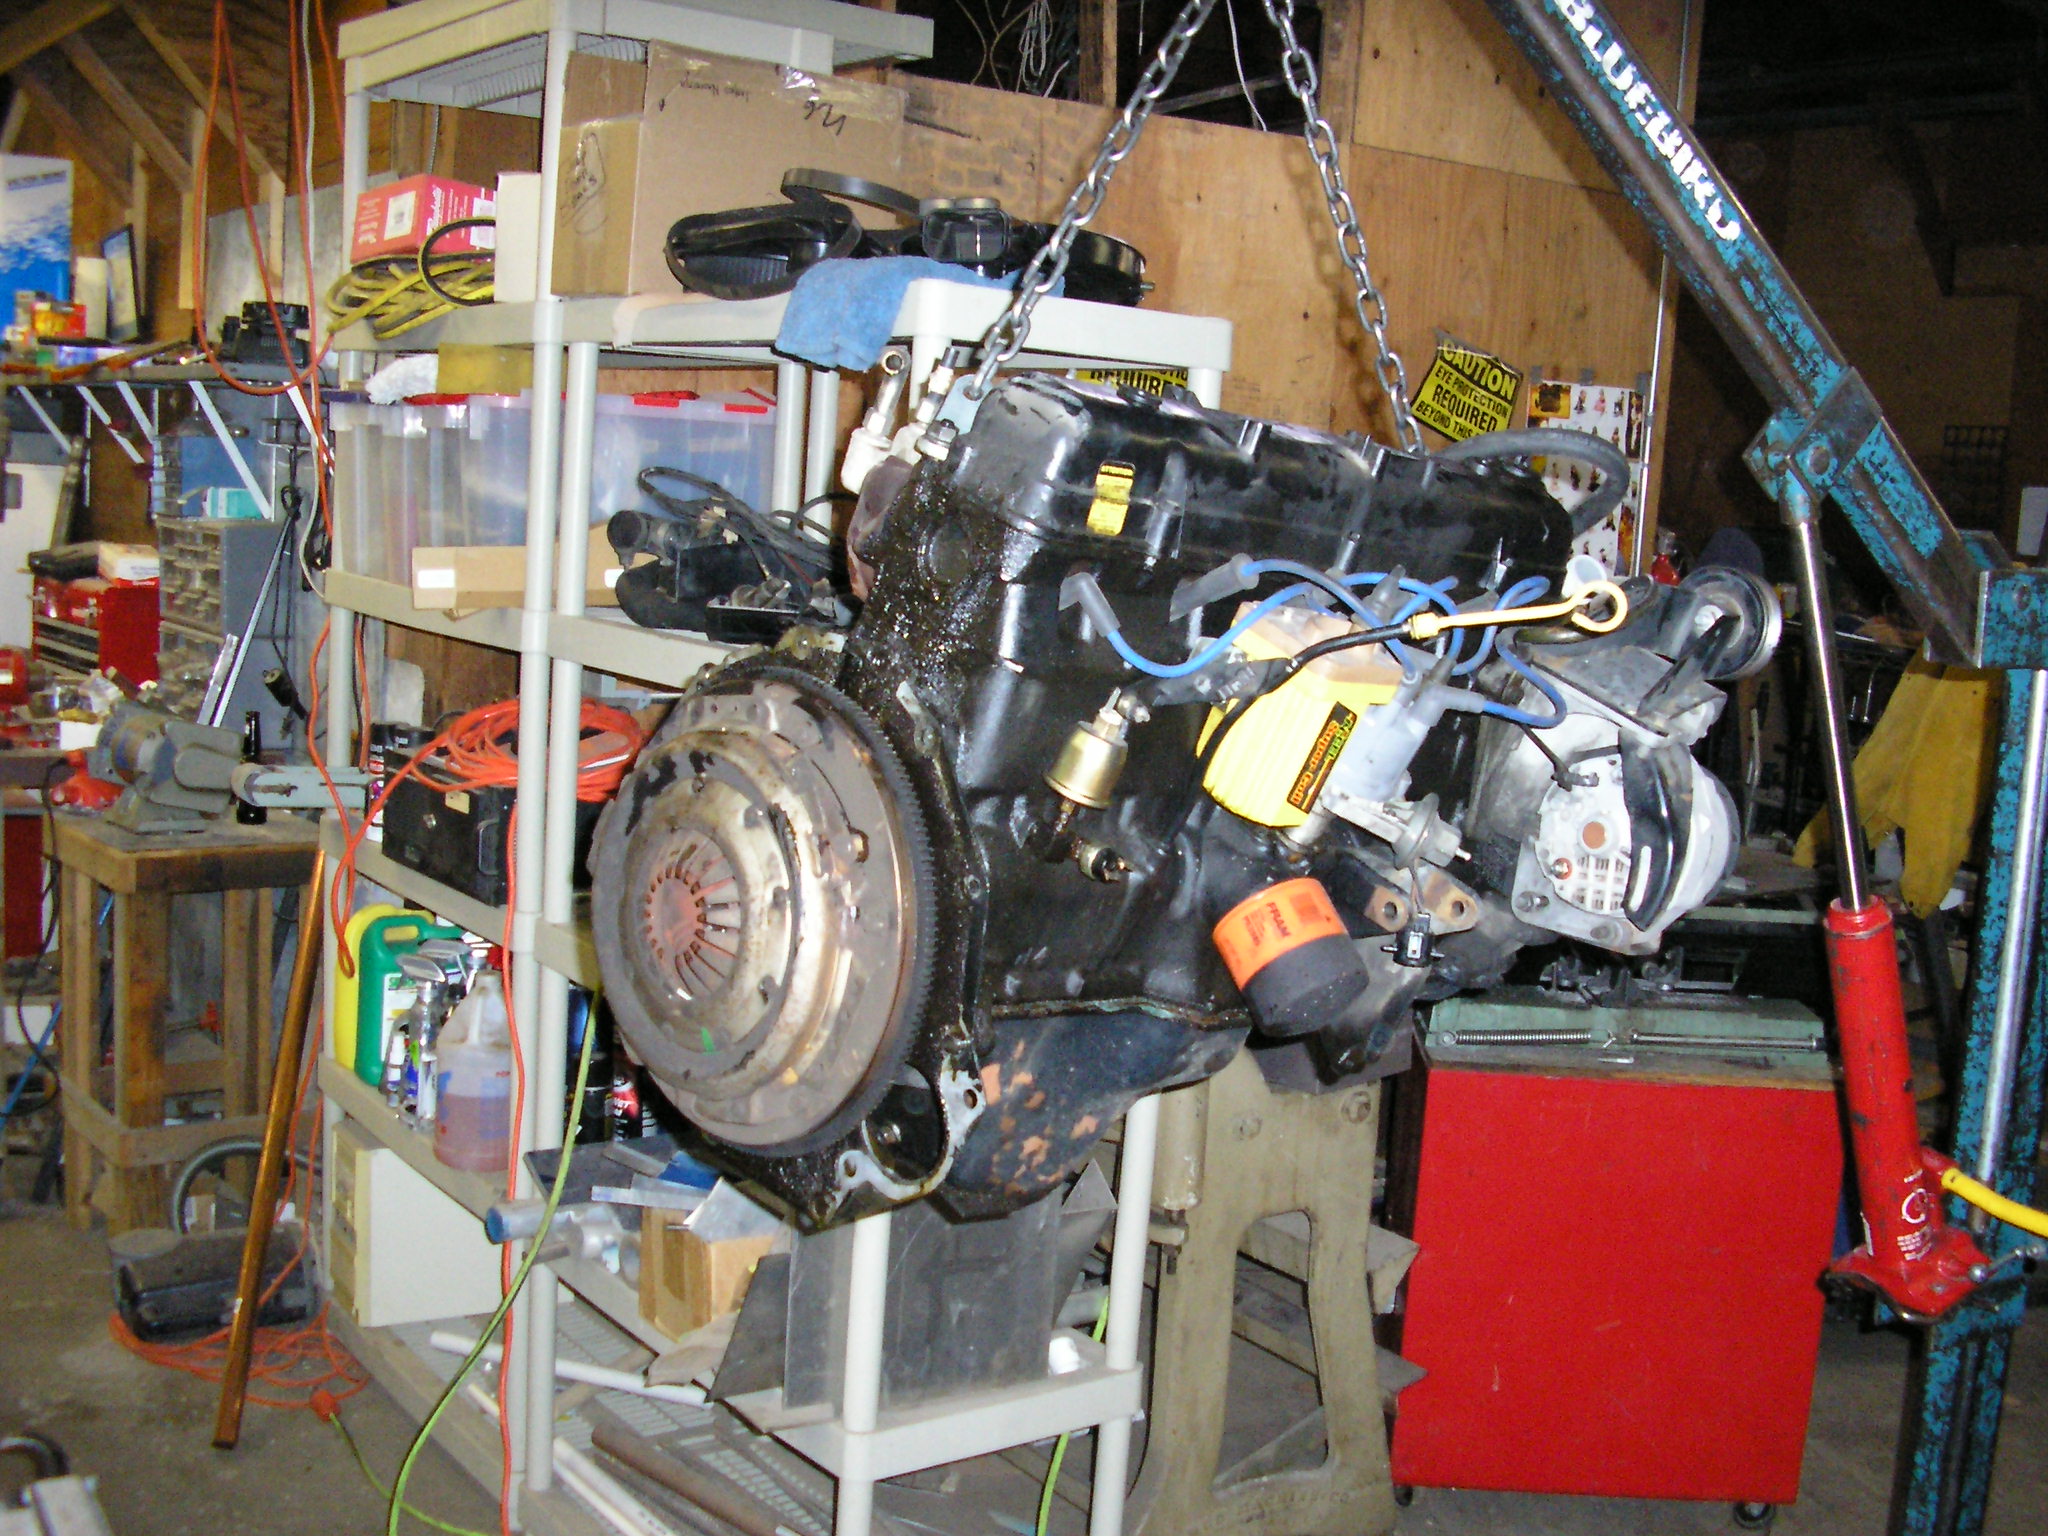


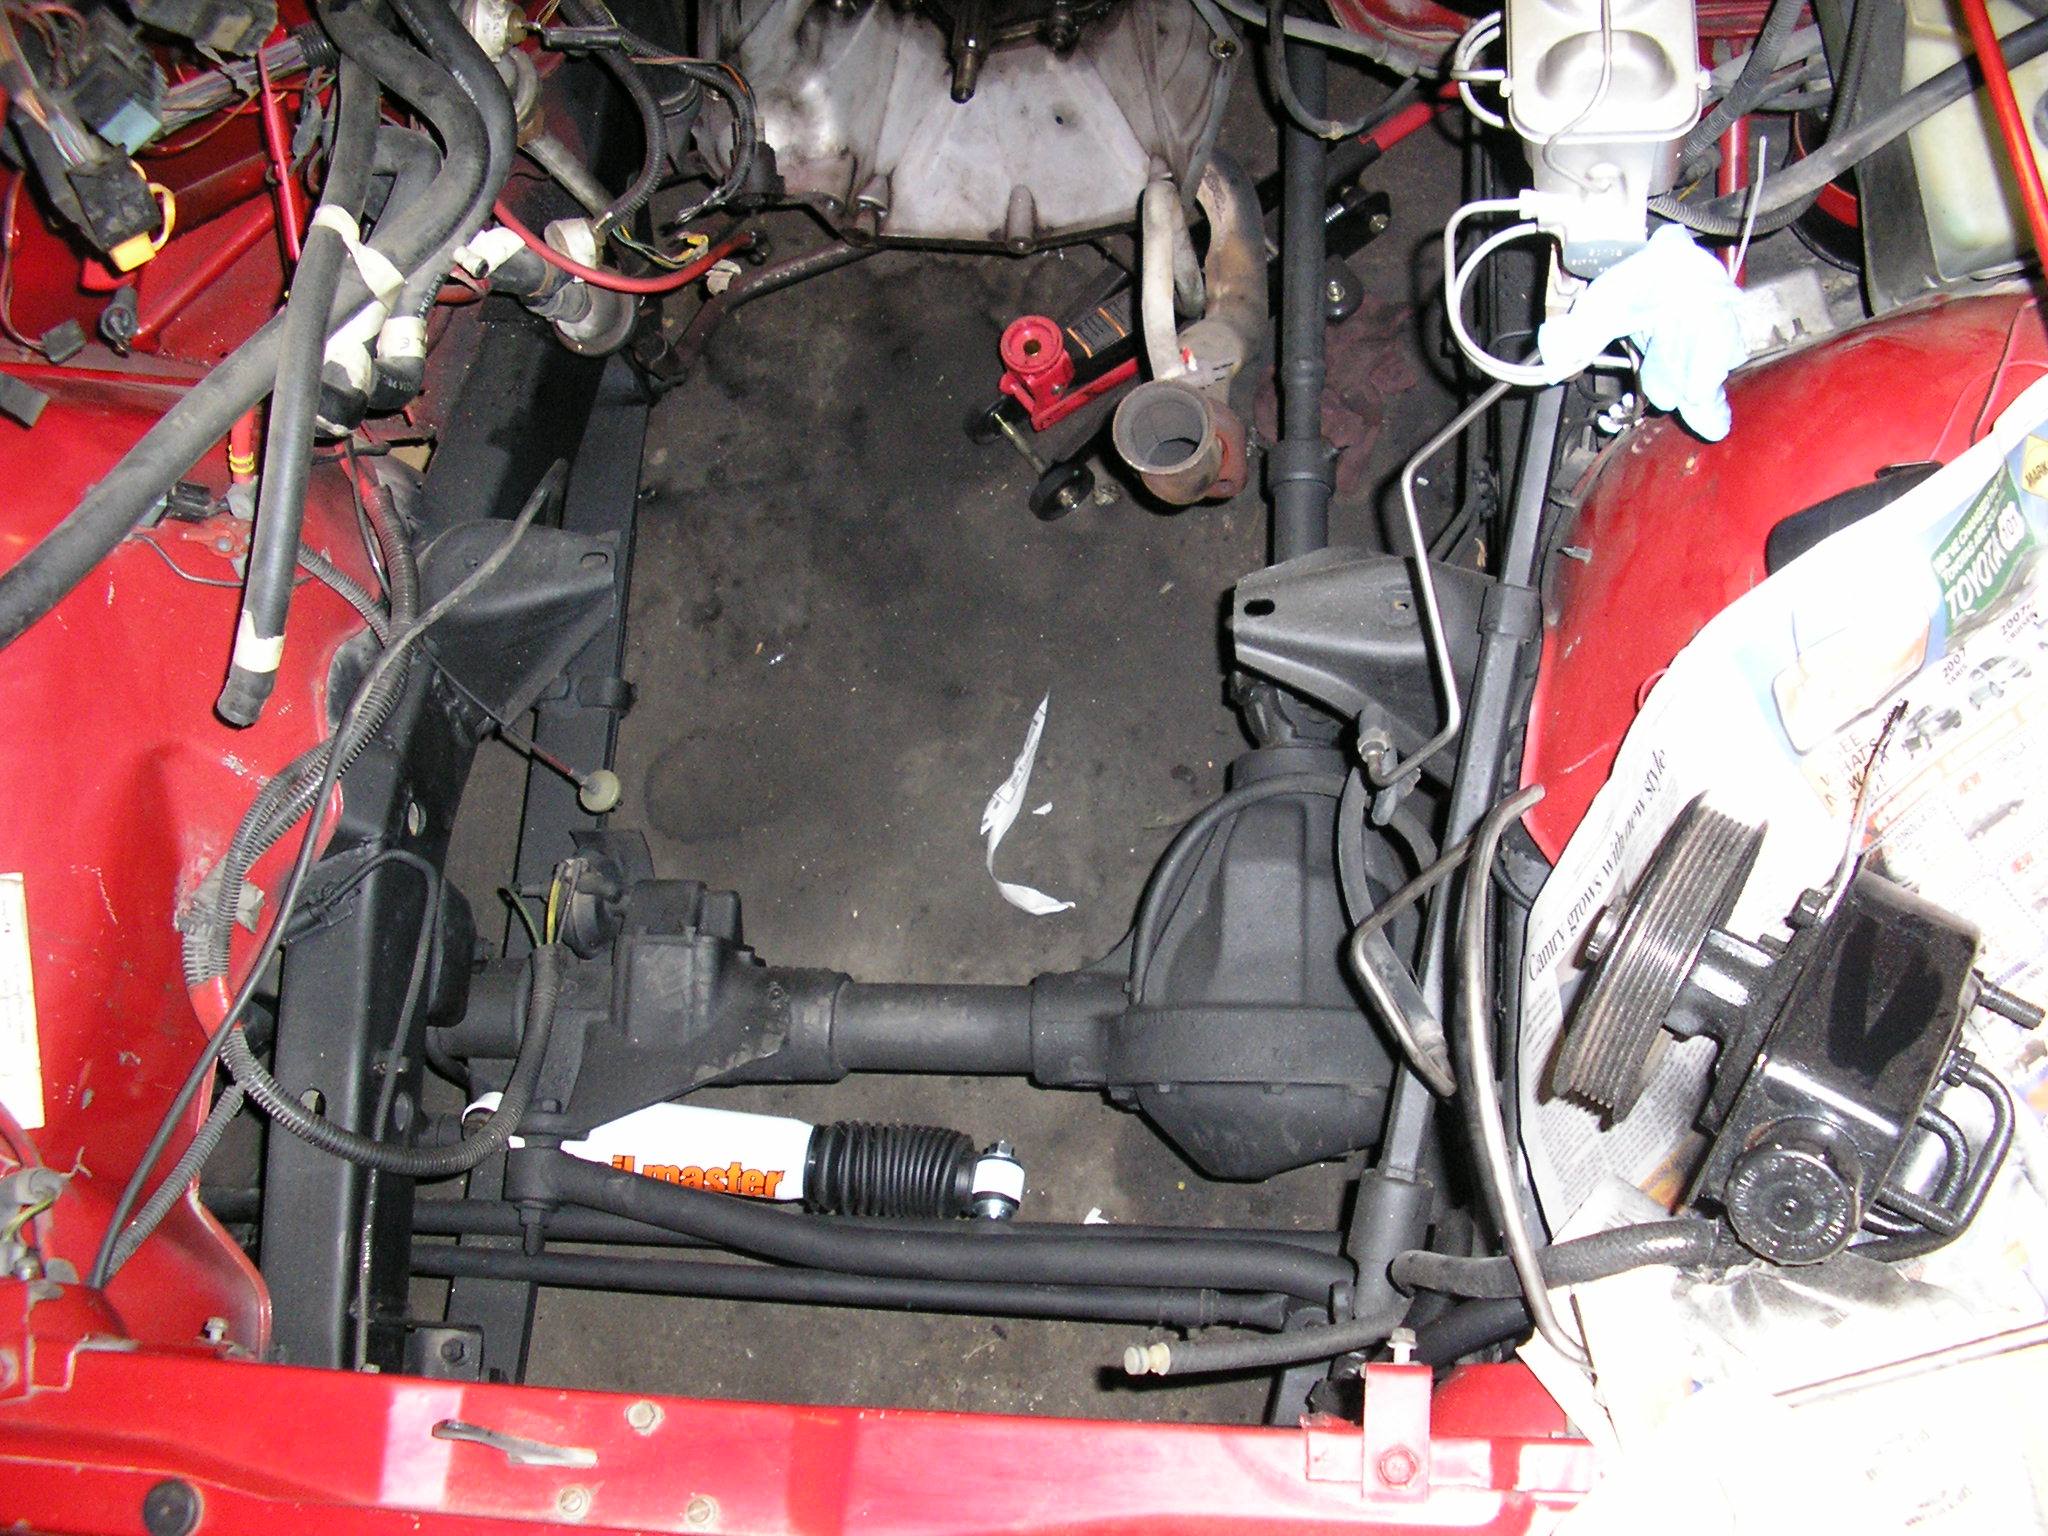
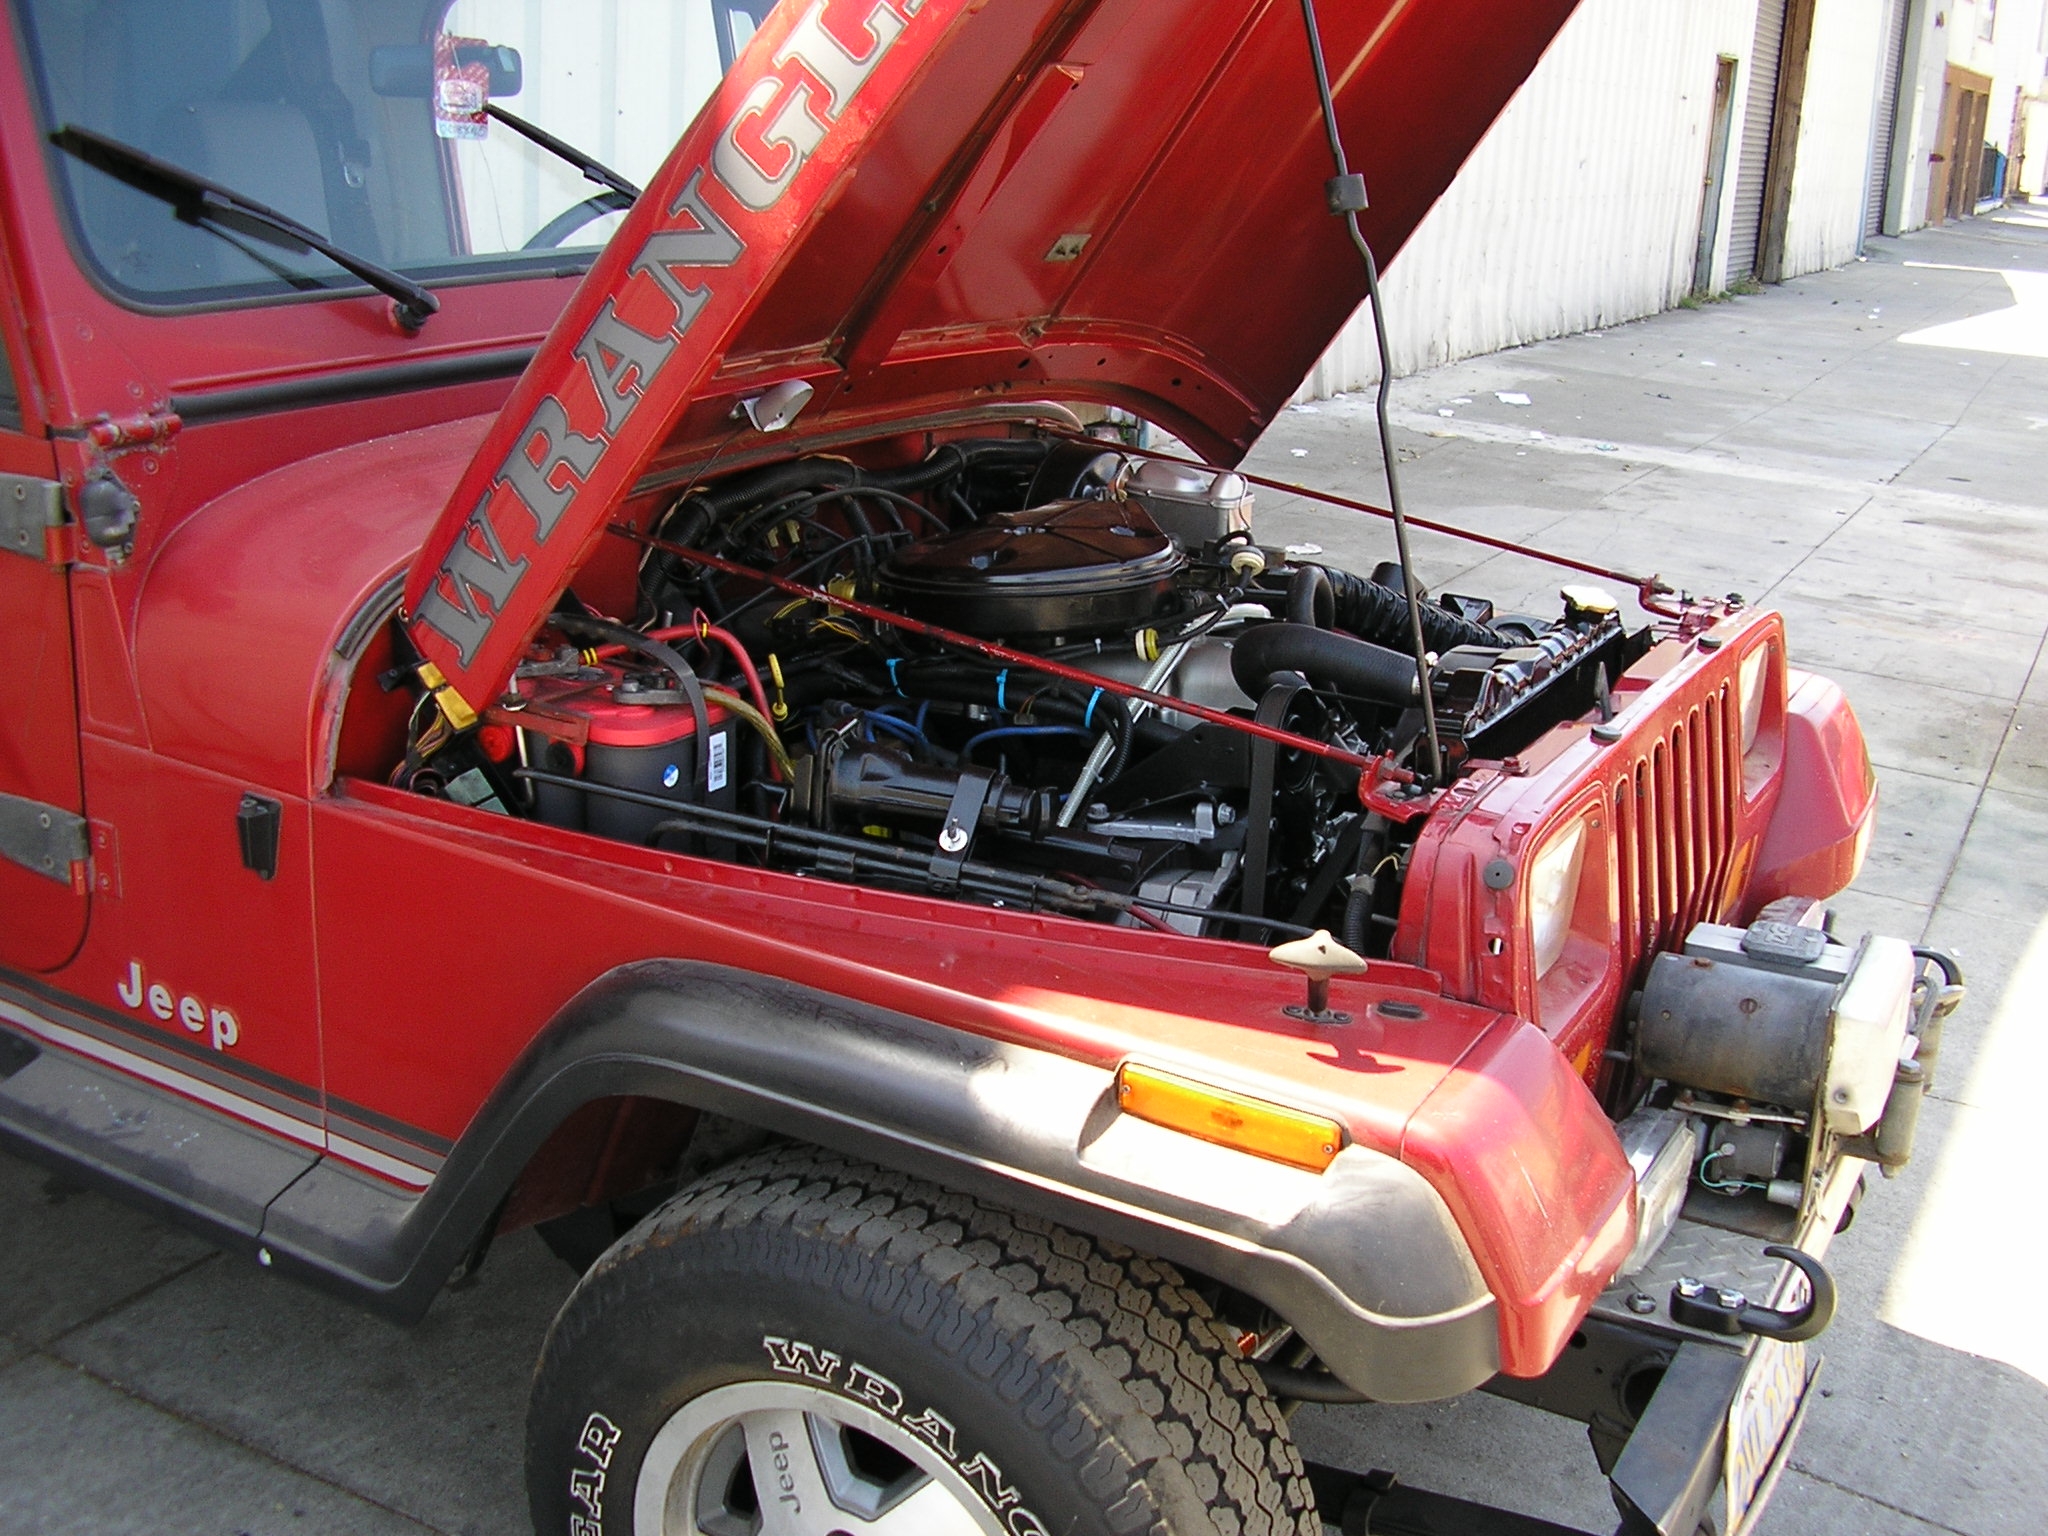
Getting the Engine out of it's home.
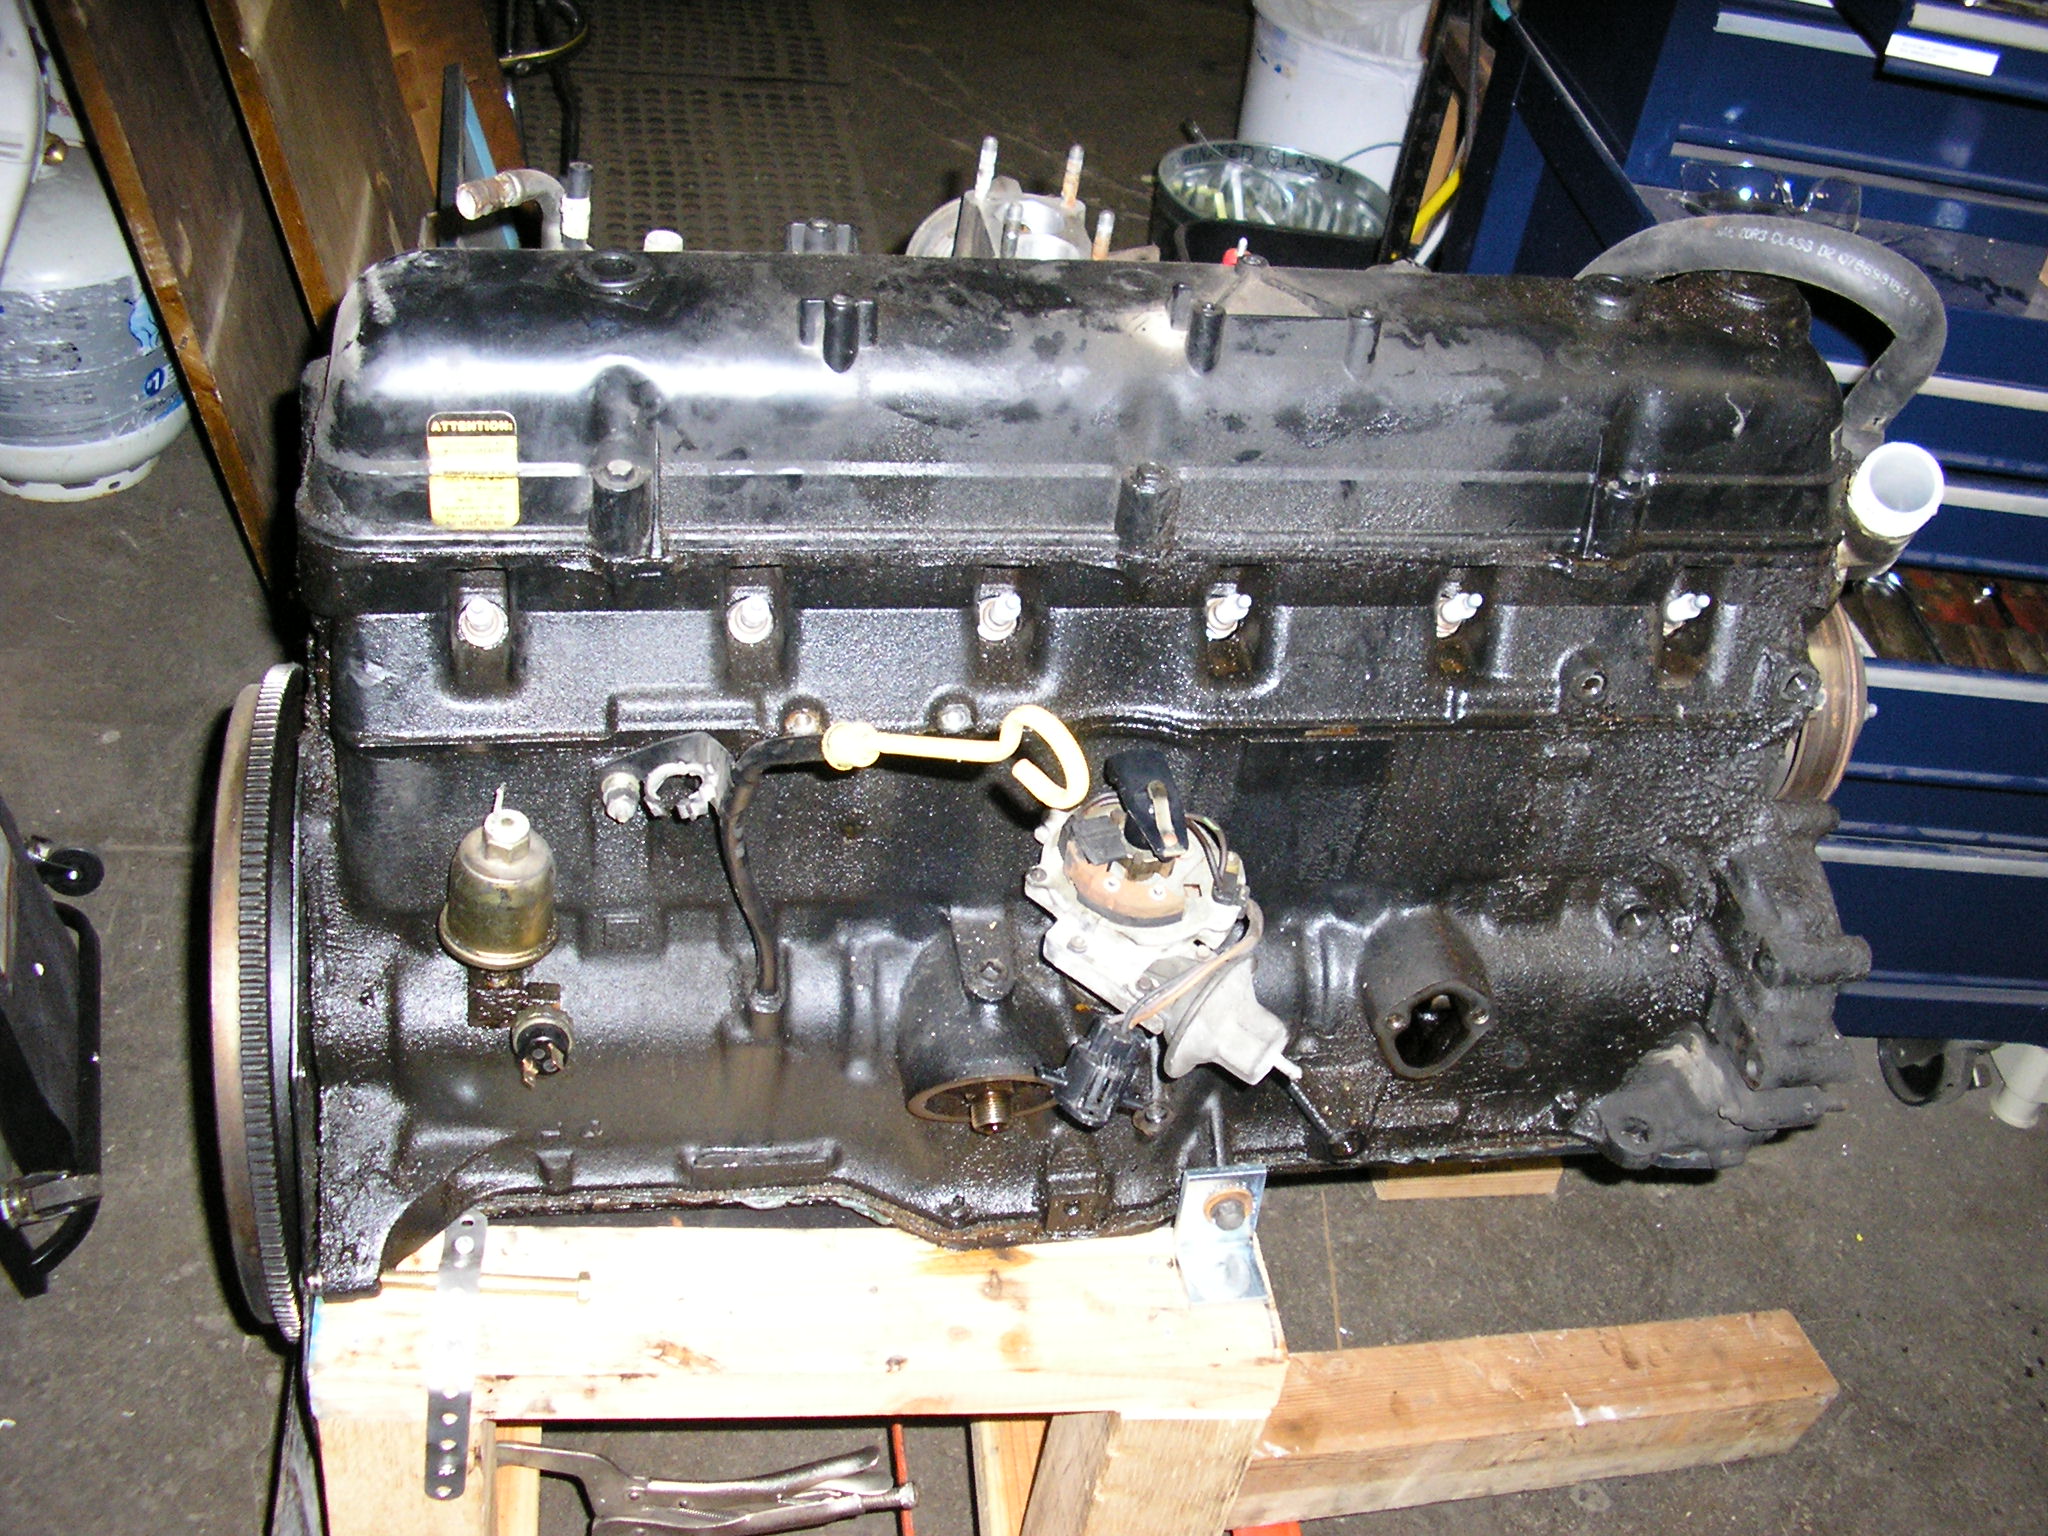
Engine Removal and the Hidden Bolts
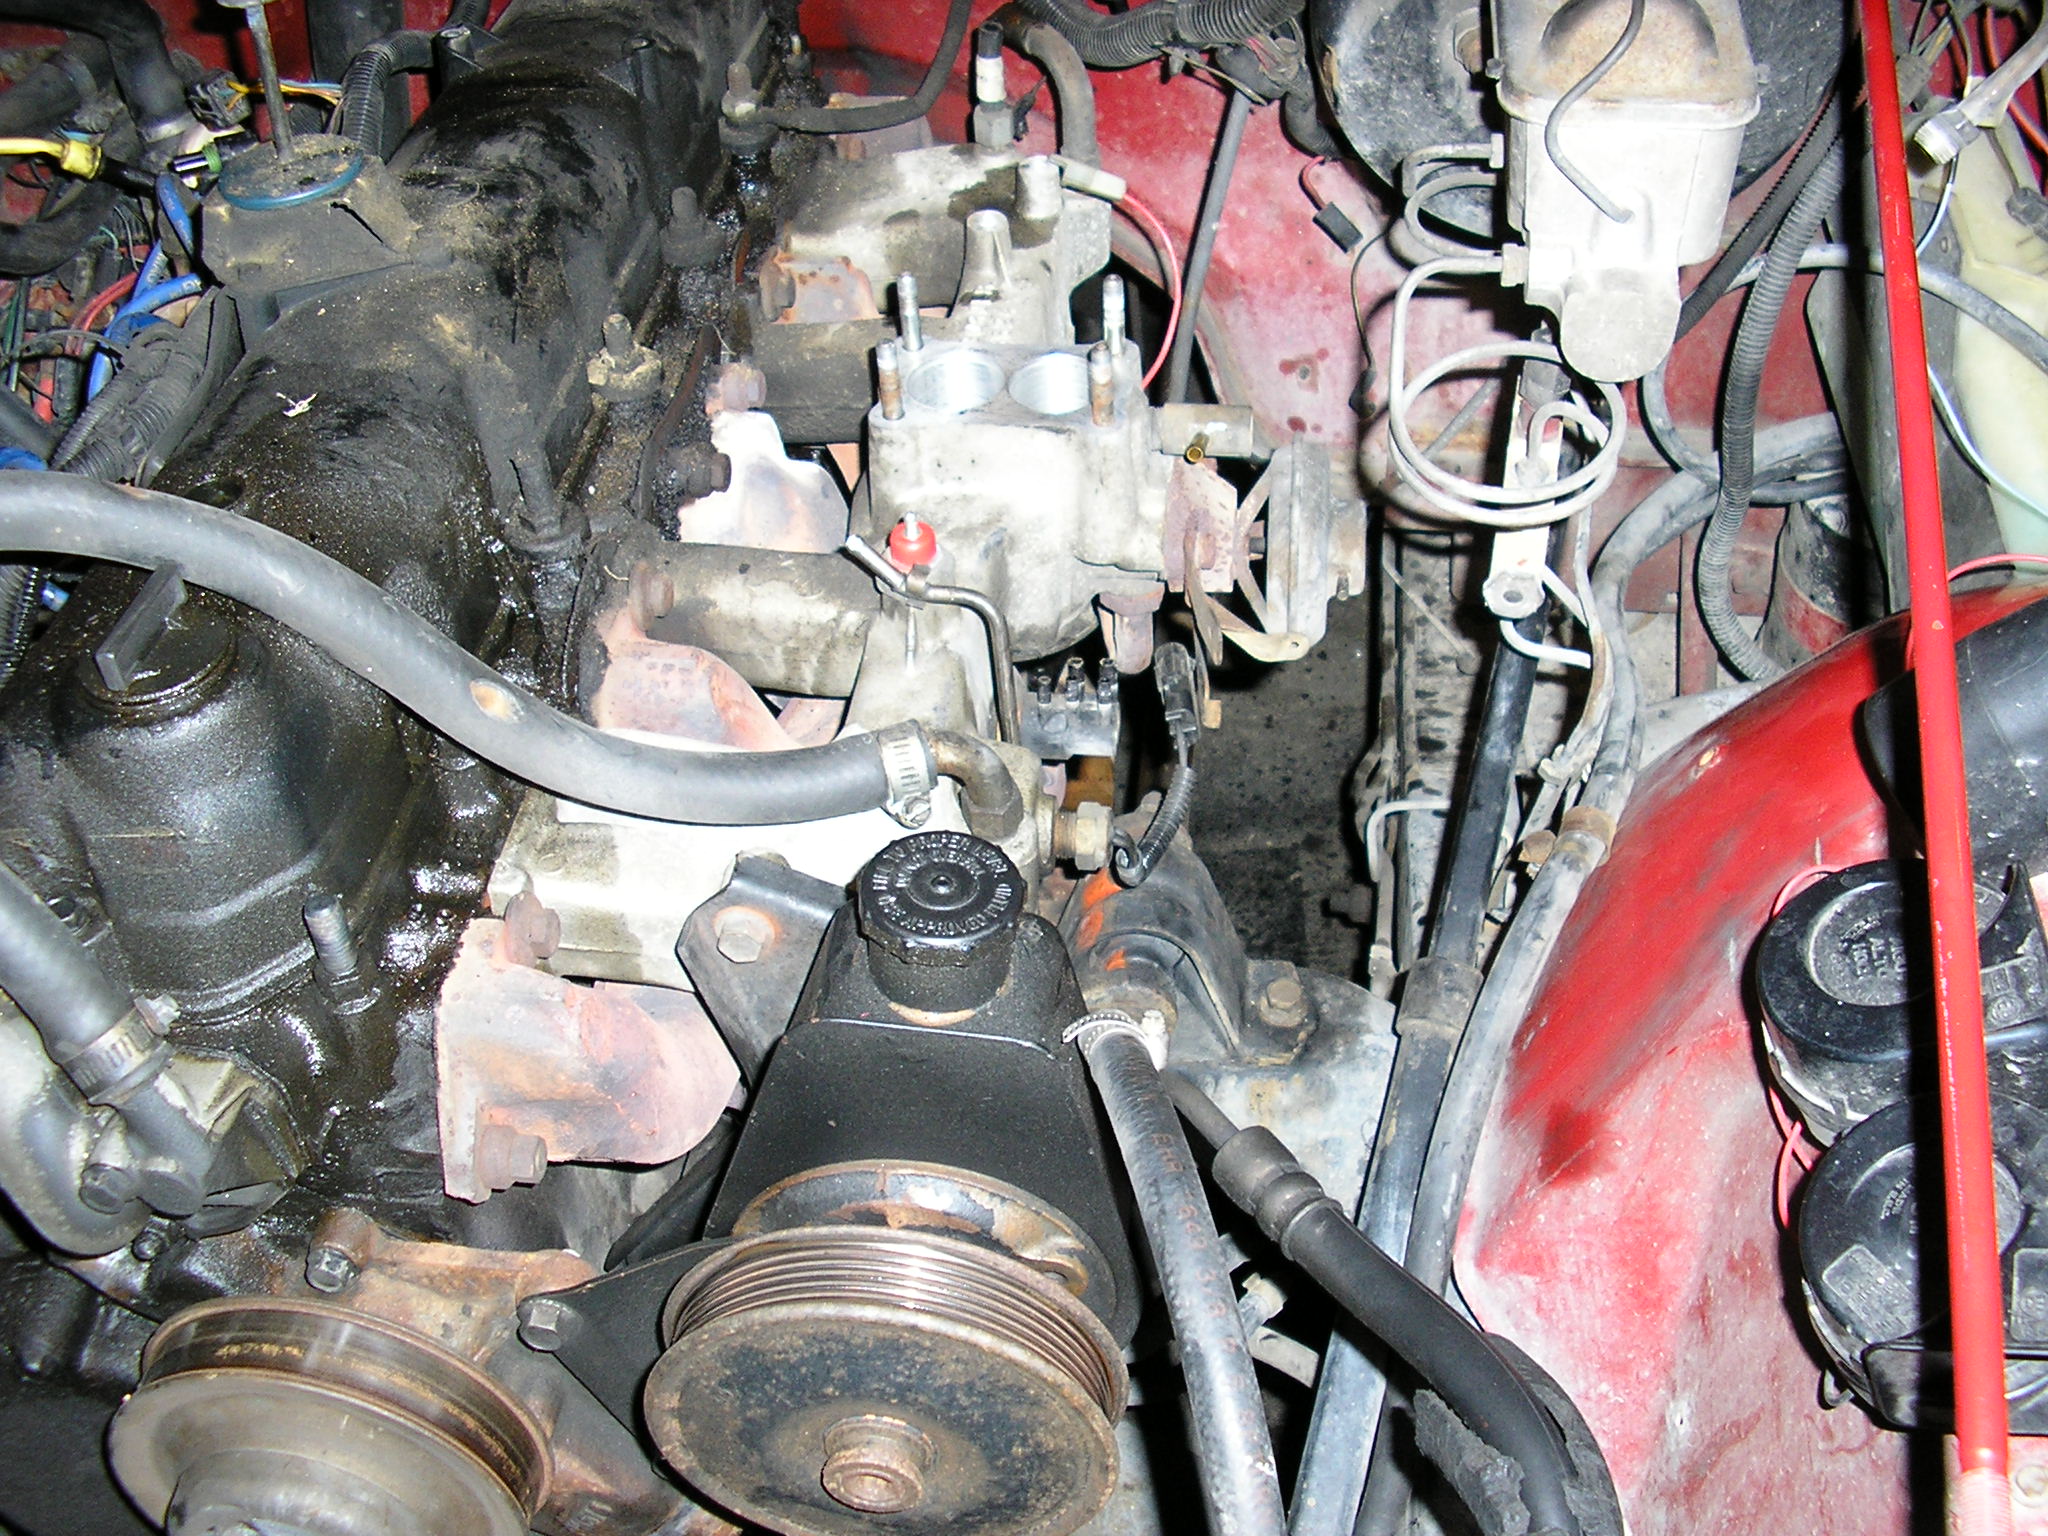
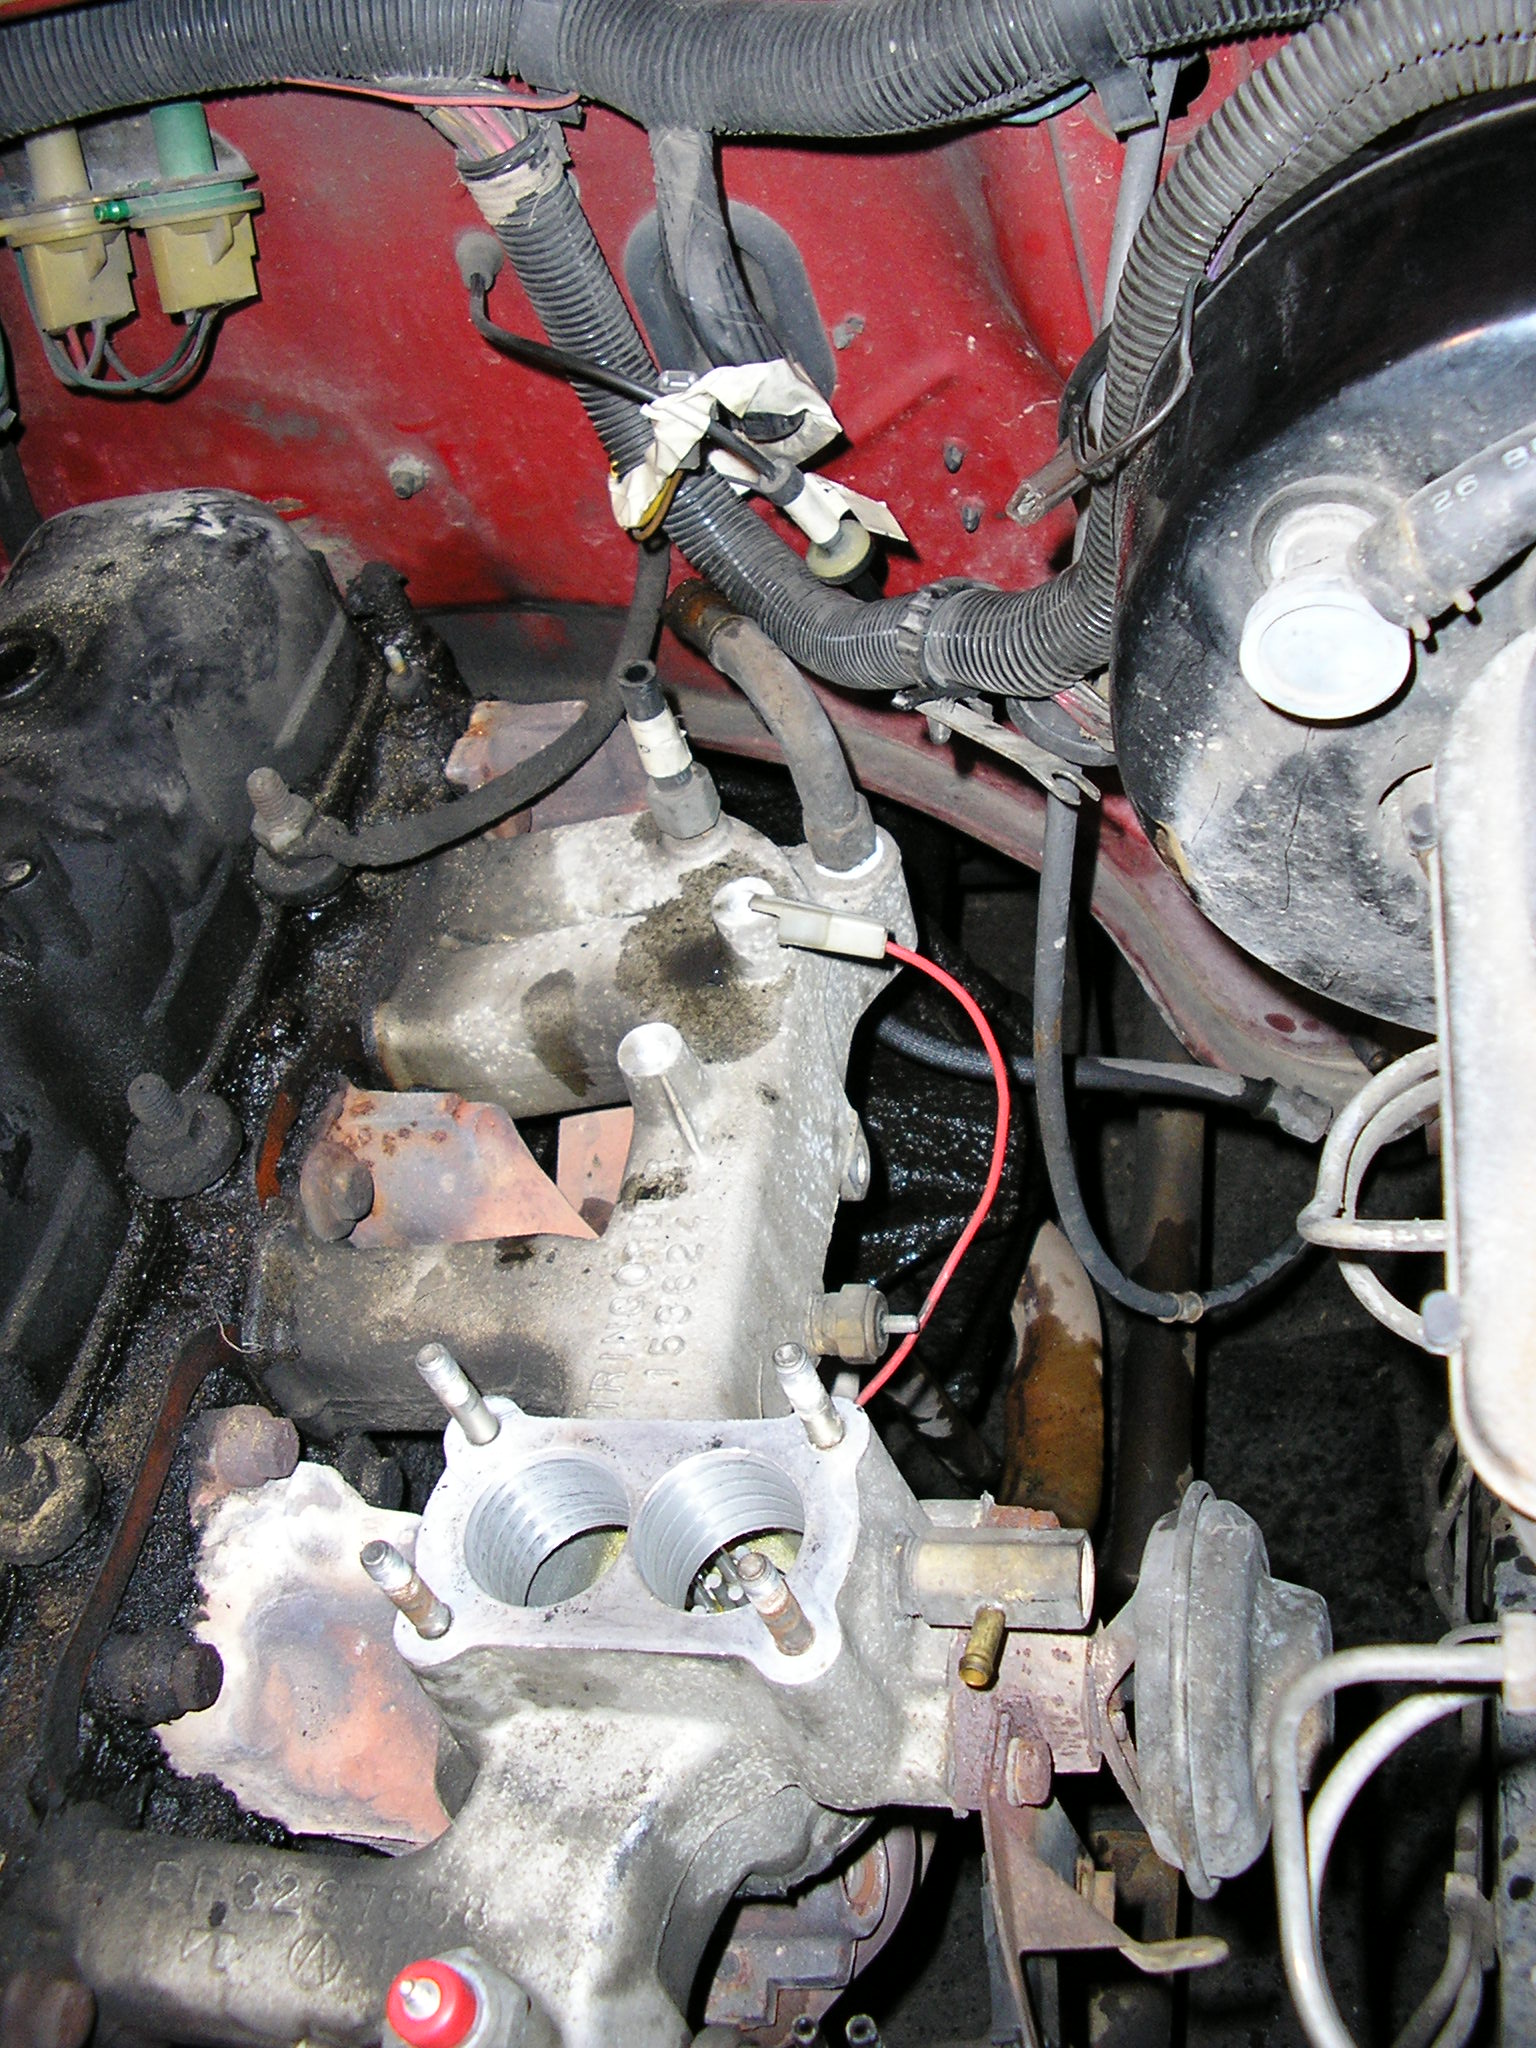
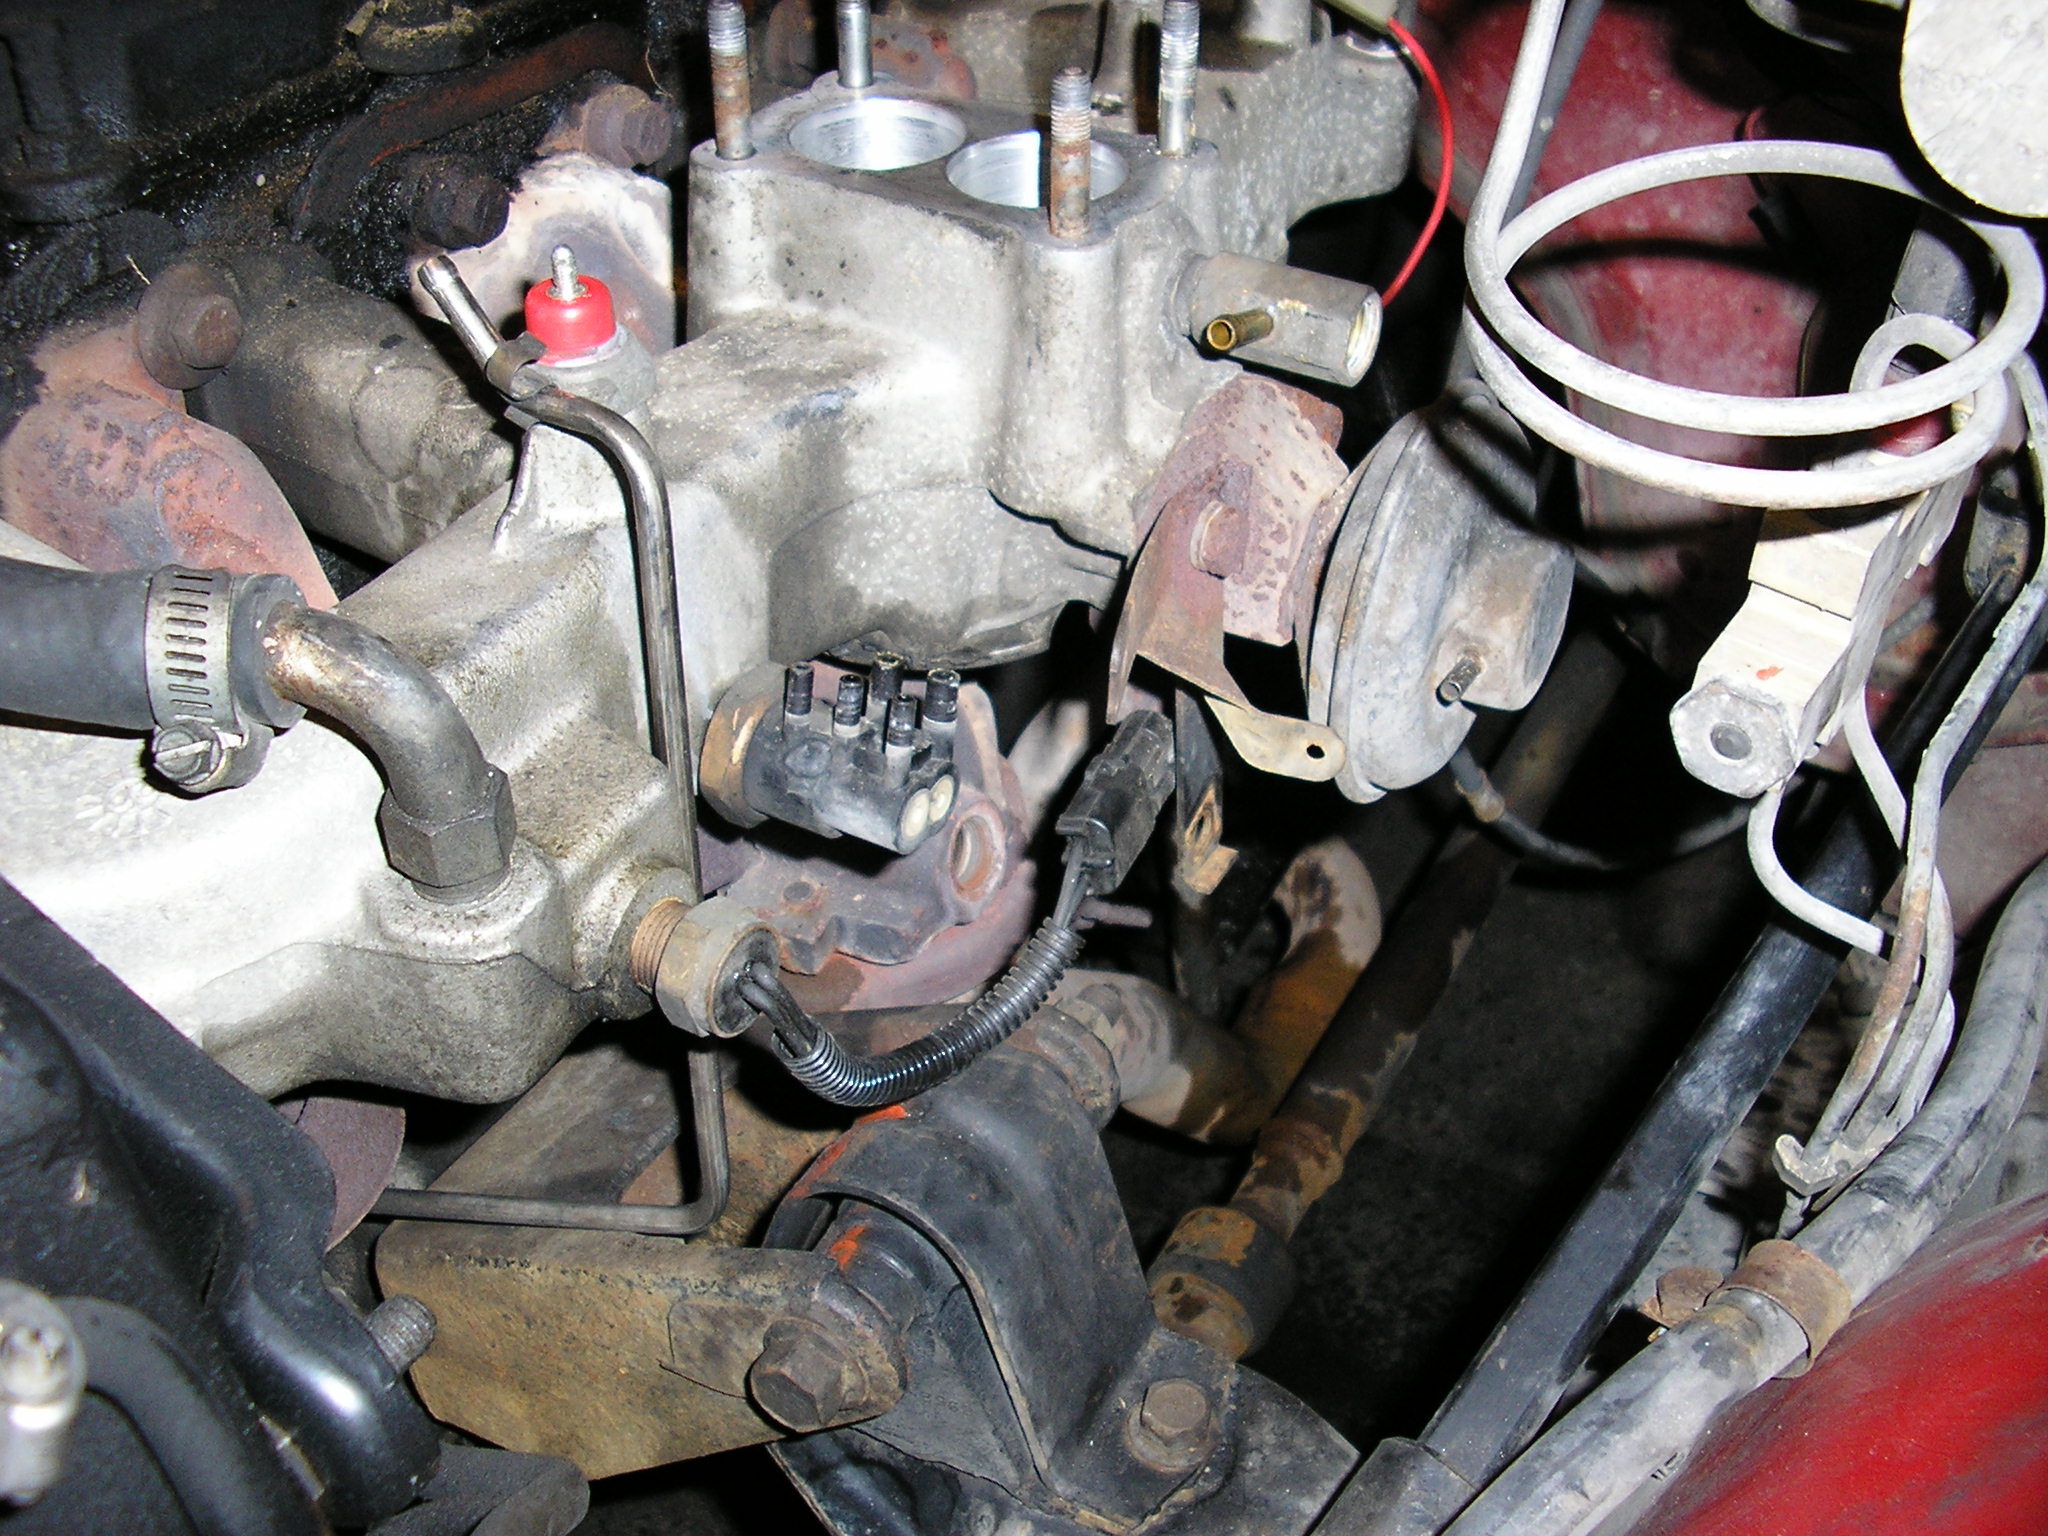
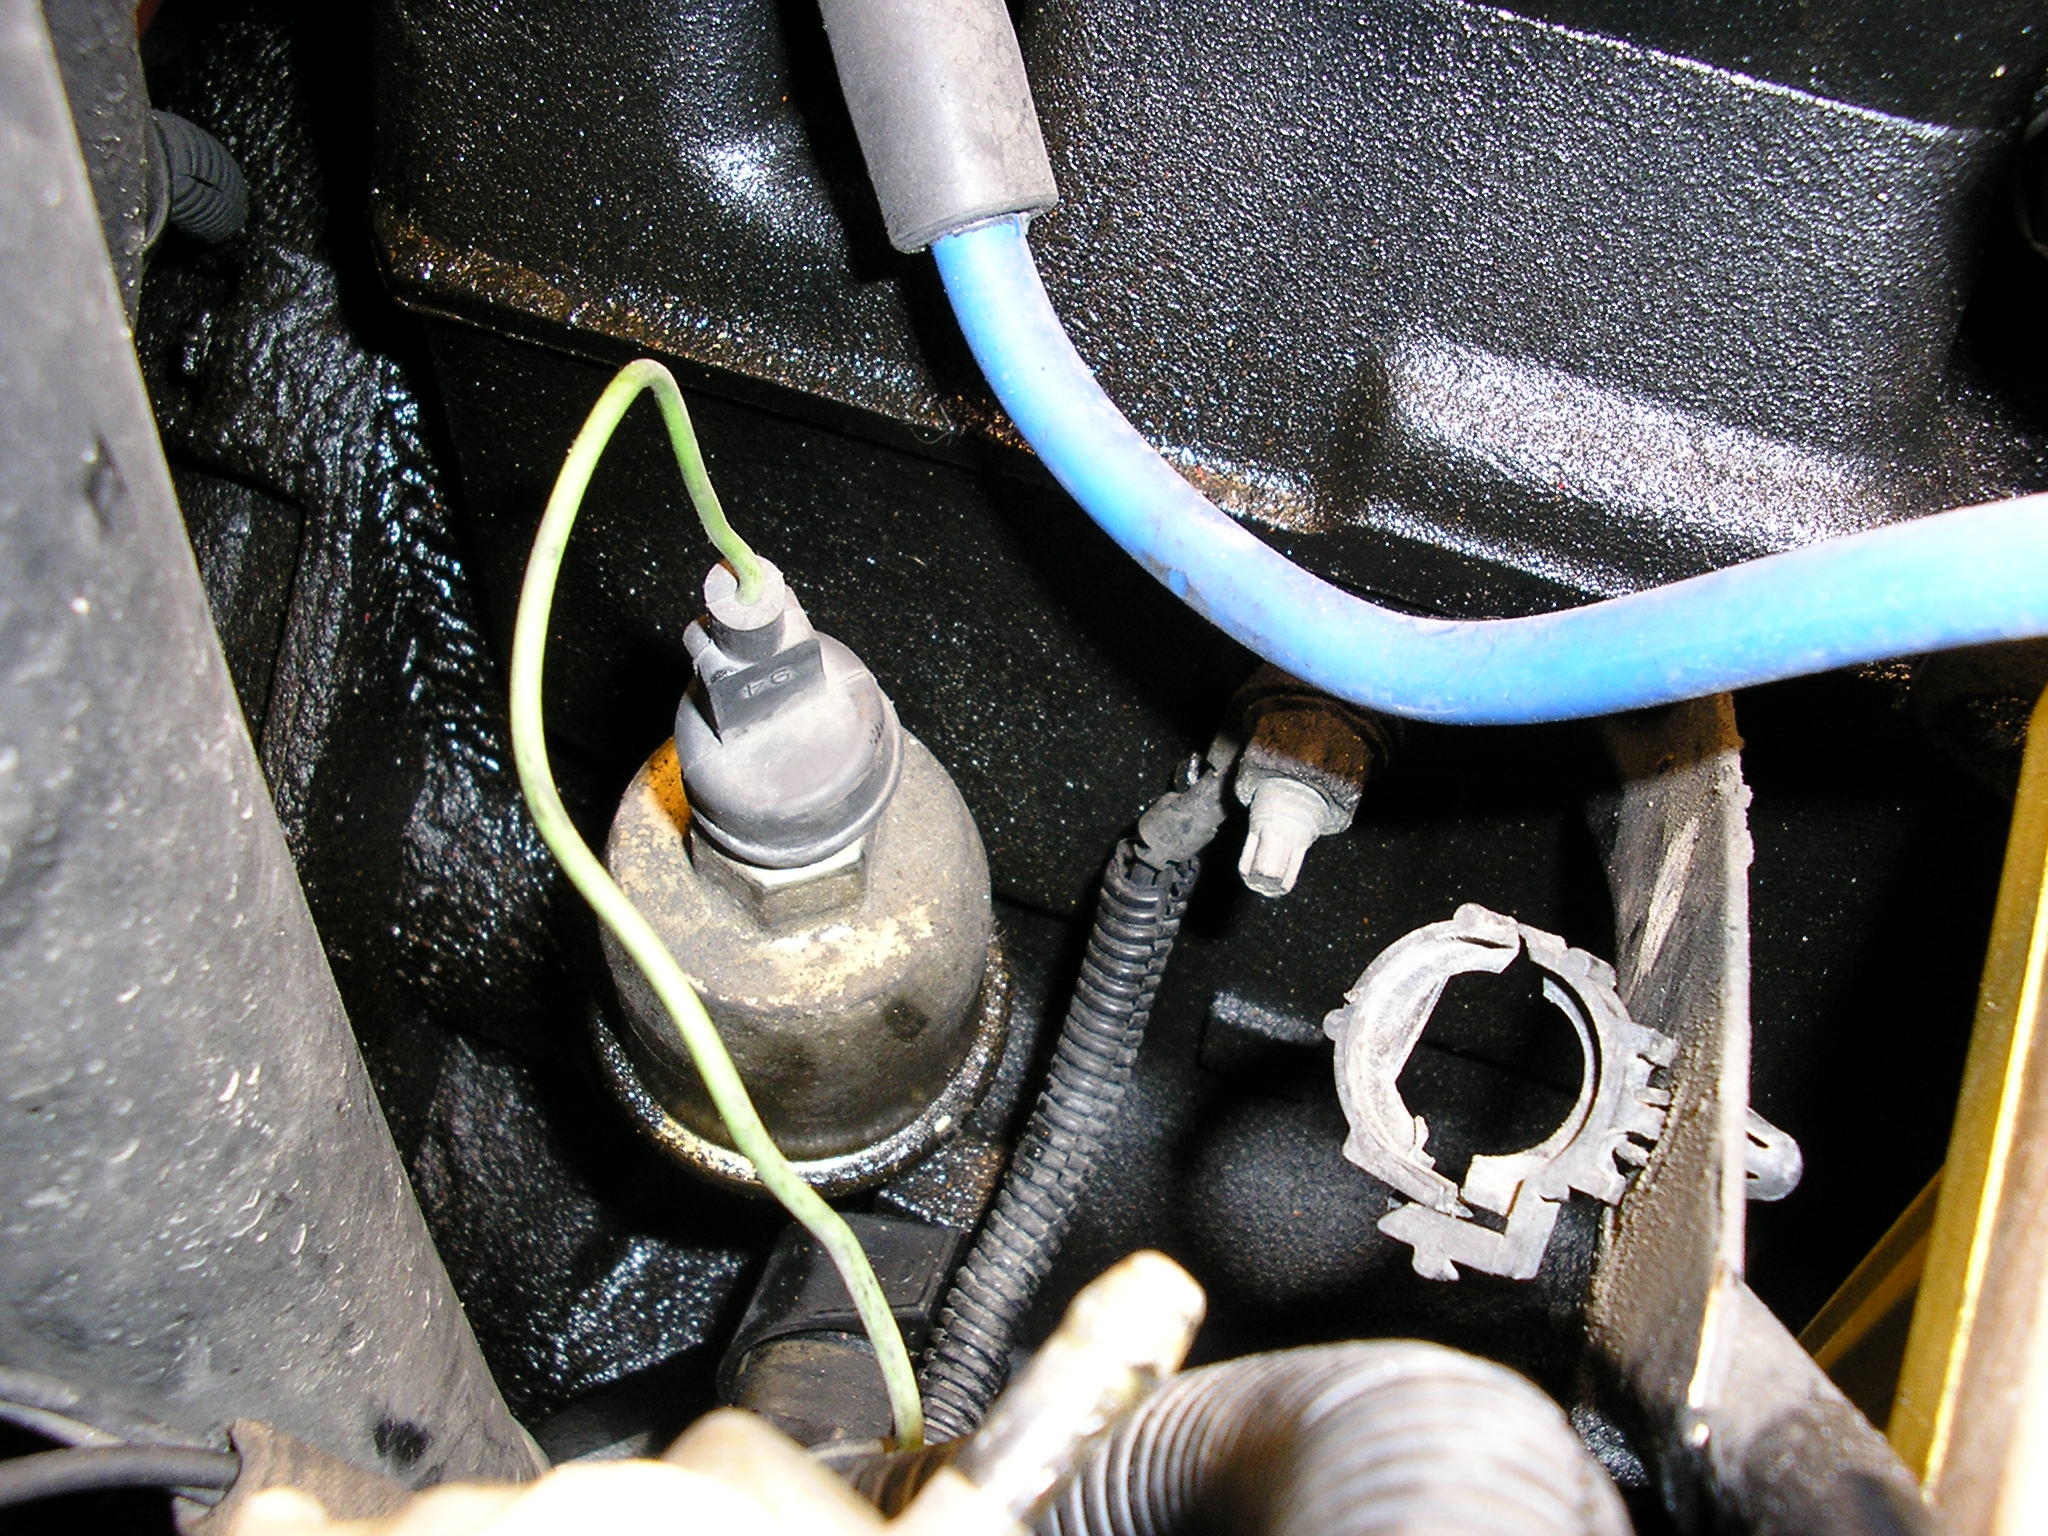
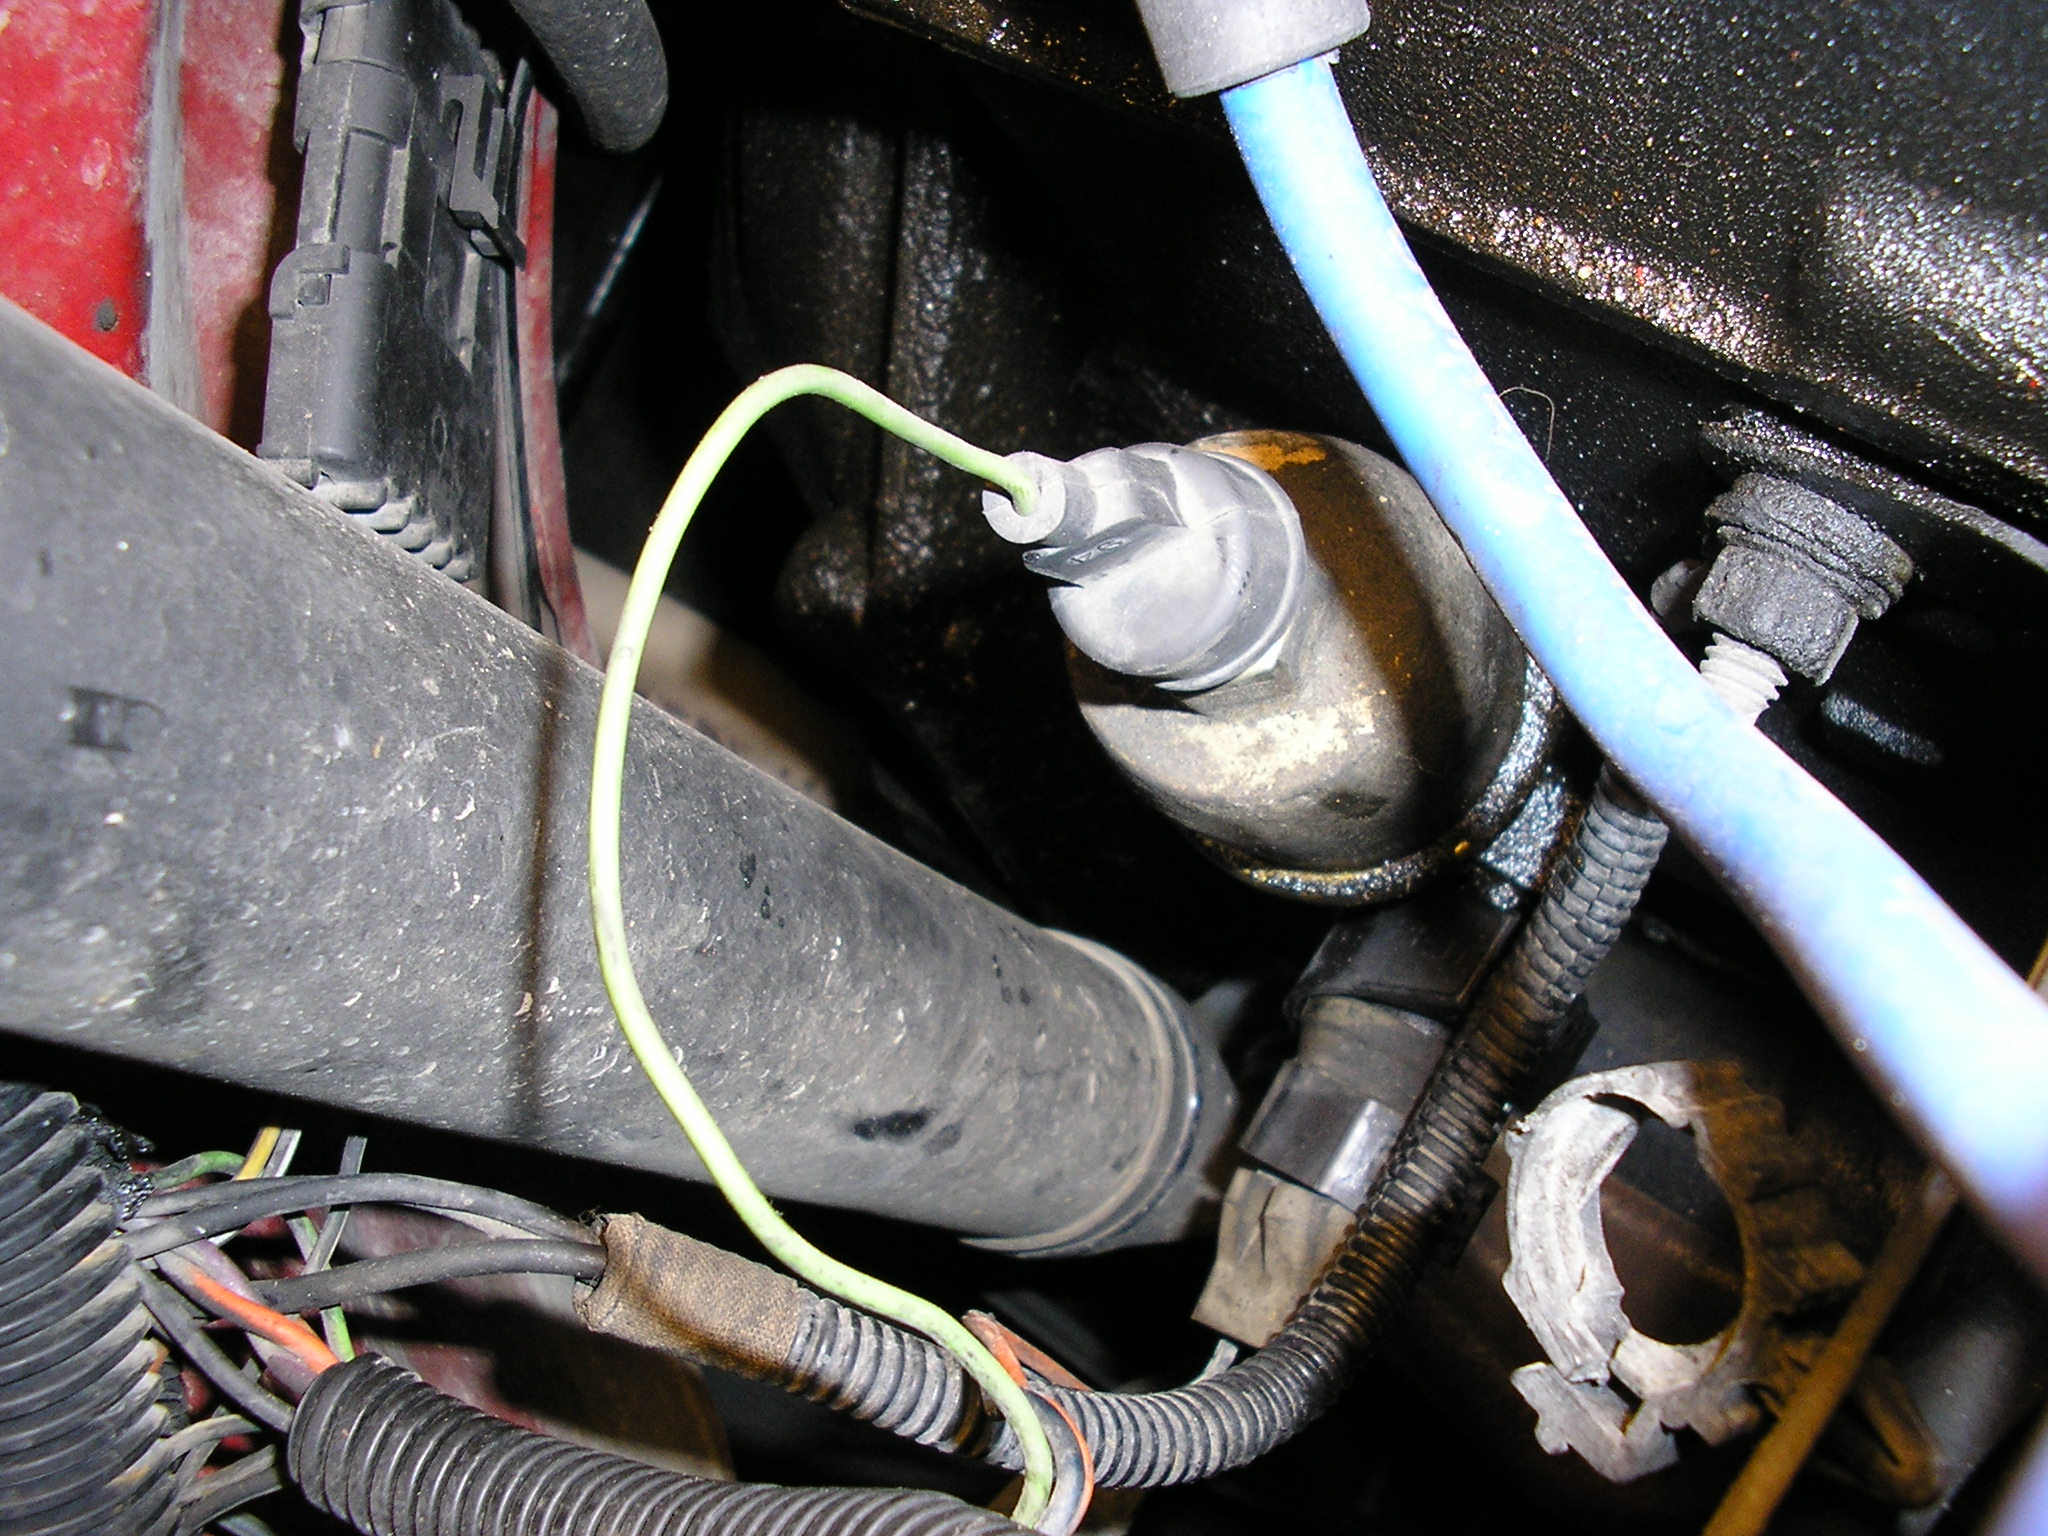
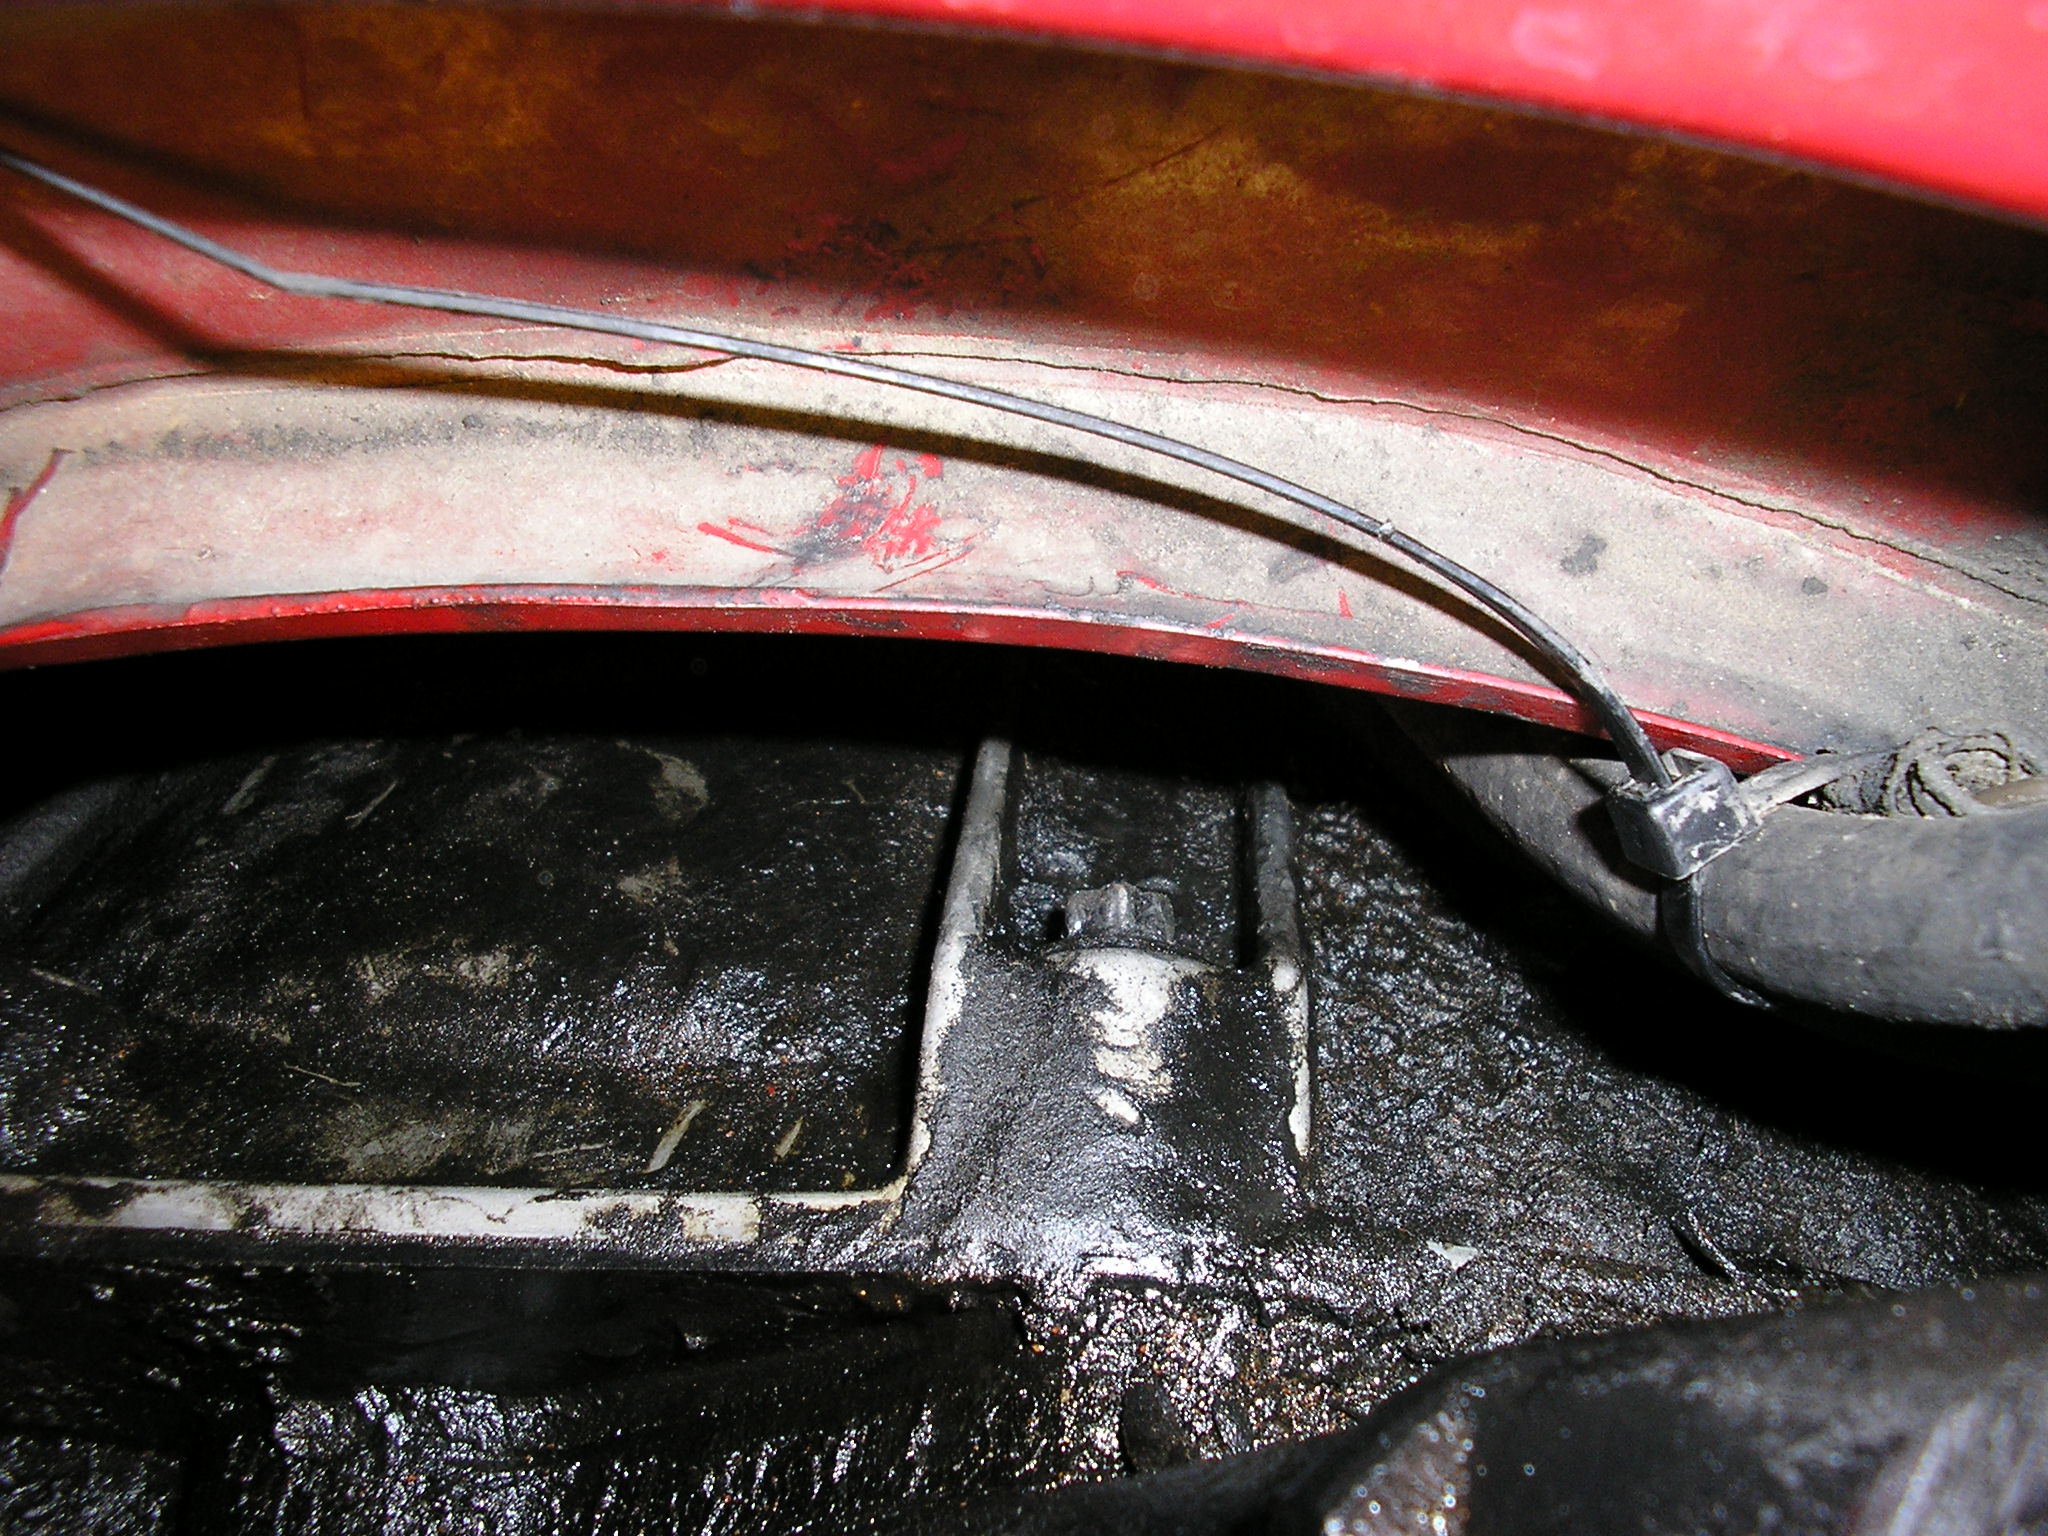
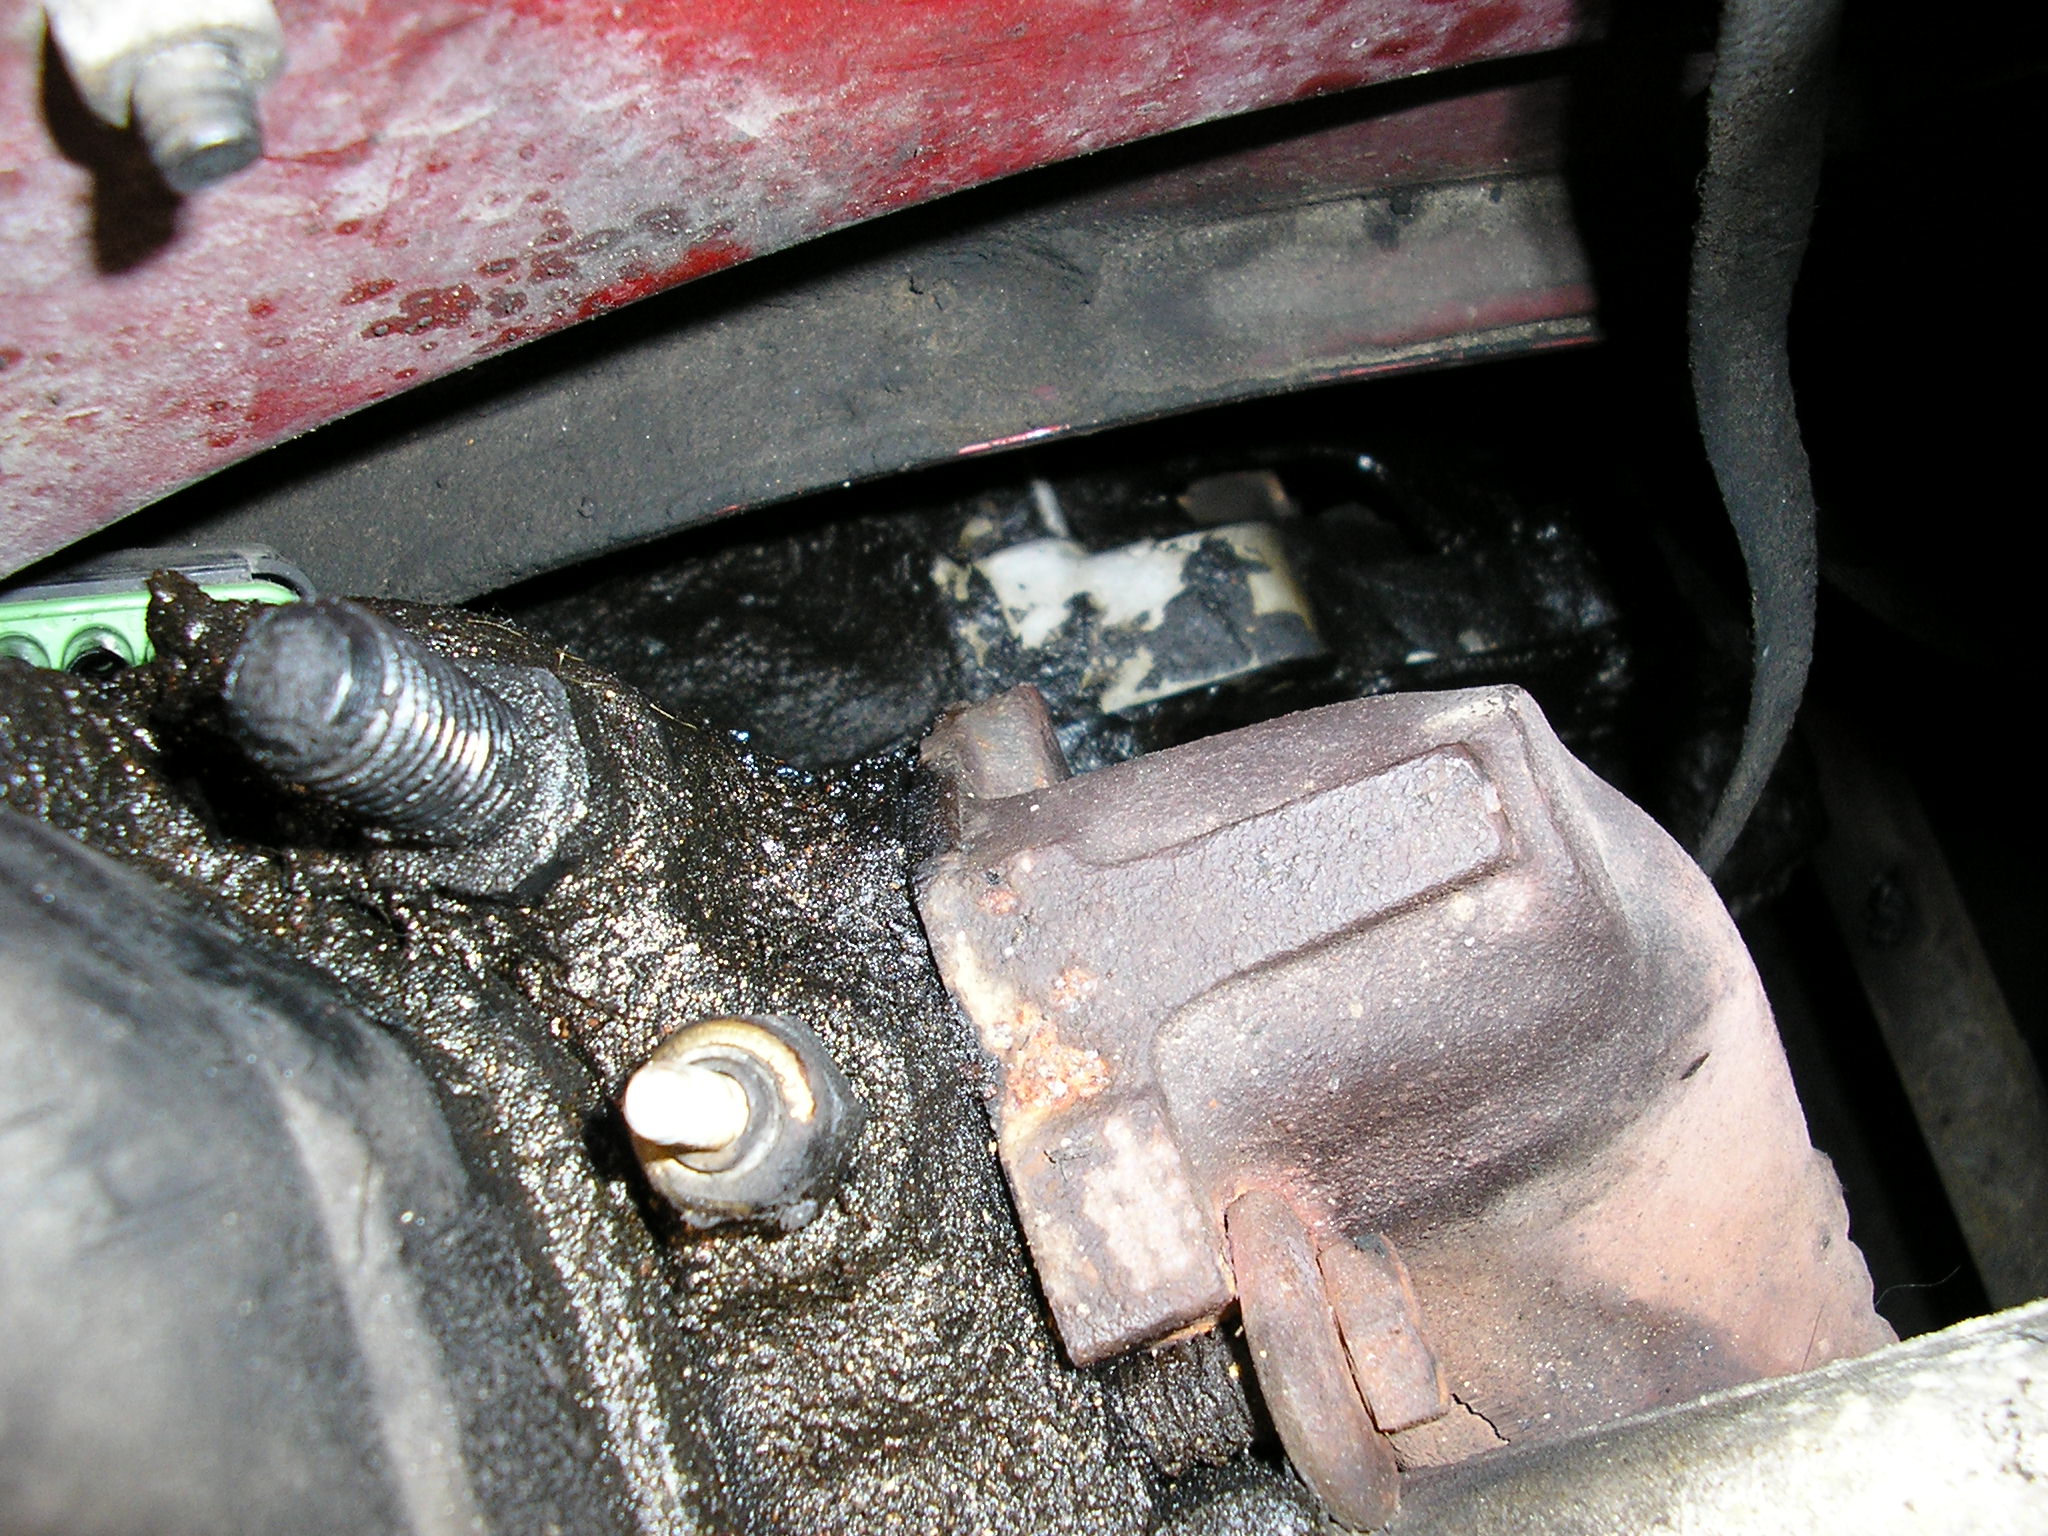
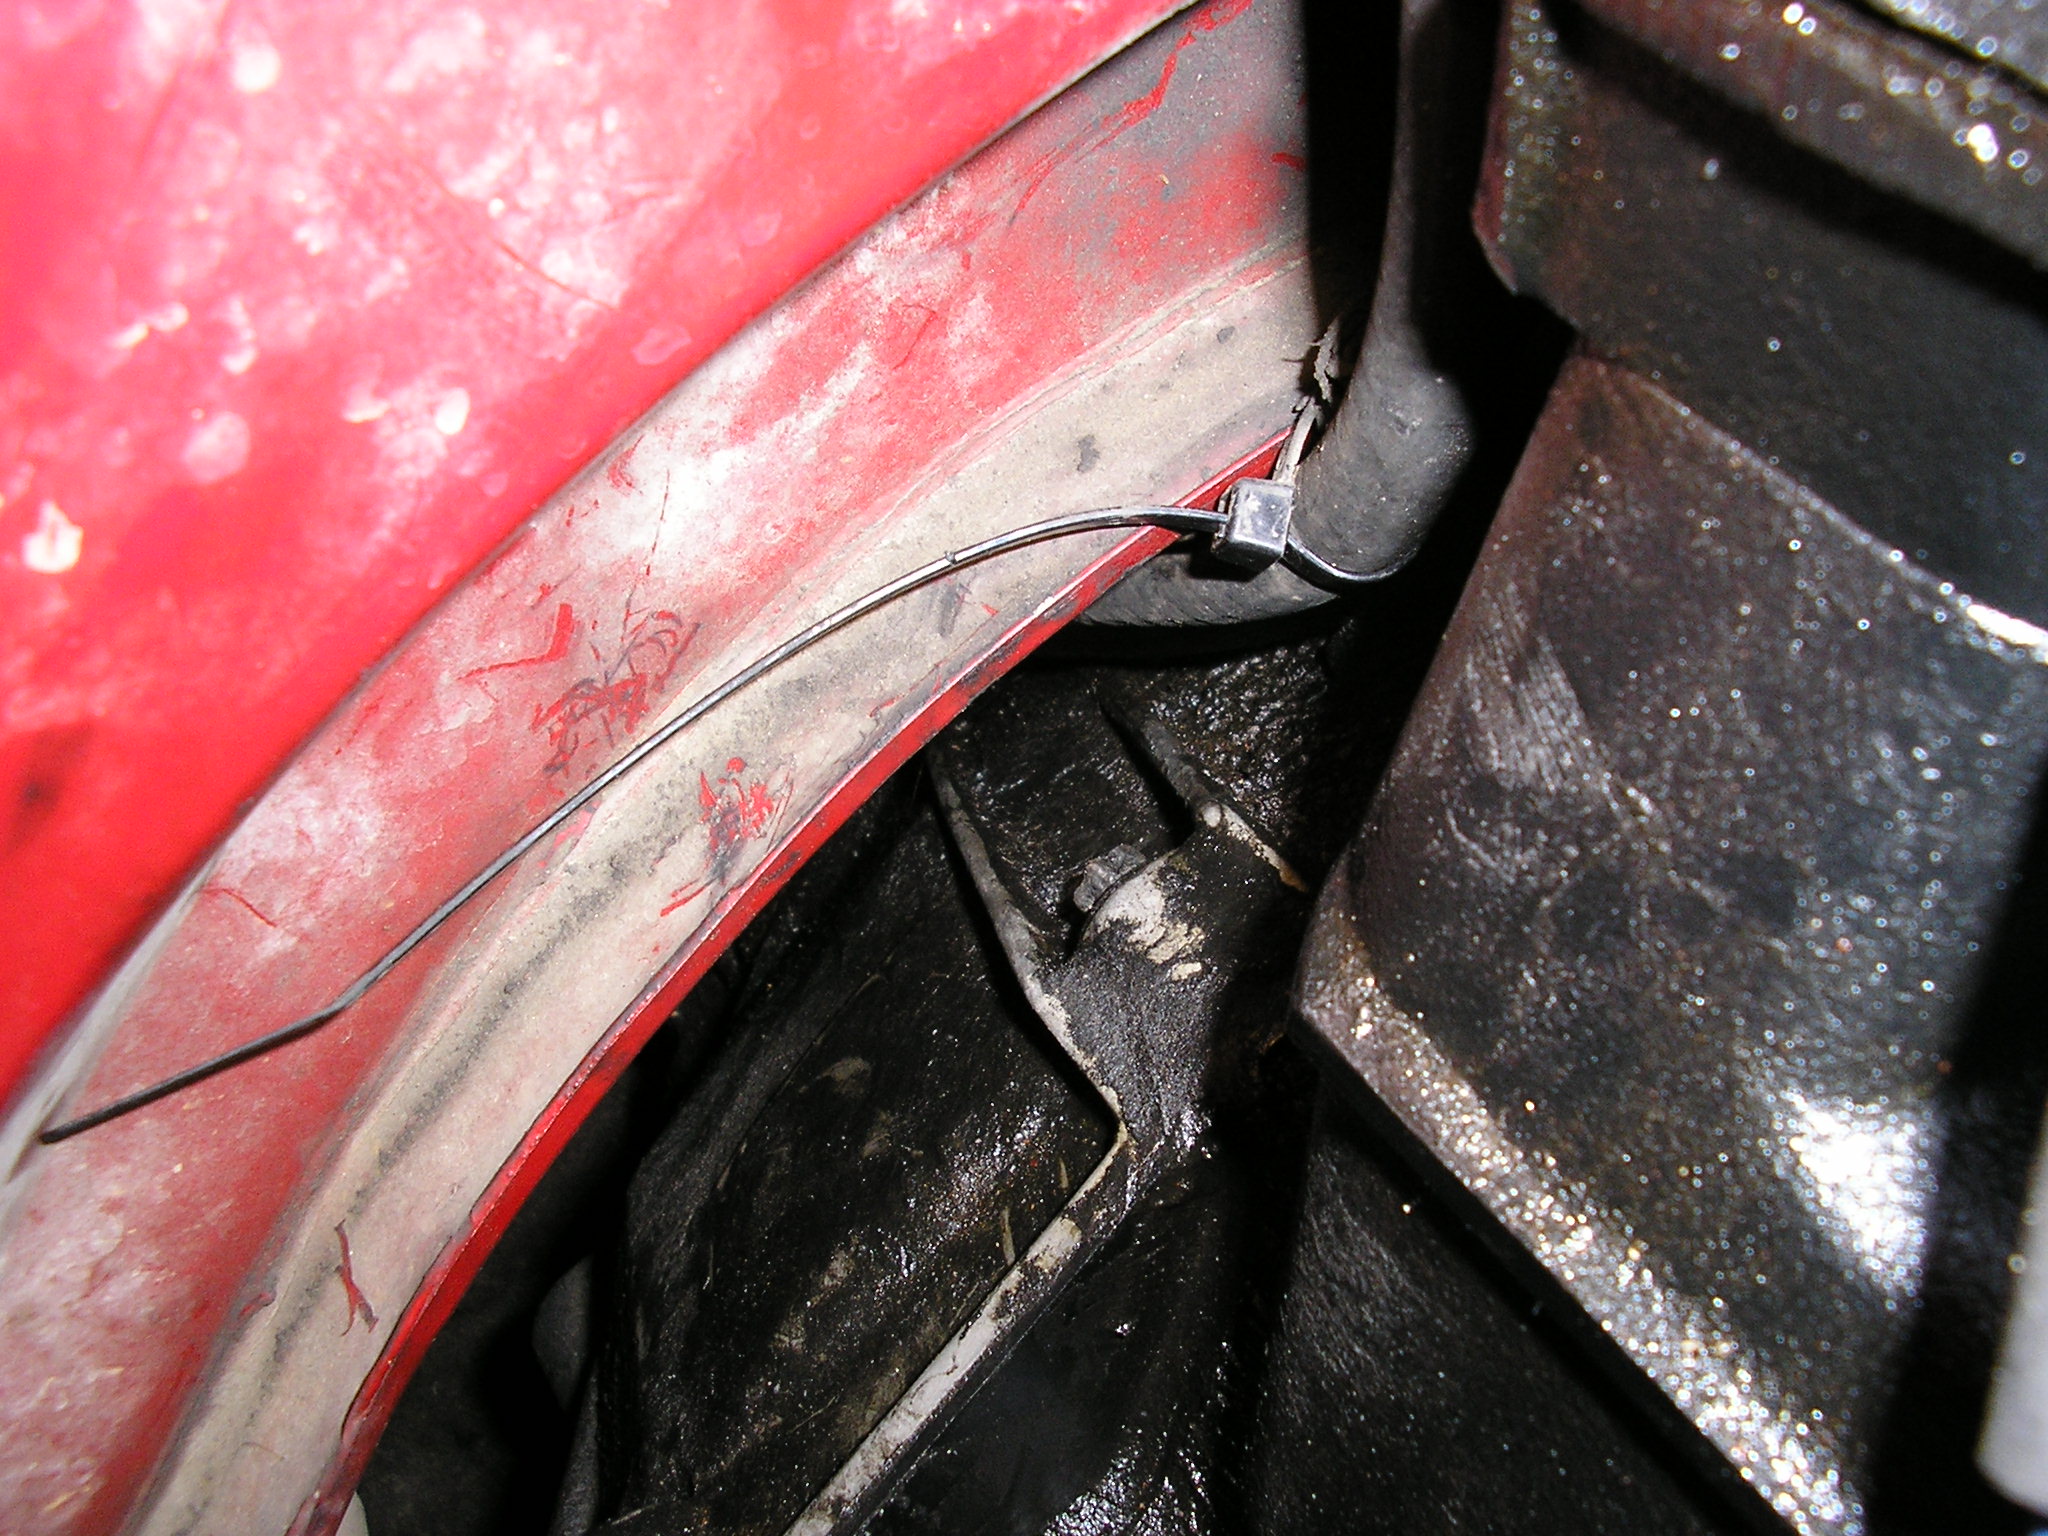
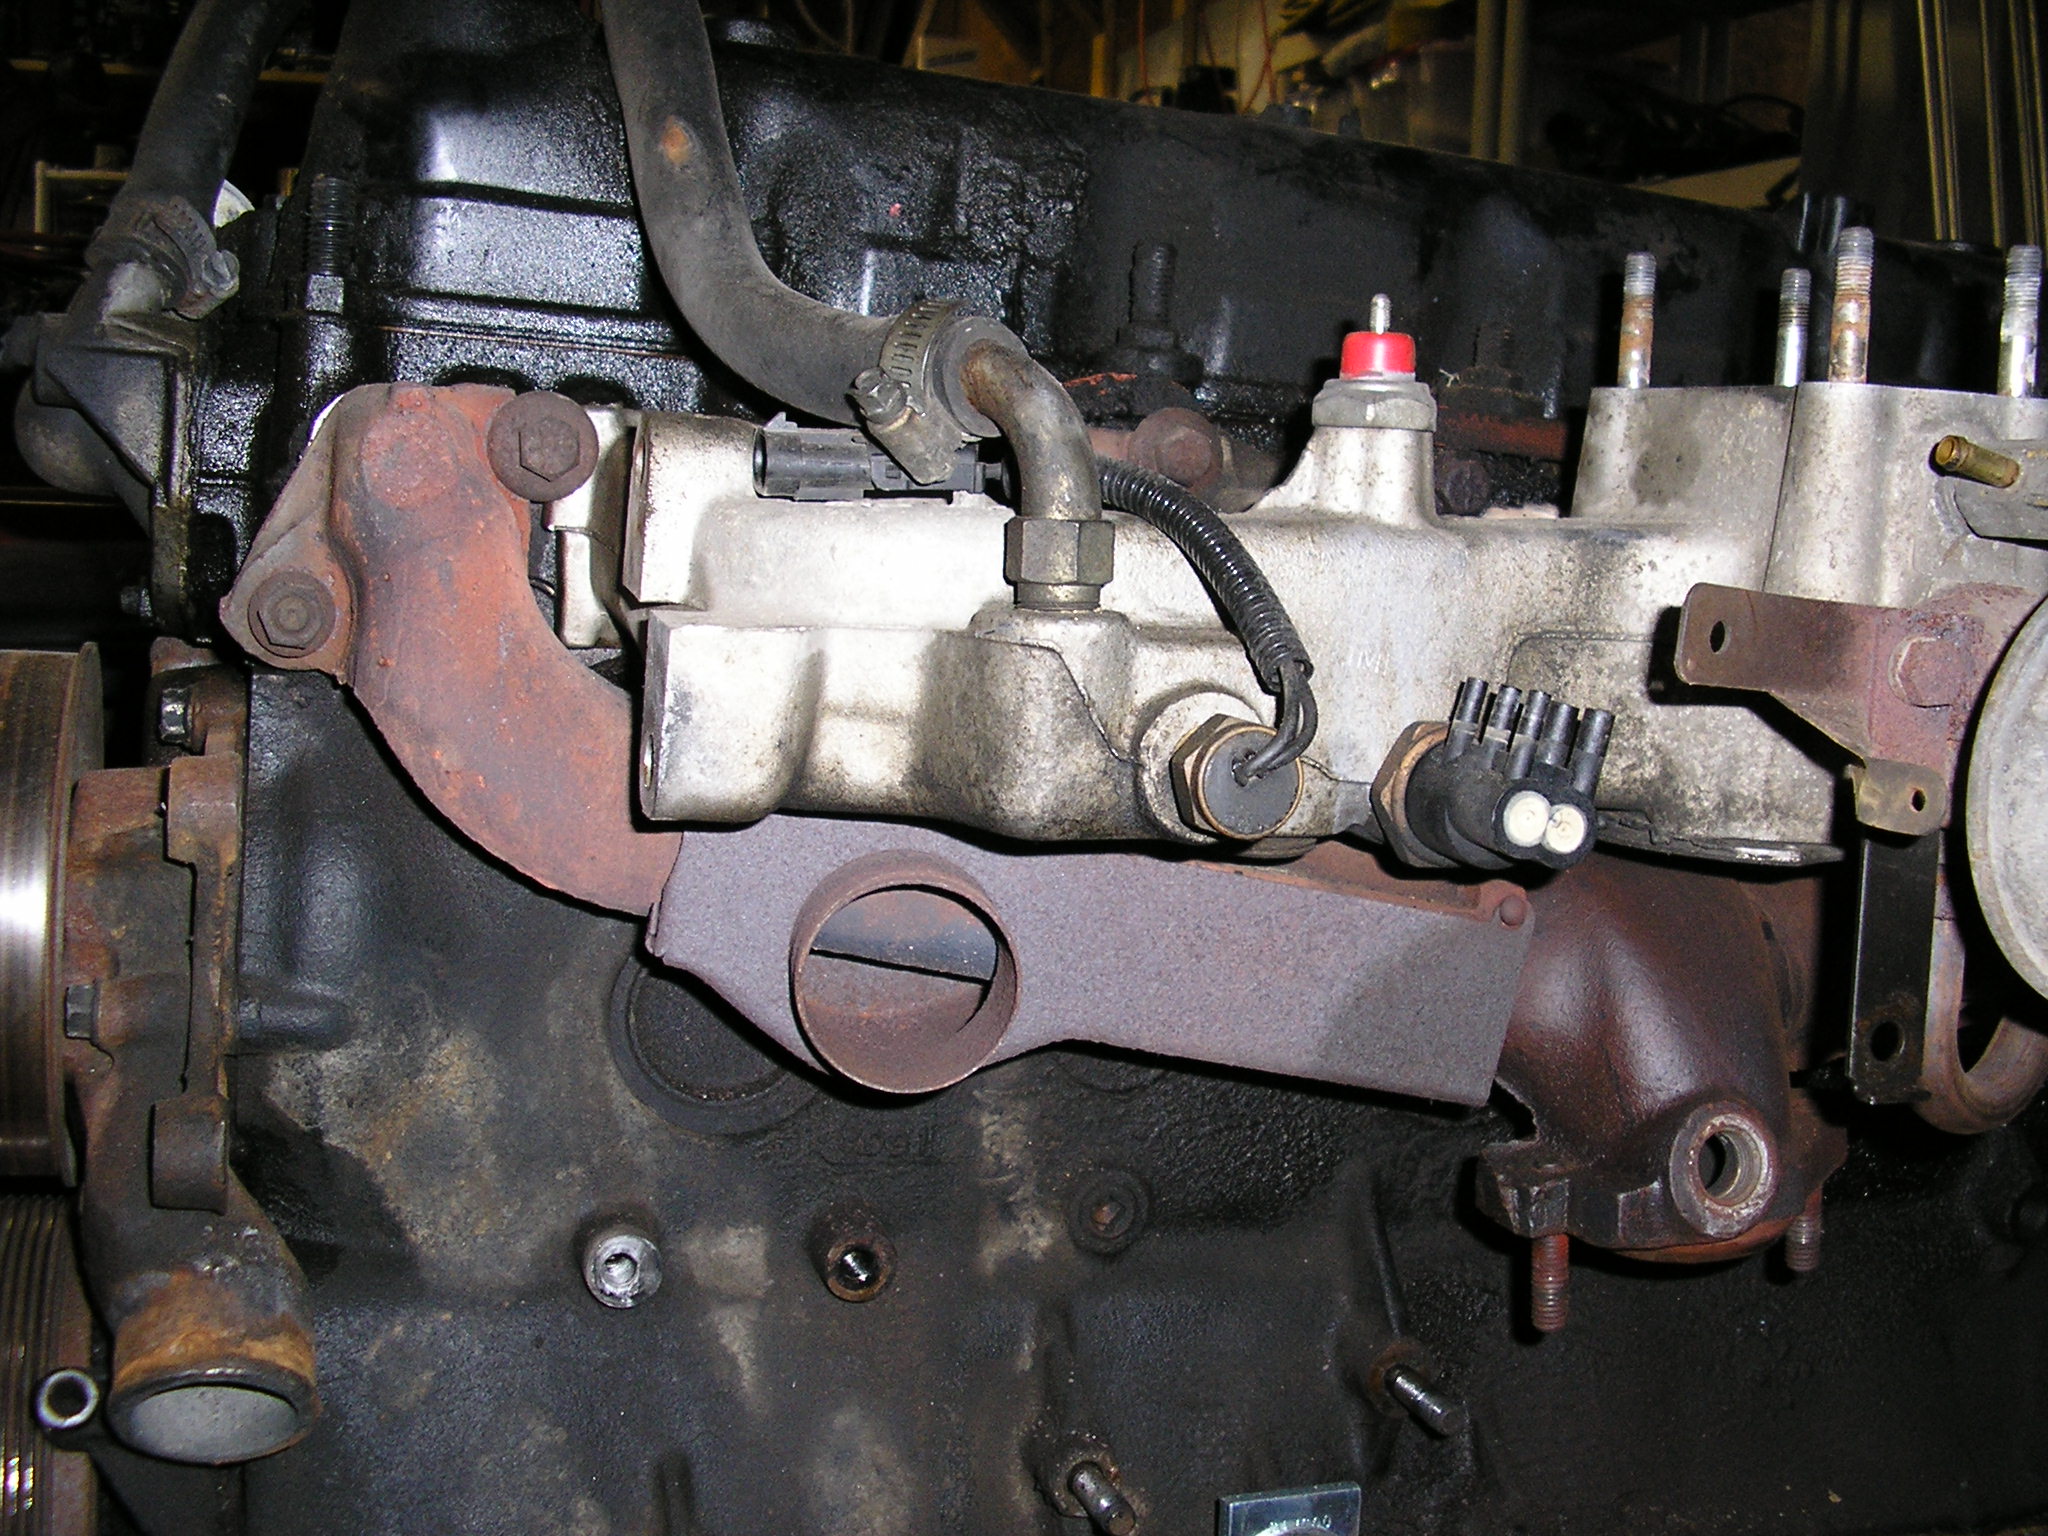
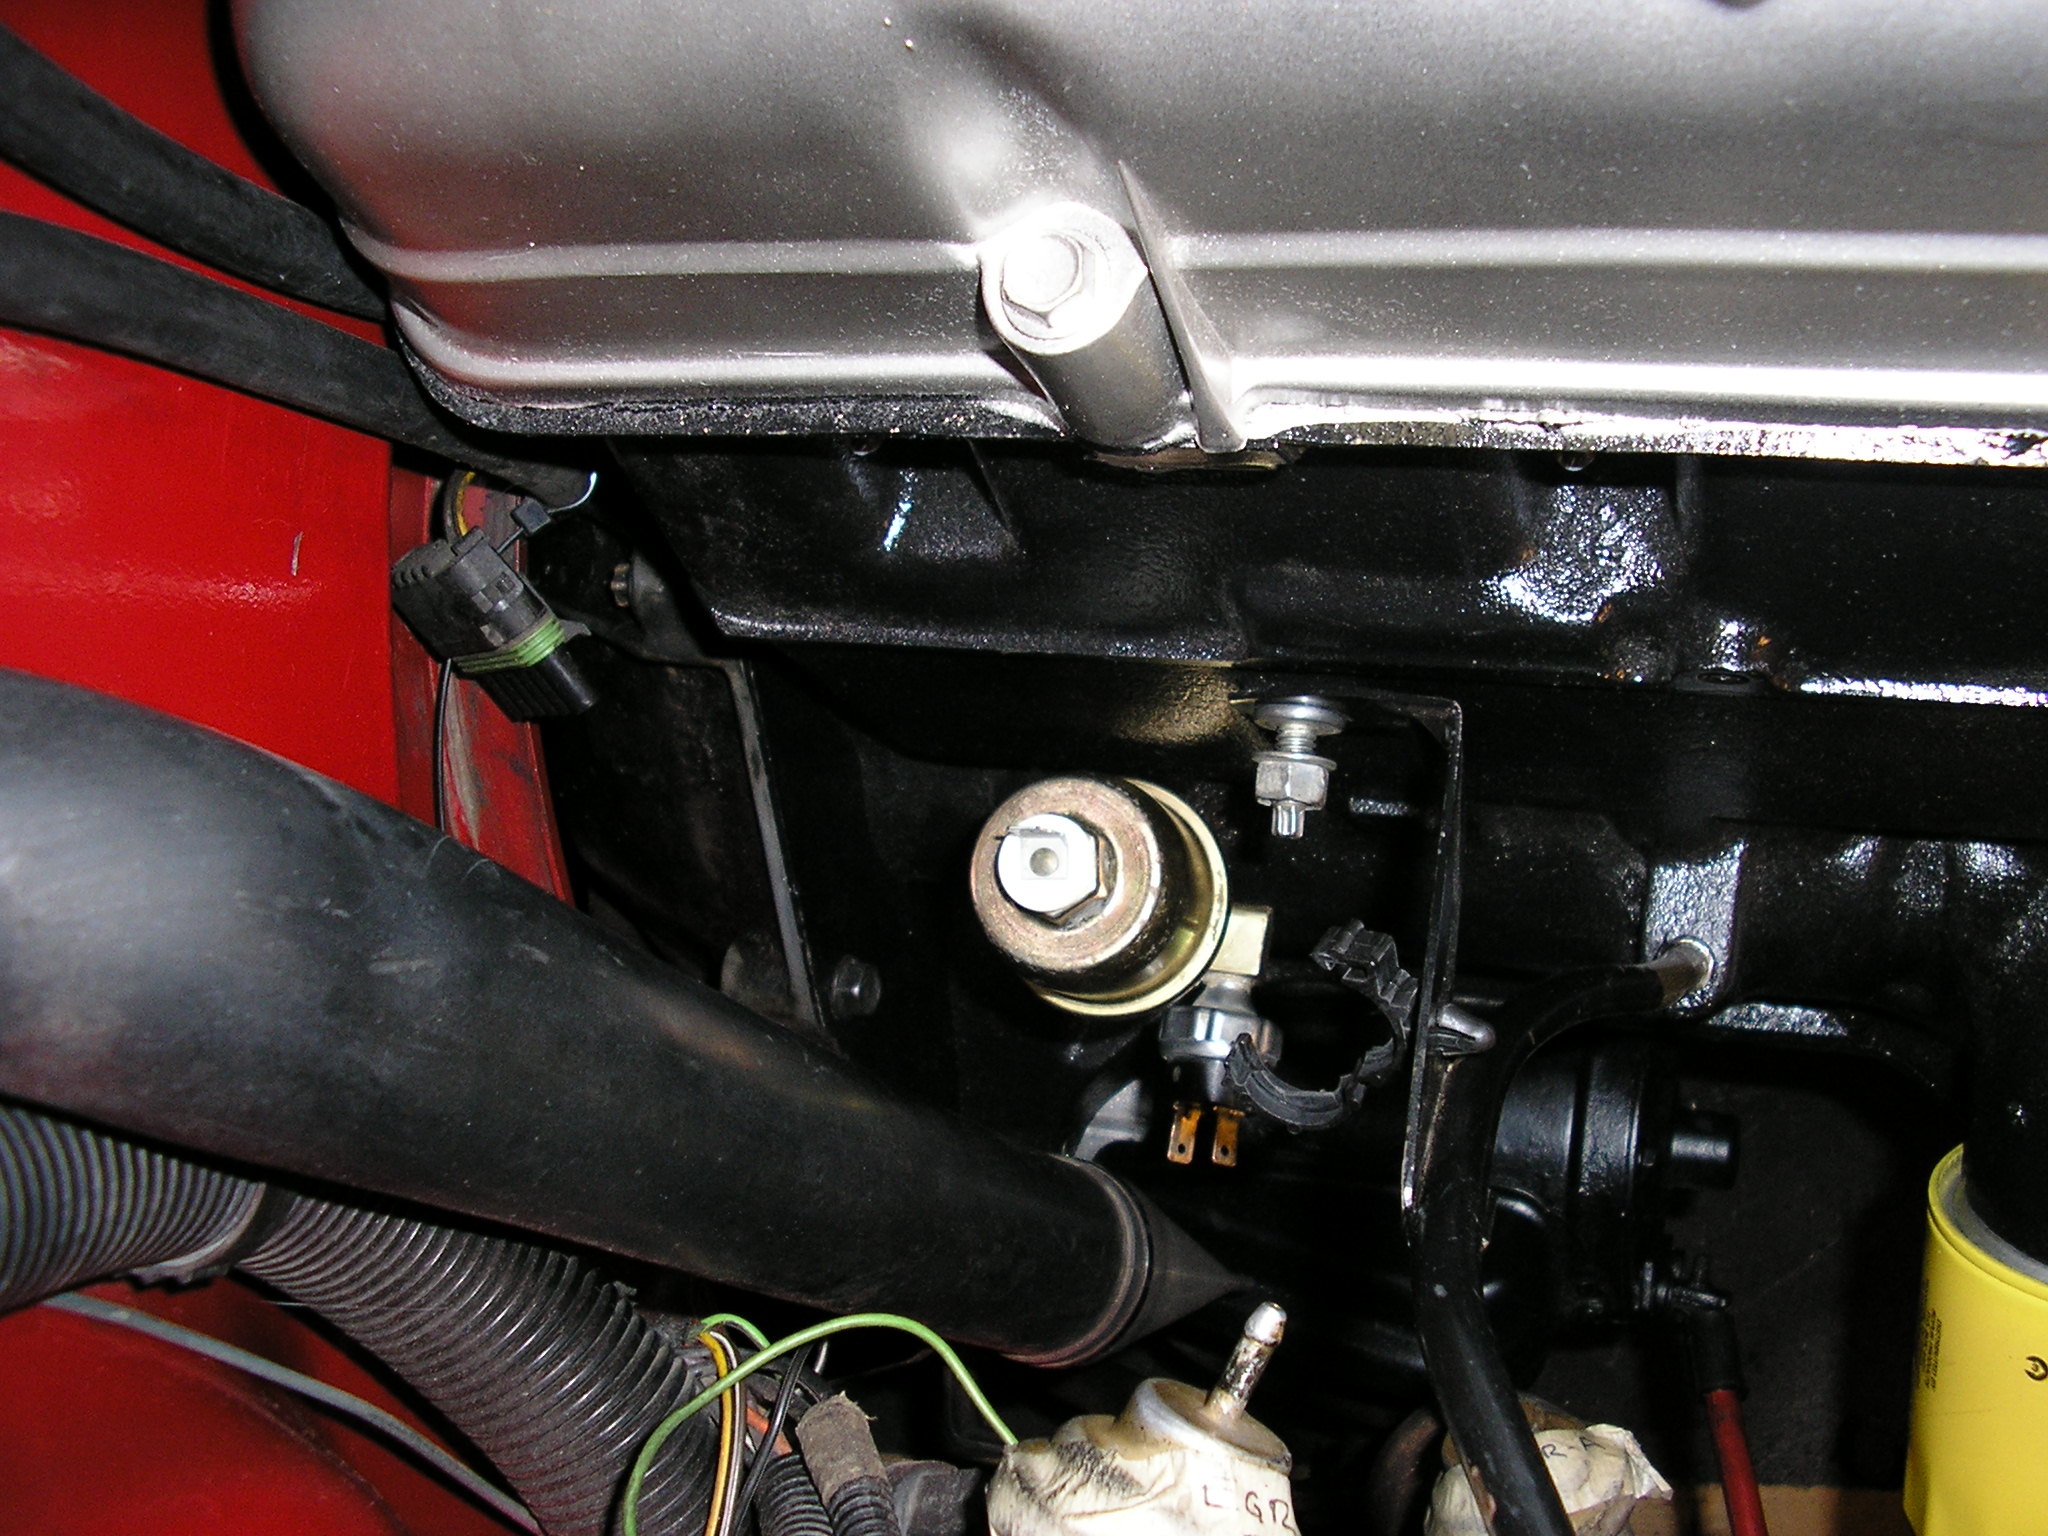
The trick on Jeeps of this era is that they use not only a mix of metric and english bolts, but also sometimes use some weird ones too.
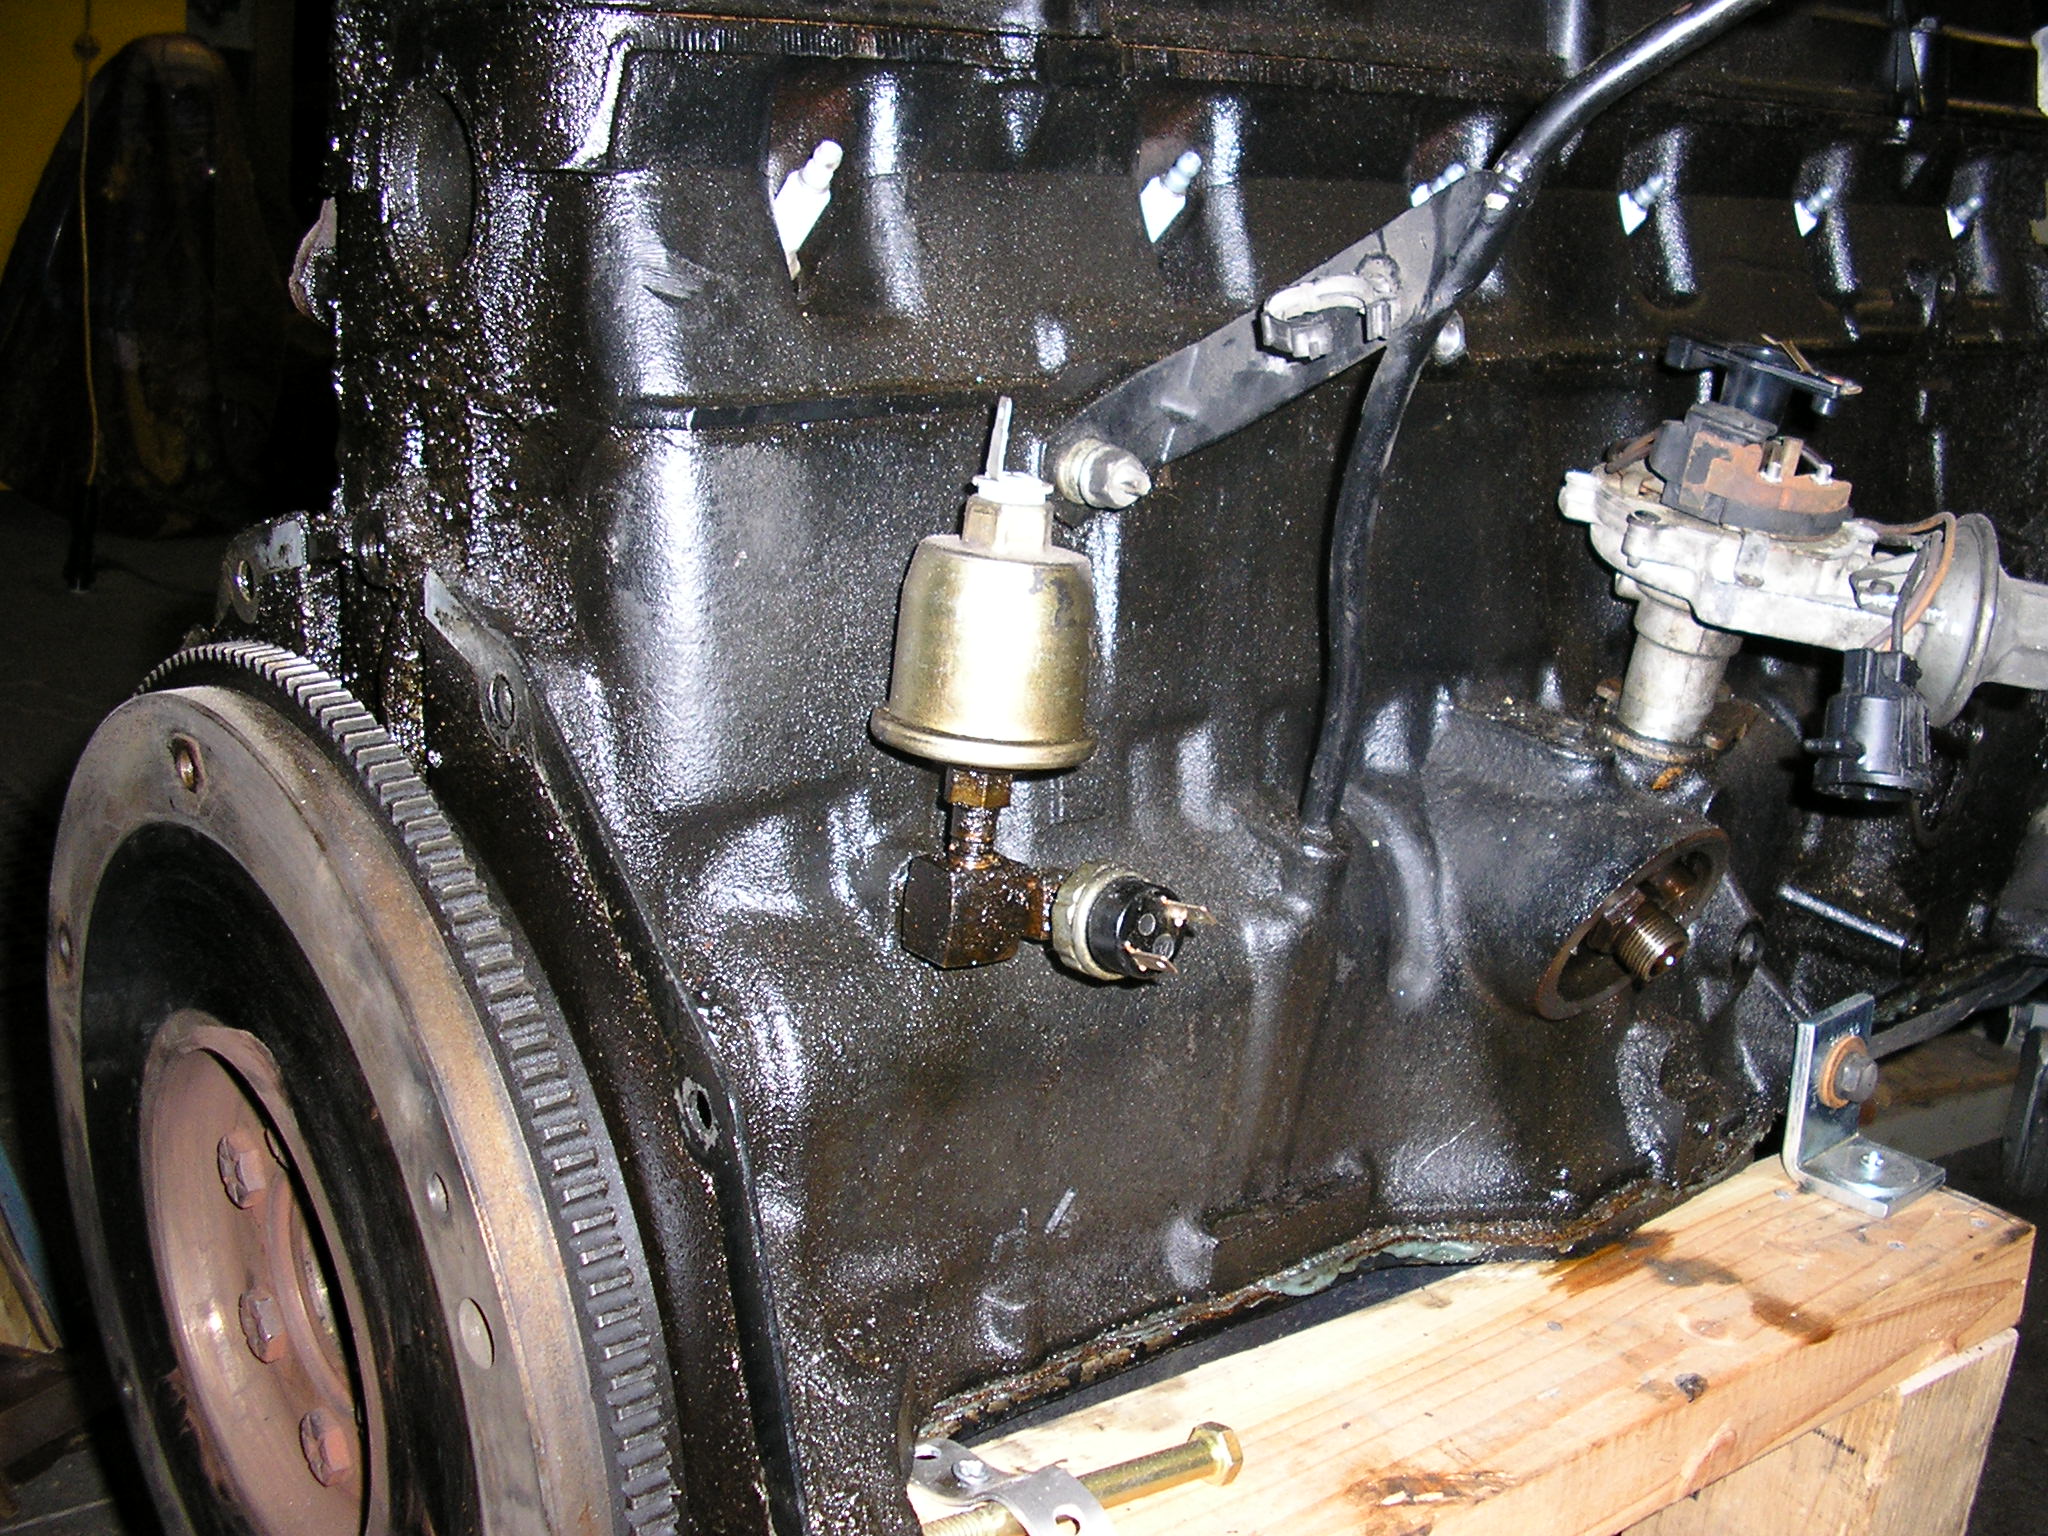
Connecting the engine to the bell housing at about 10 and 2 O'clock are these two weird little bolts that are almost impossible to get to (I didn't even find them until the motor didn't come out the first time around.) They aren't english or metric bolts, and while a 12-point 12mm socket sorta fits on them, as does a 1/2 inch, but they don't come out and you can strip the heads really easily.
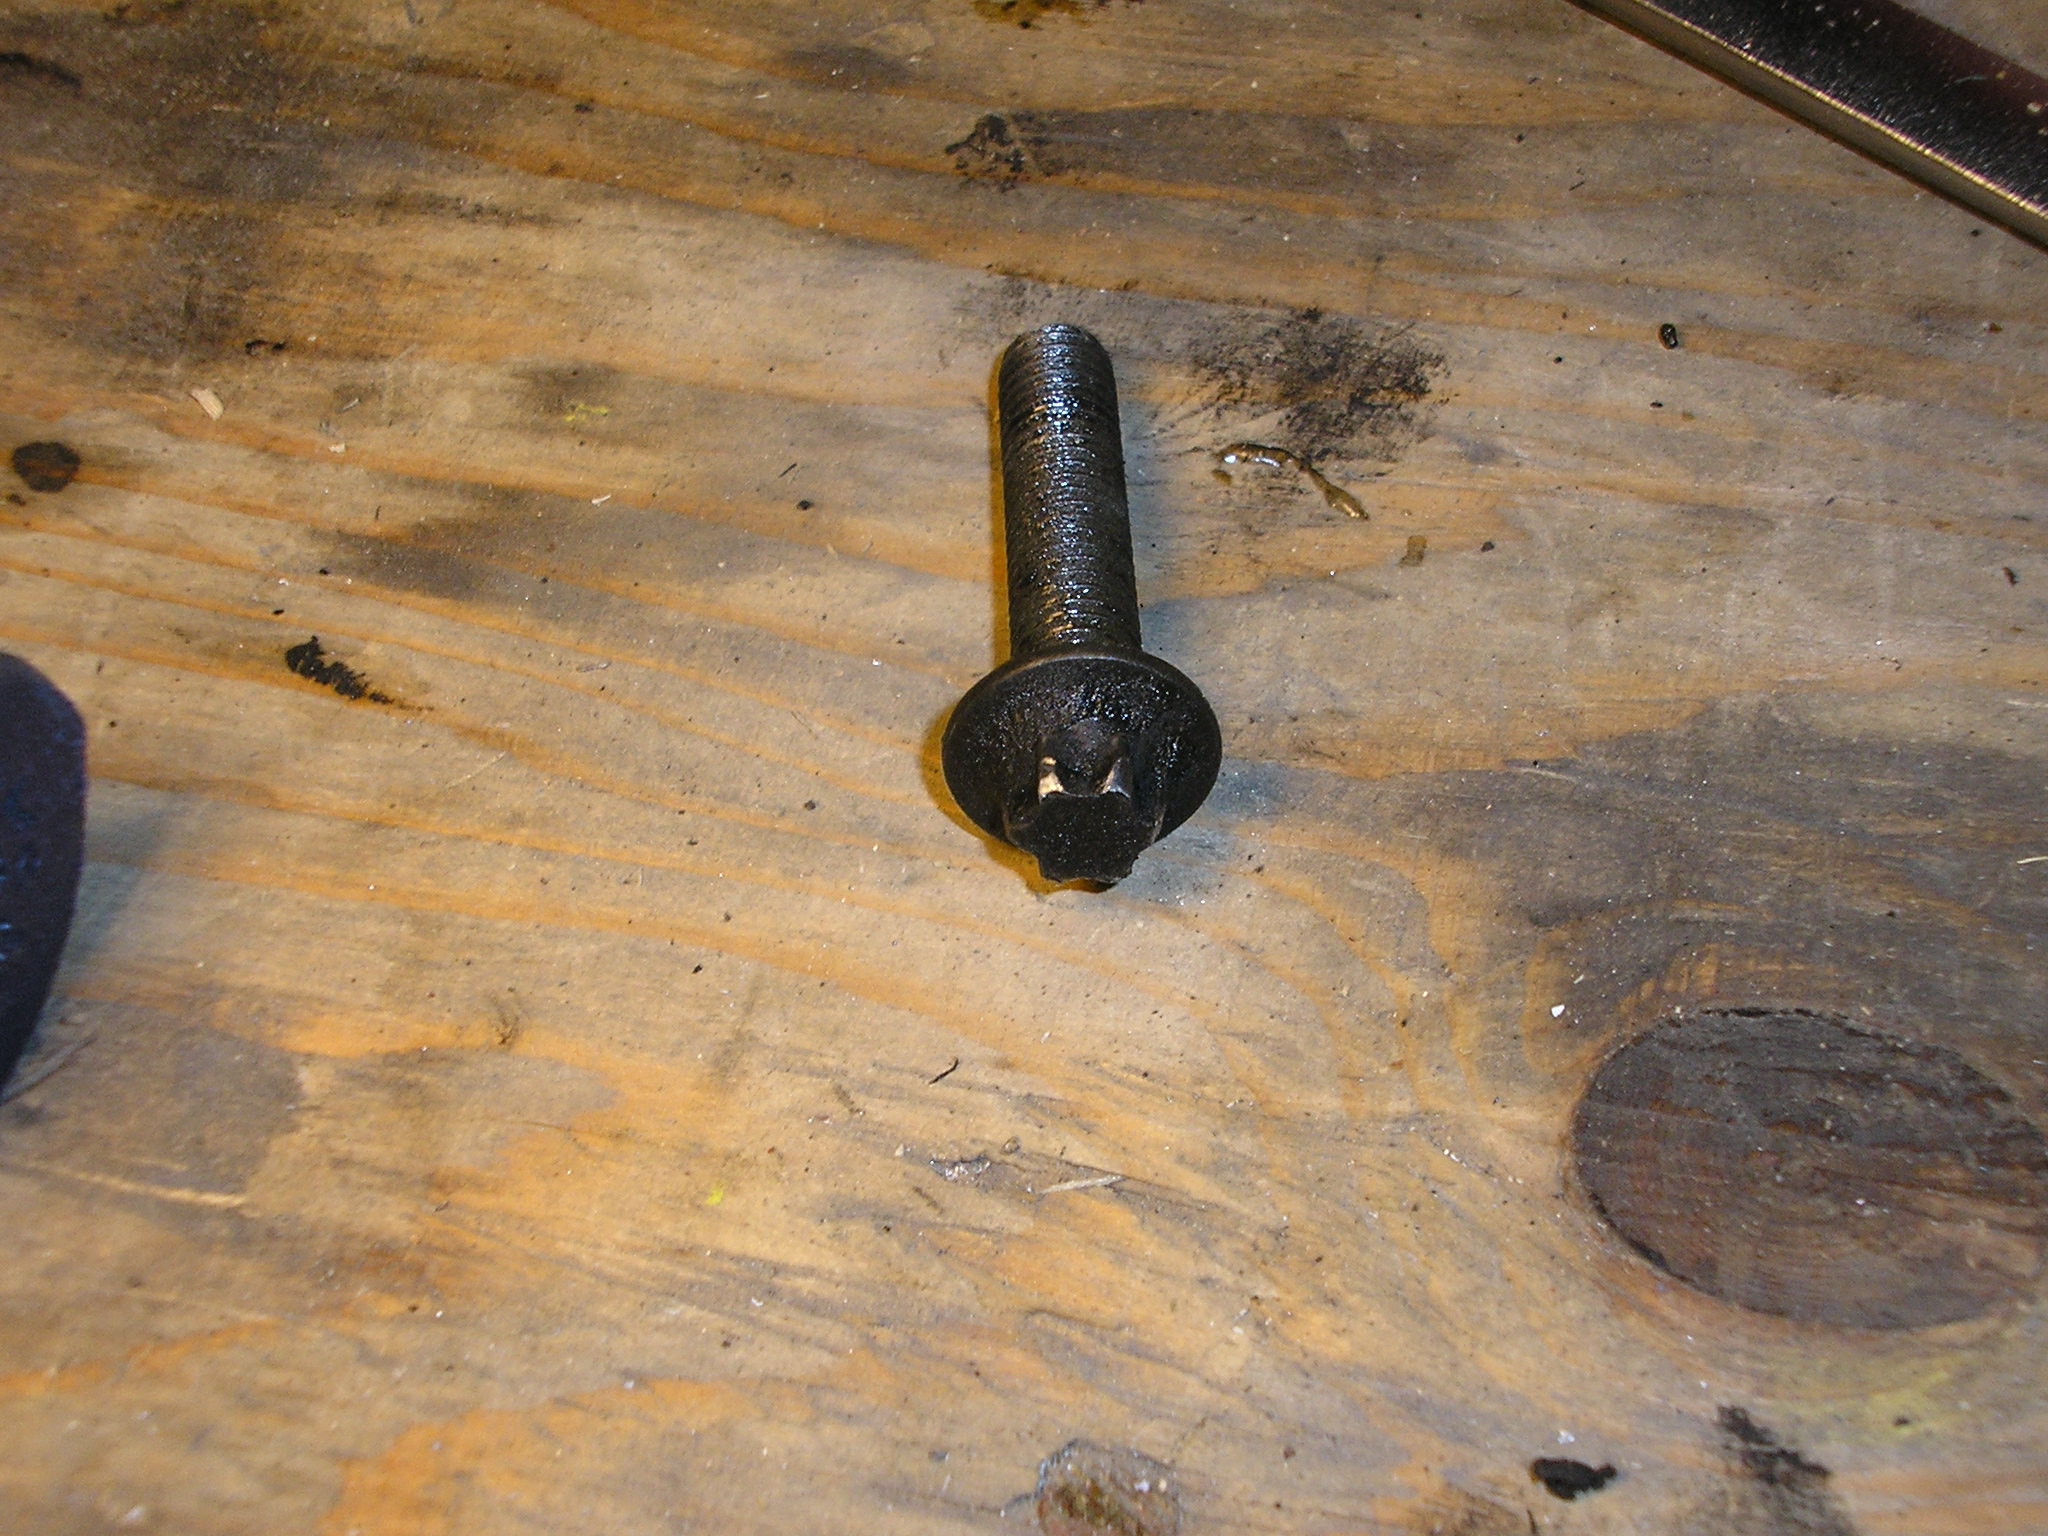
My guess is that if your bothering to look at this page, it's because you've come across these little buggers and are trying to figure out what the hell they are... Hopefully this will answer your questions and save you several hours of angst over them. Those bolts are E12 External Torx bolts. You can buy a socket at McMaster Carr, and Snap-On sells the box-wrench version for around $50. If you are nimble, you can get a socket on the drivers side bolt, but the only way to get at the passenger side one is with a box wrench. I have no idea if other year Wranglers have the same bolts, if they have different head sized, or if they learned from their mistakes. YMMV on the exact size of the tool required, but I bought the full set of 3/8" drive sockets just to make sure.
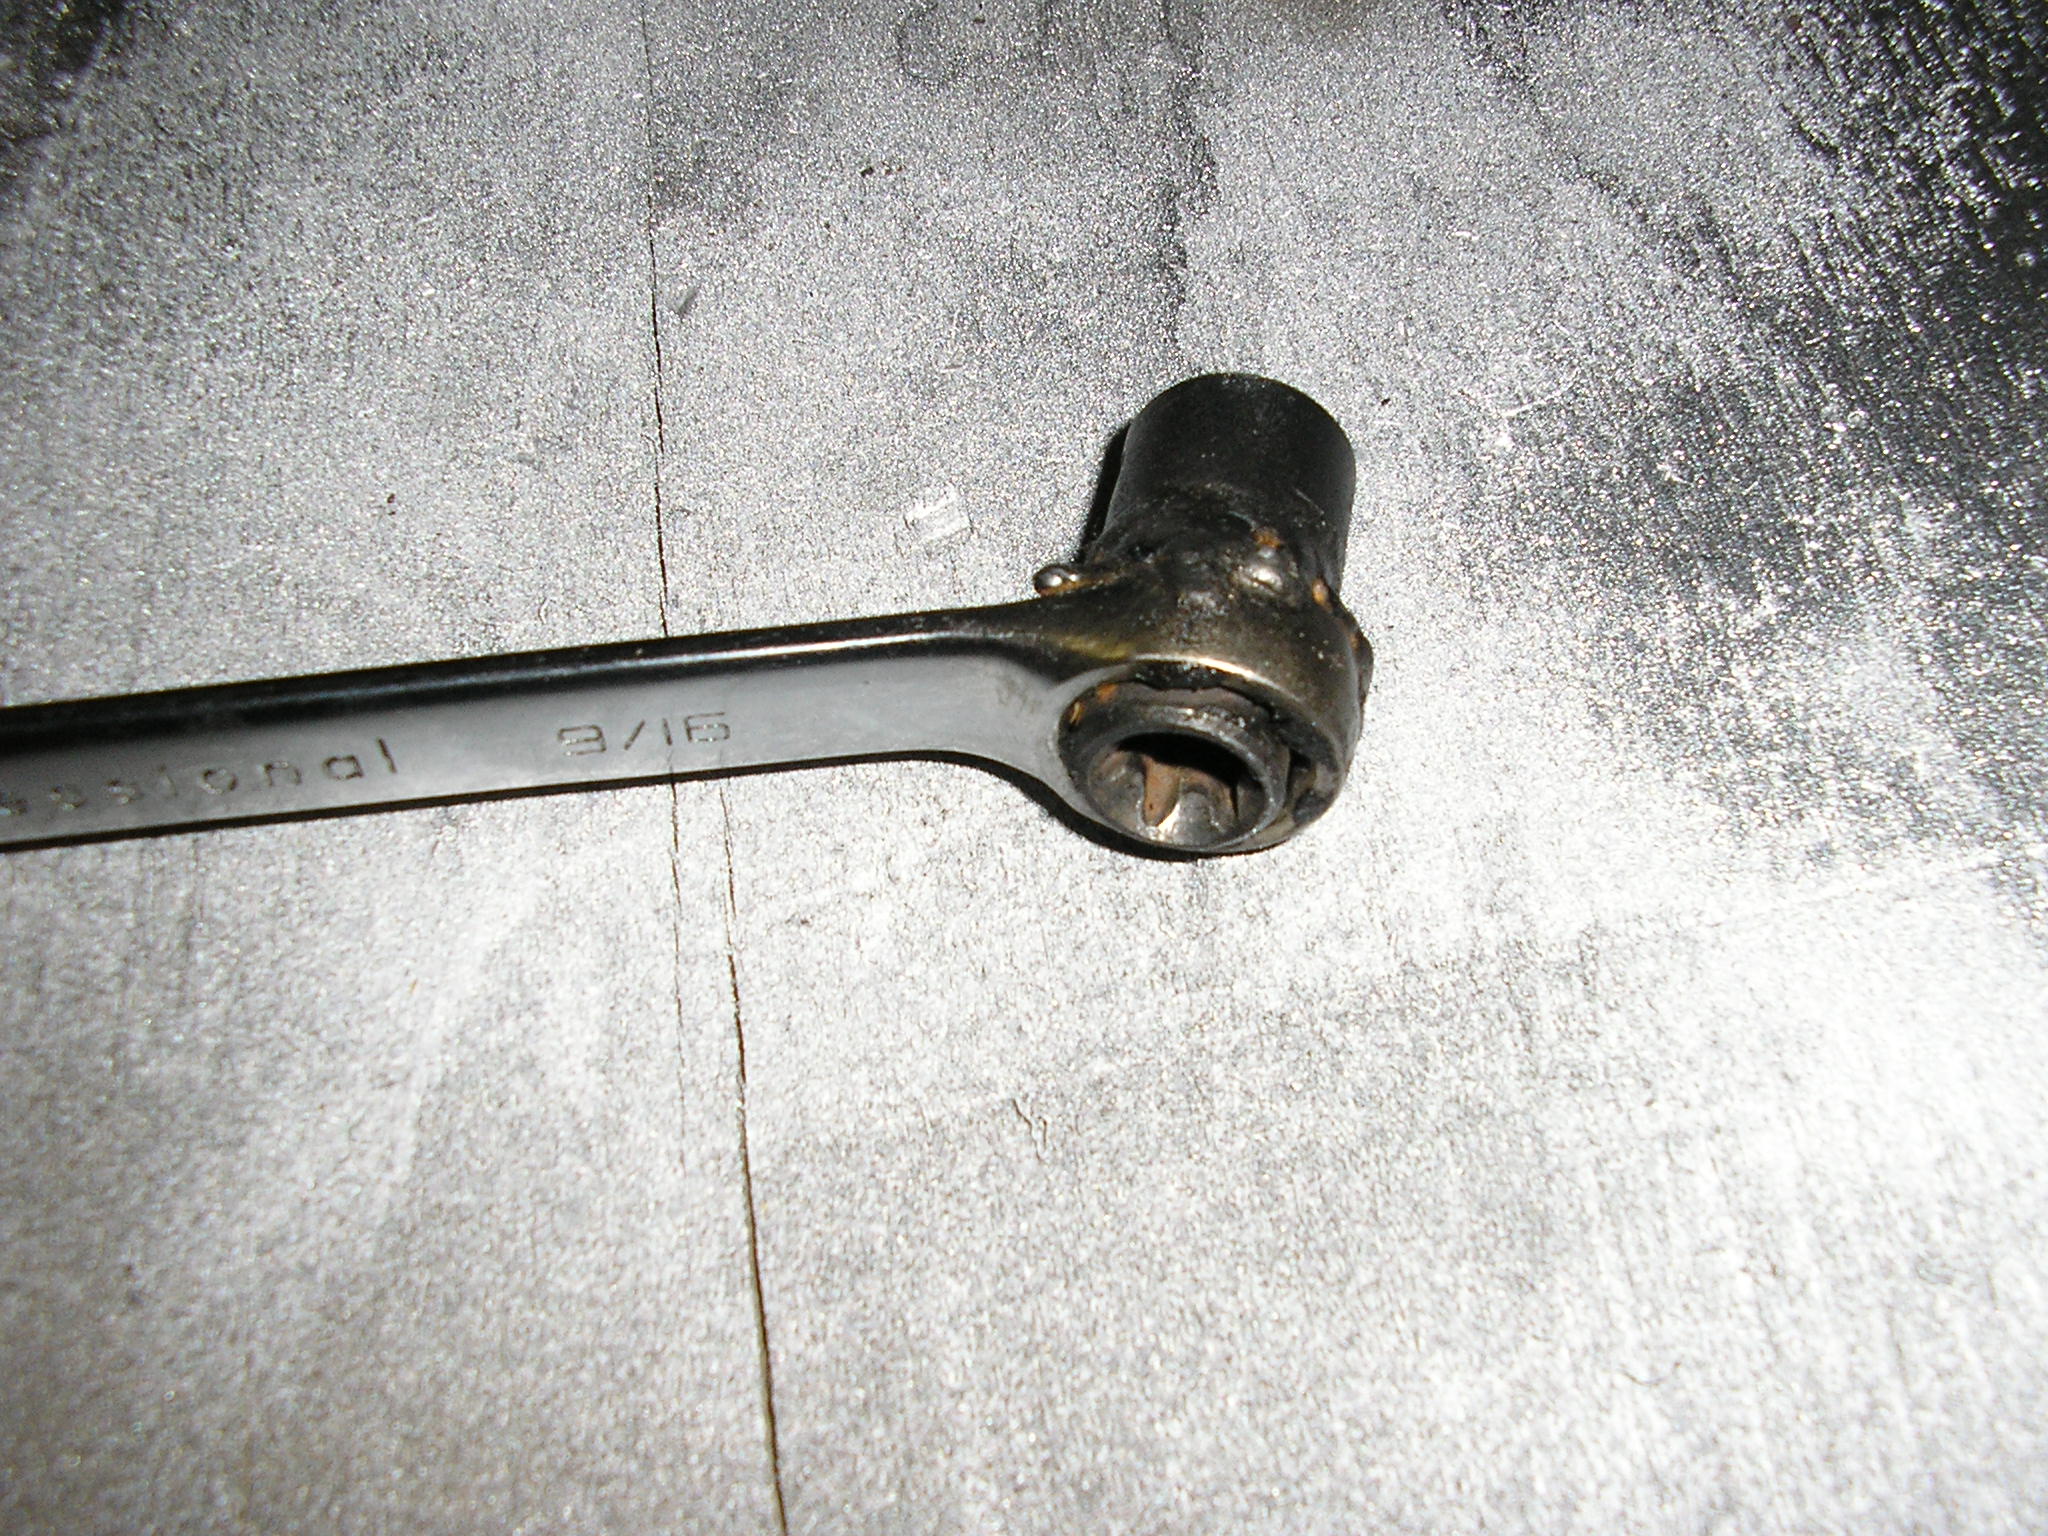
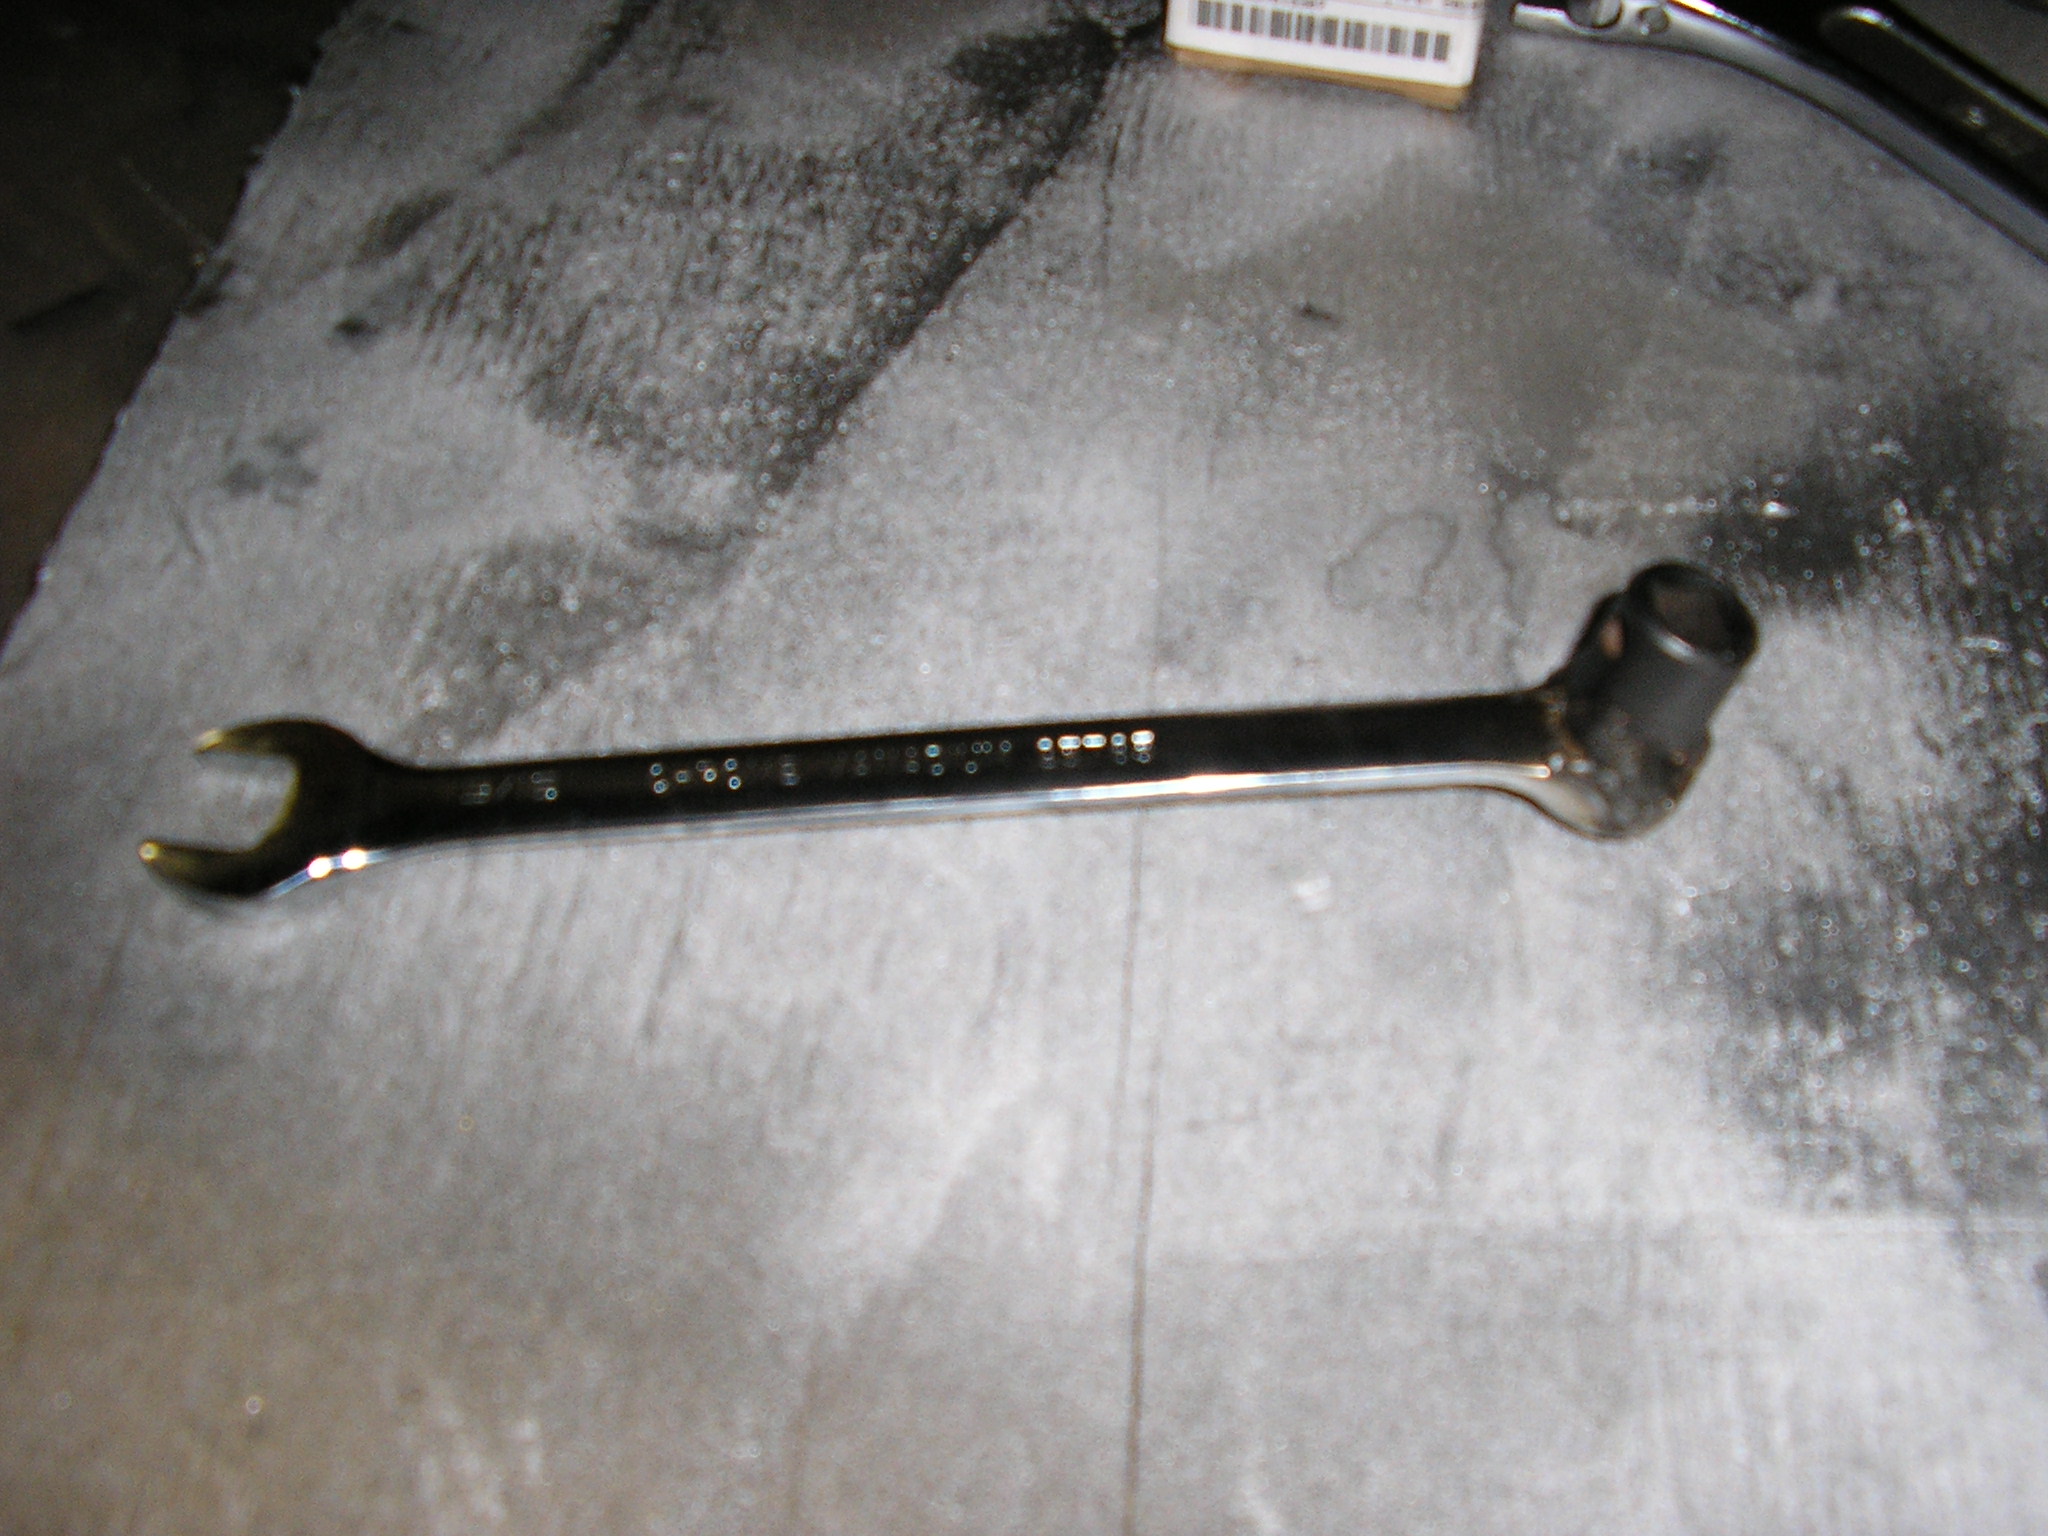
What I did was take the socket from McMaster, get a cheap 9/16" open end wrench from my local Ace Hardware and meld the two with my MIG welder... Not great, but it works.
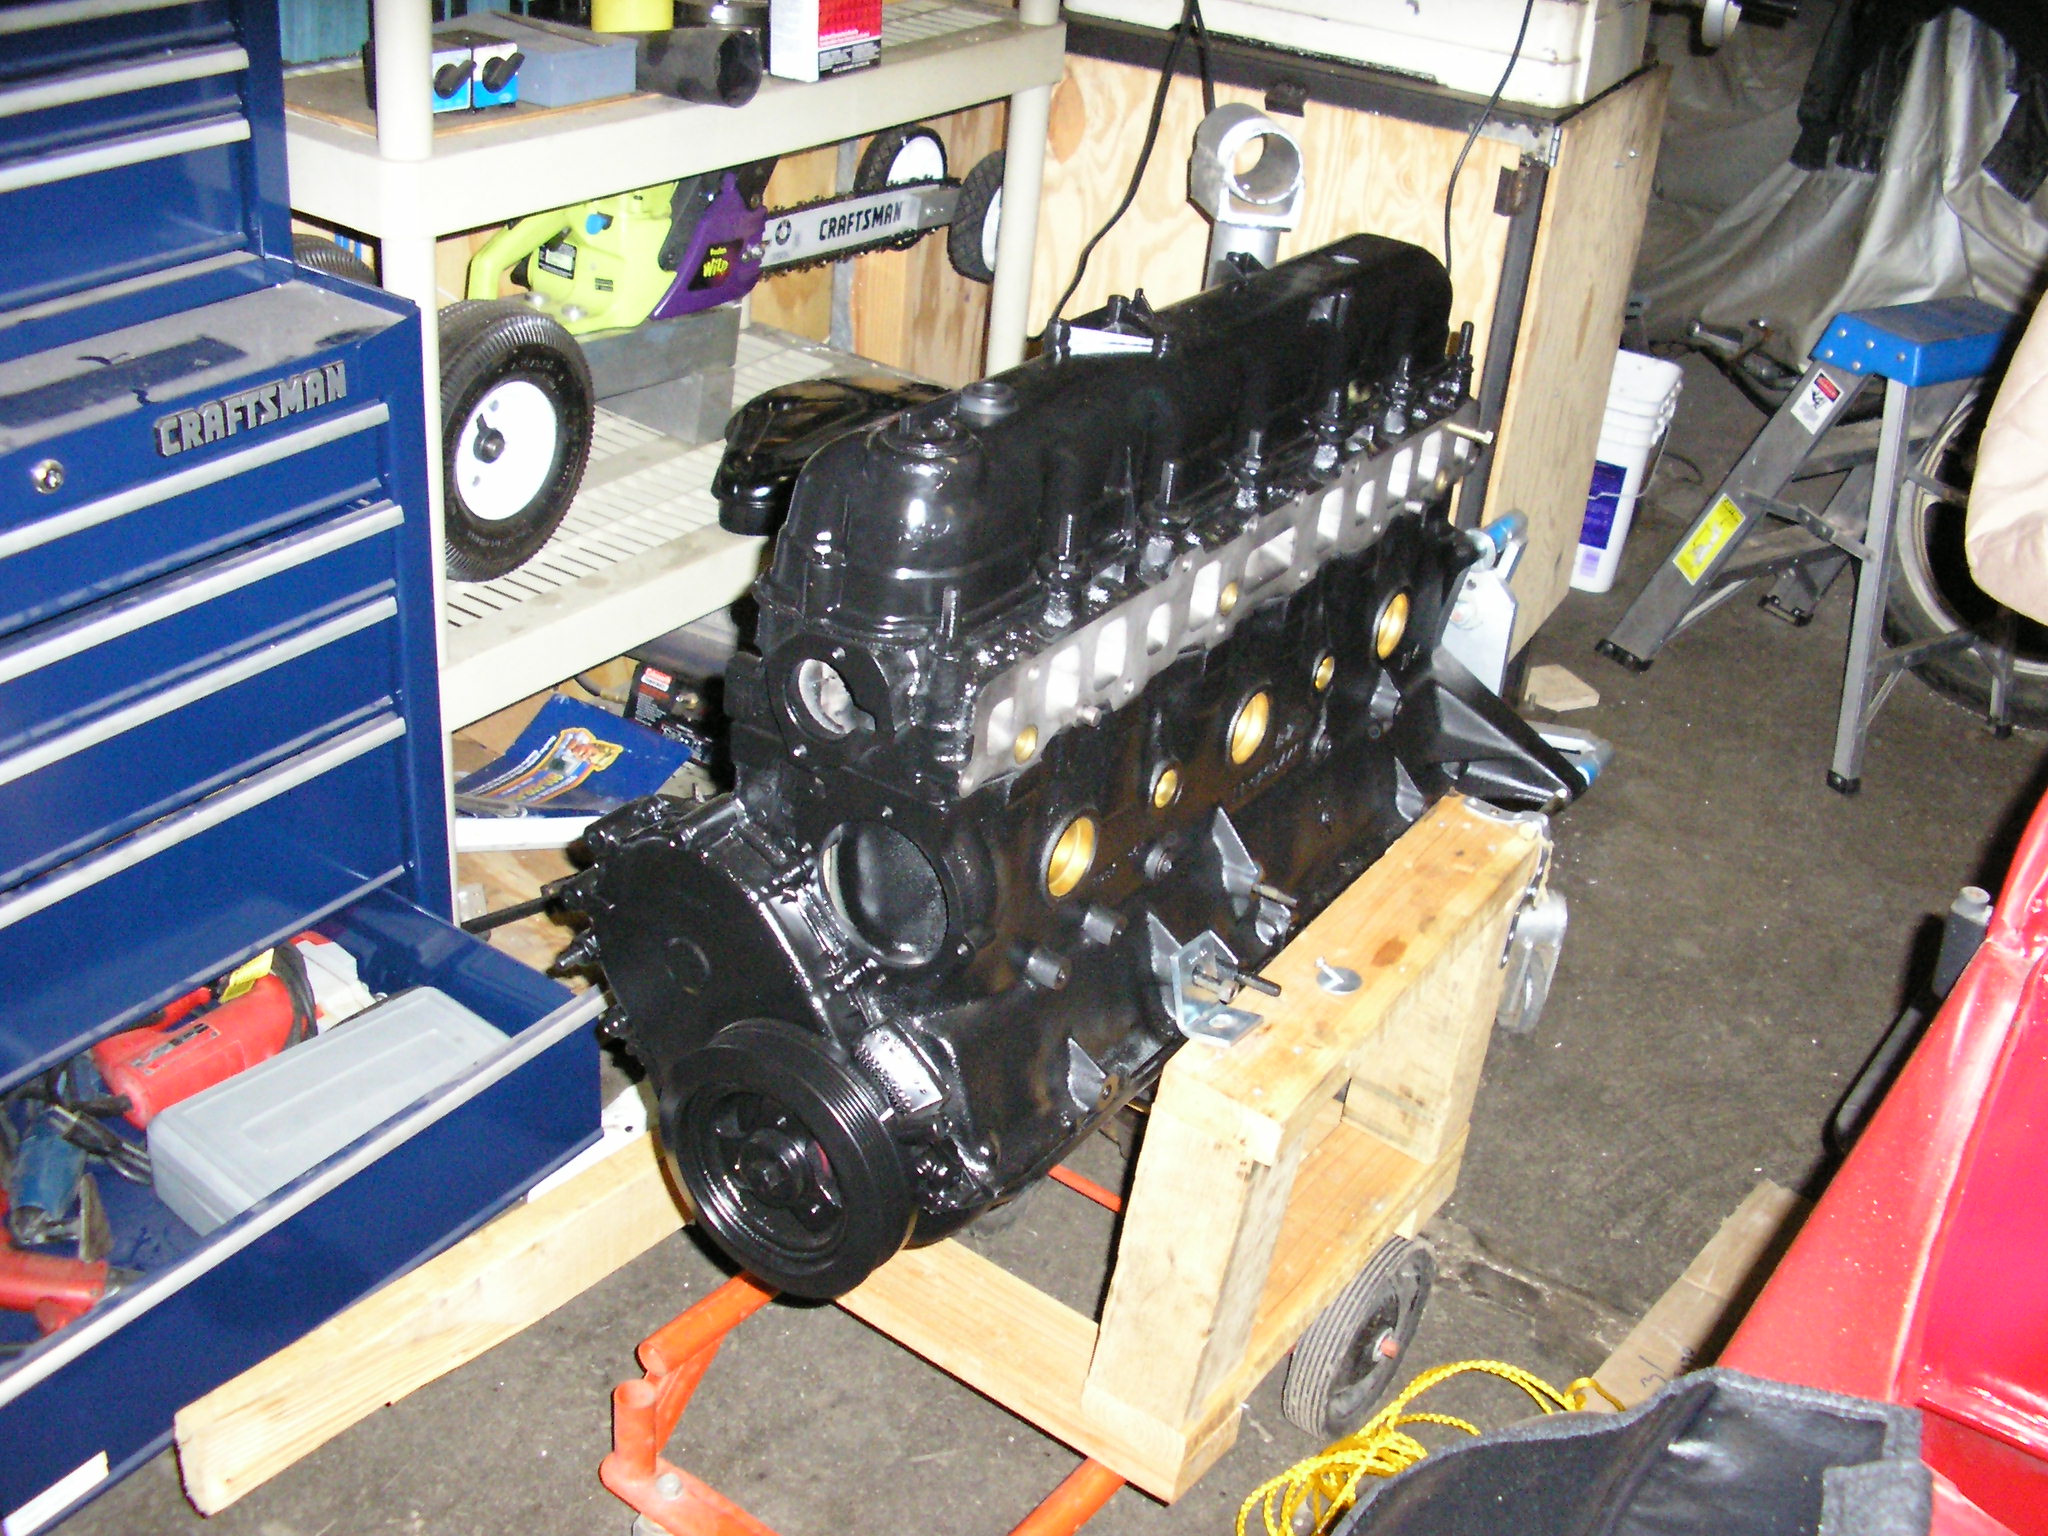
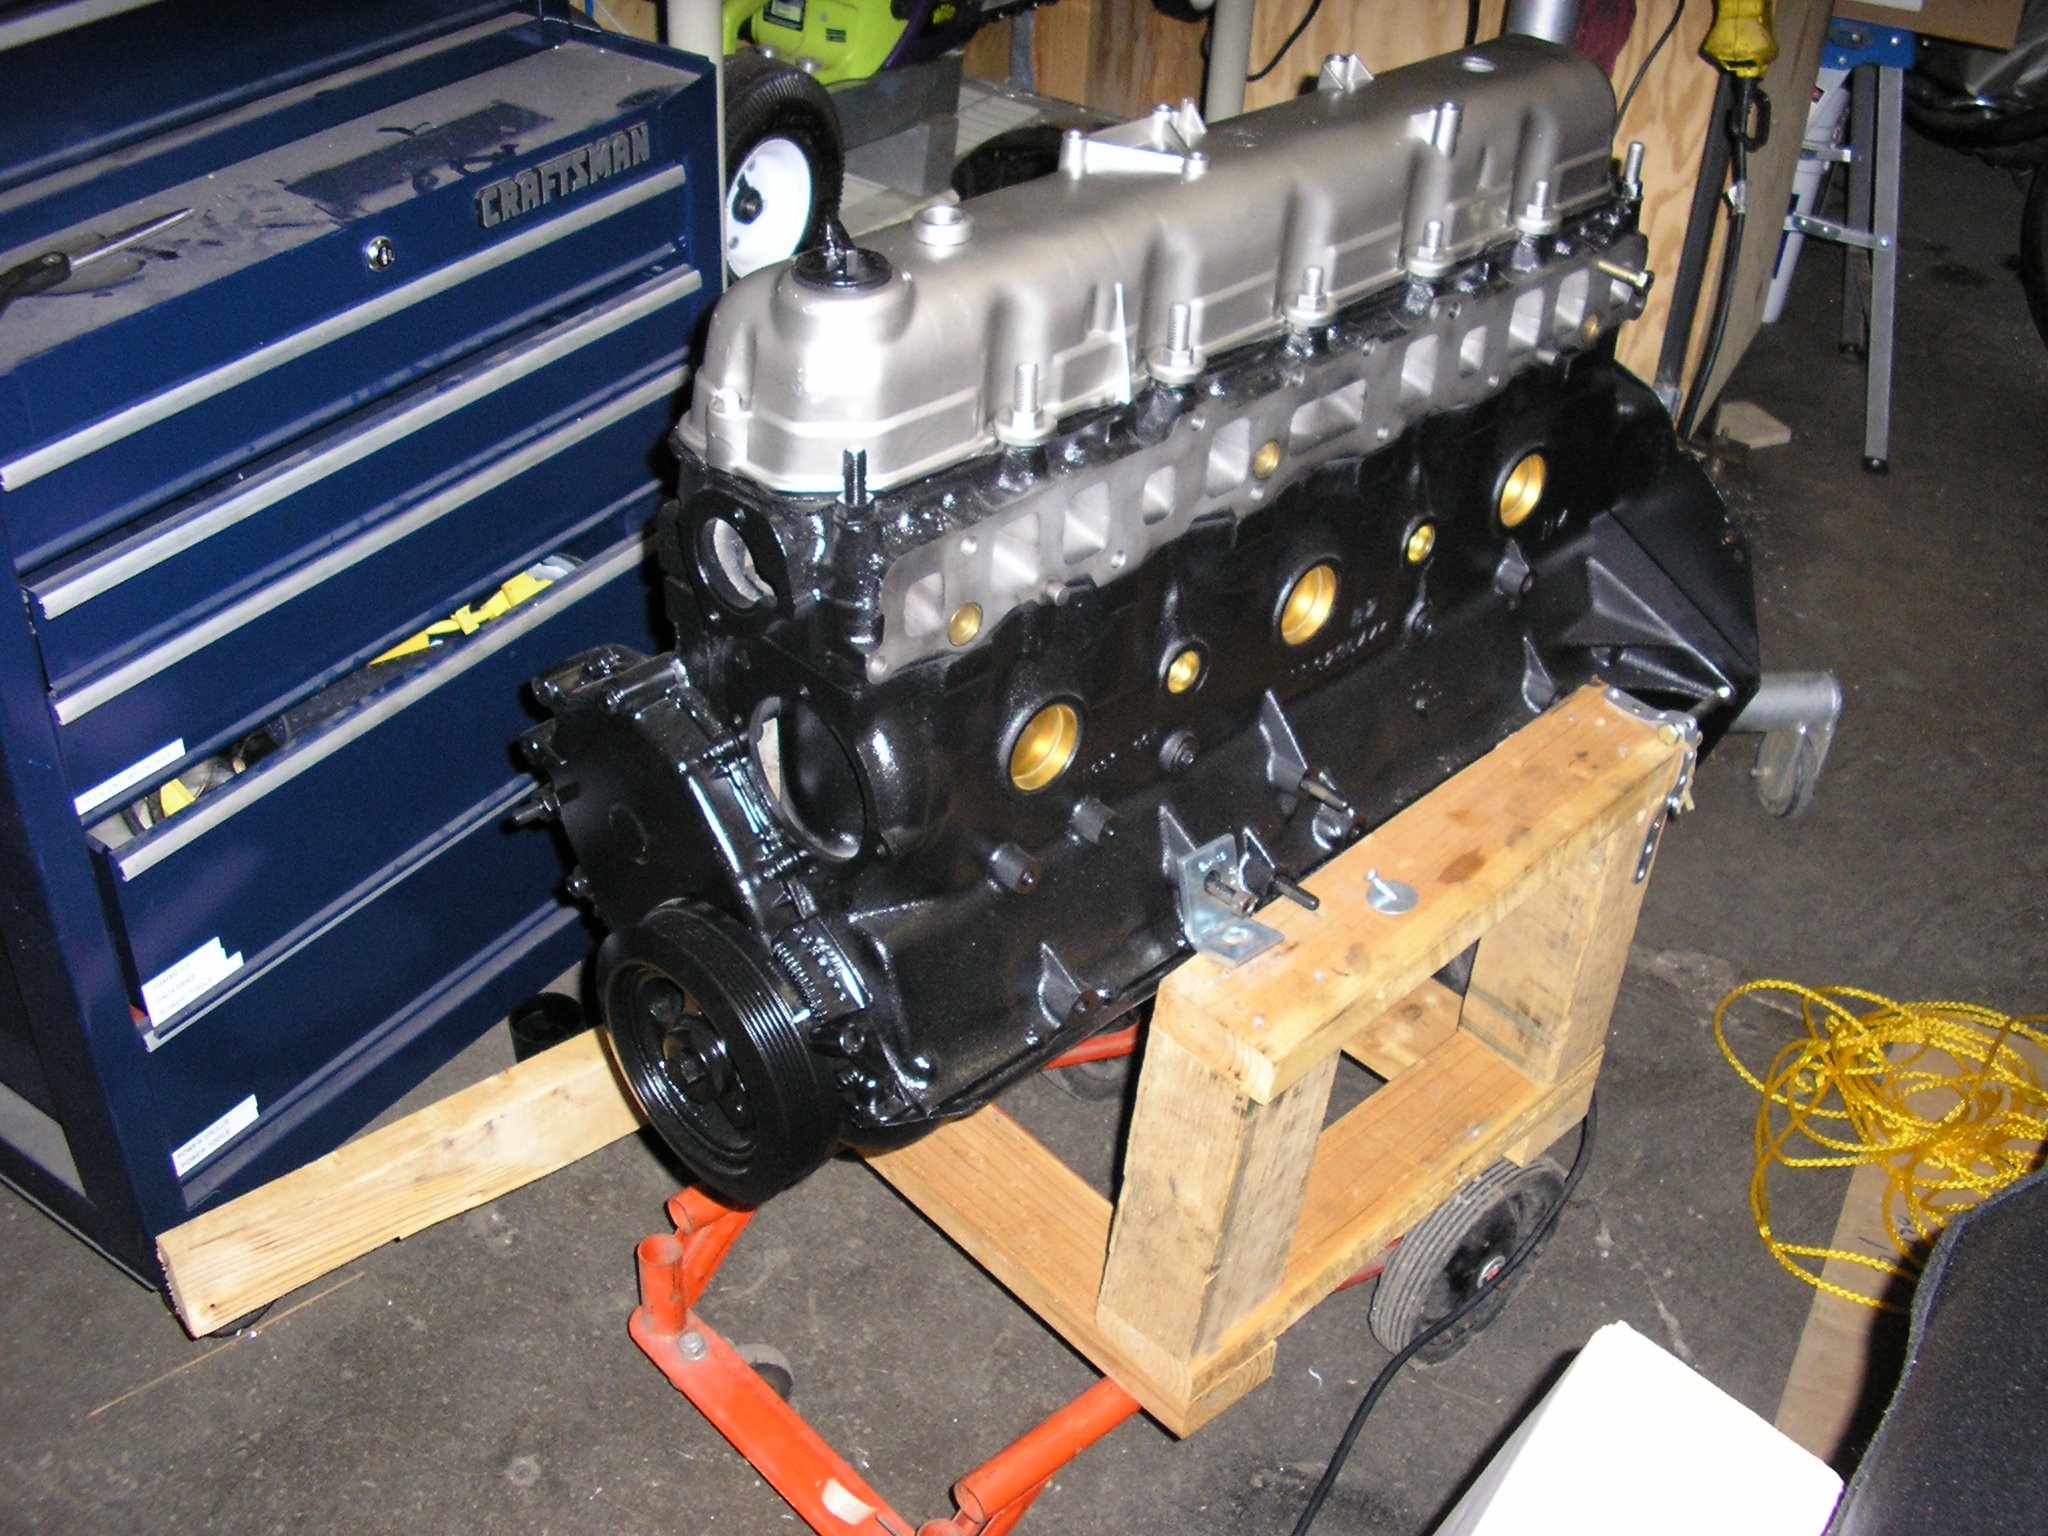
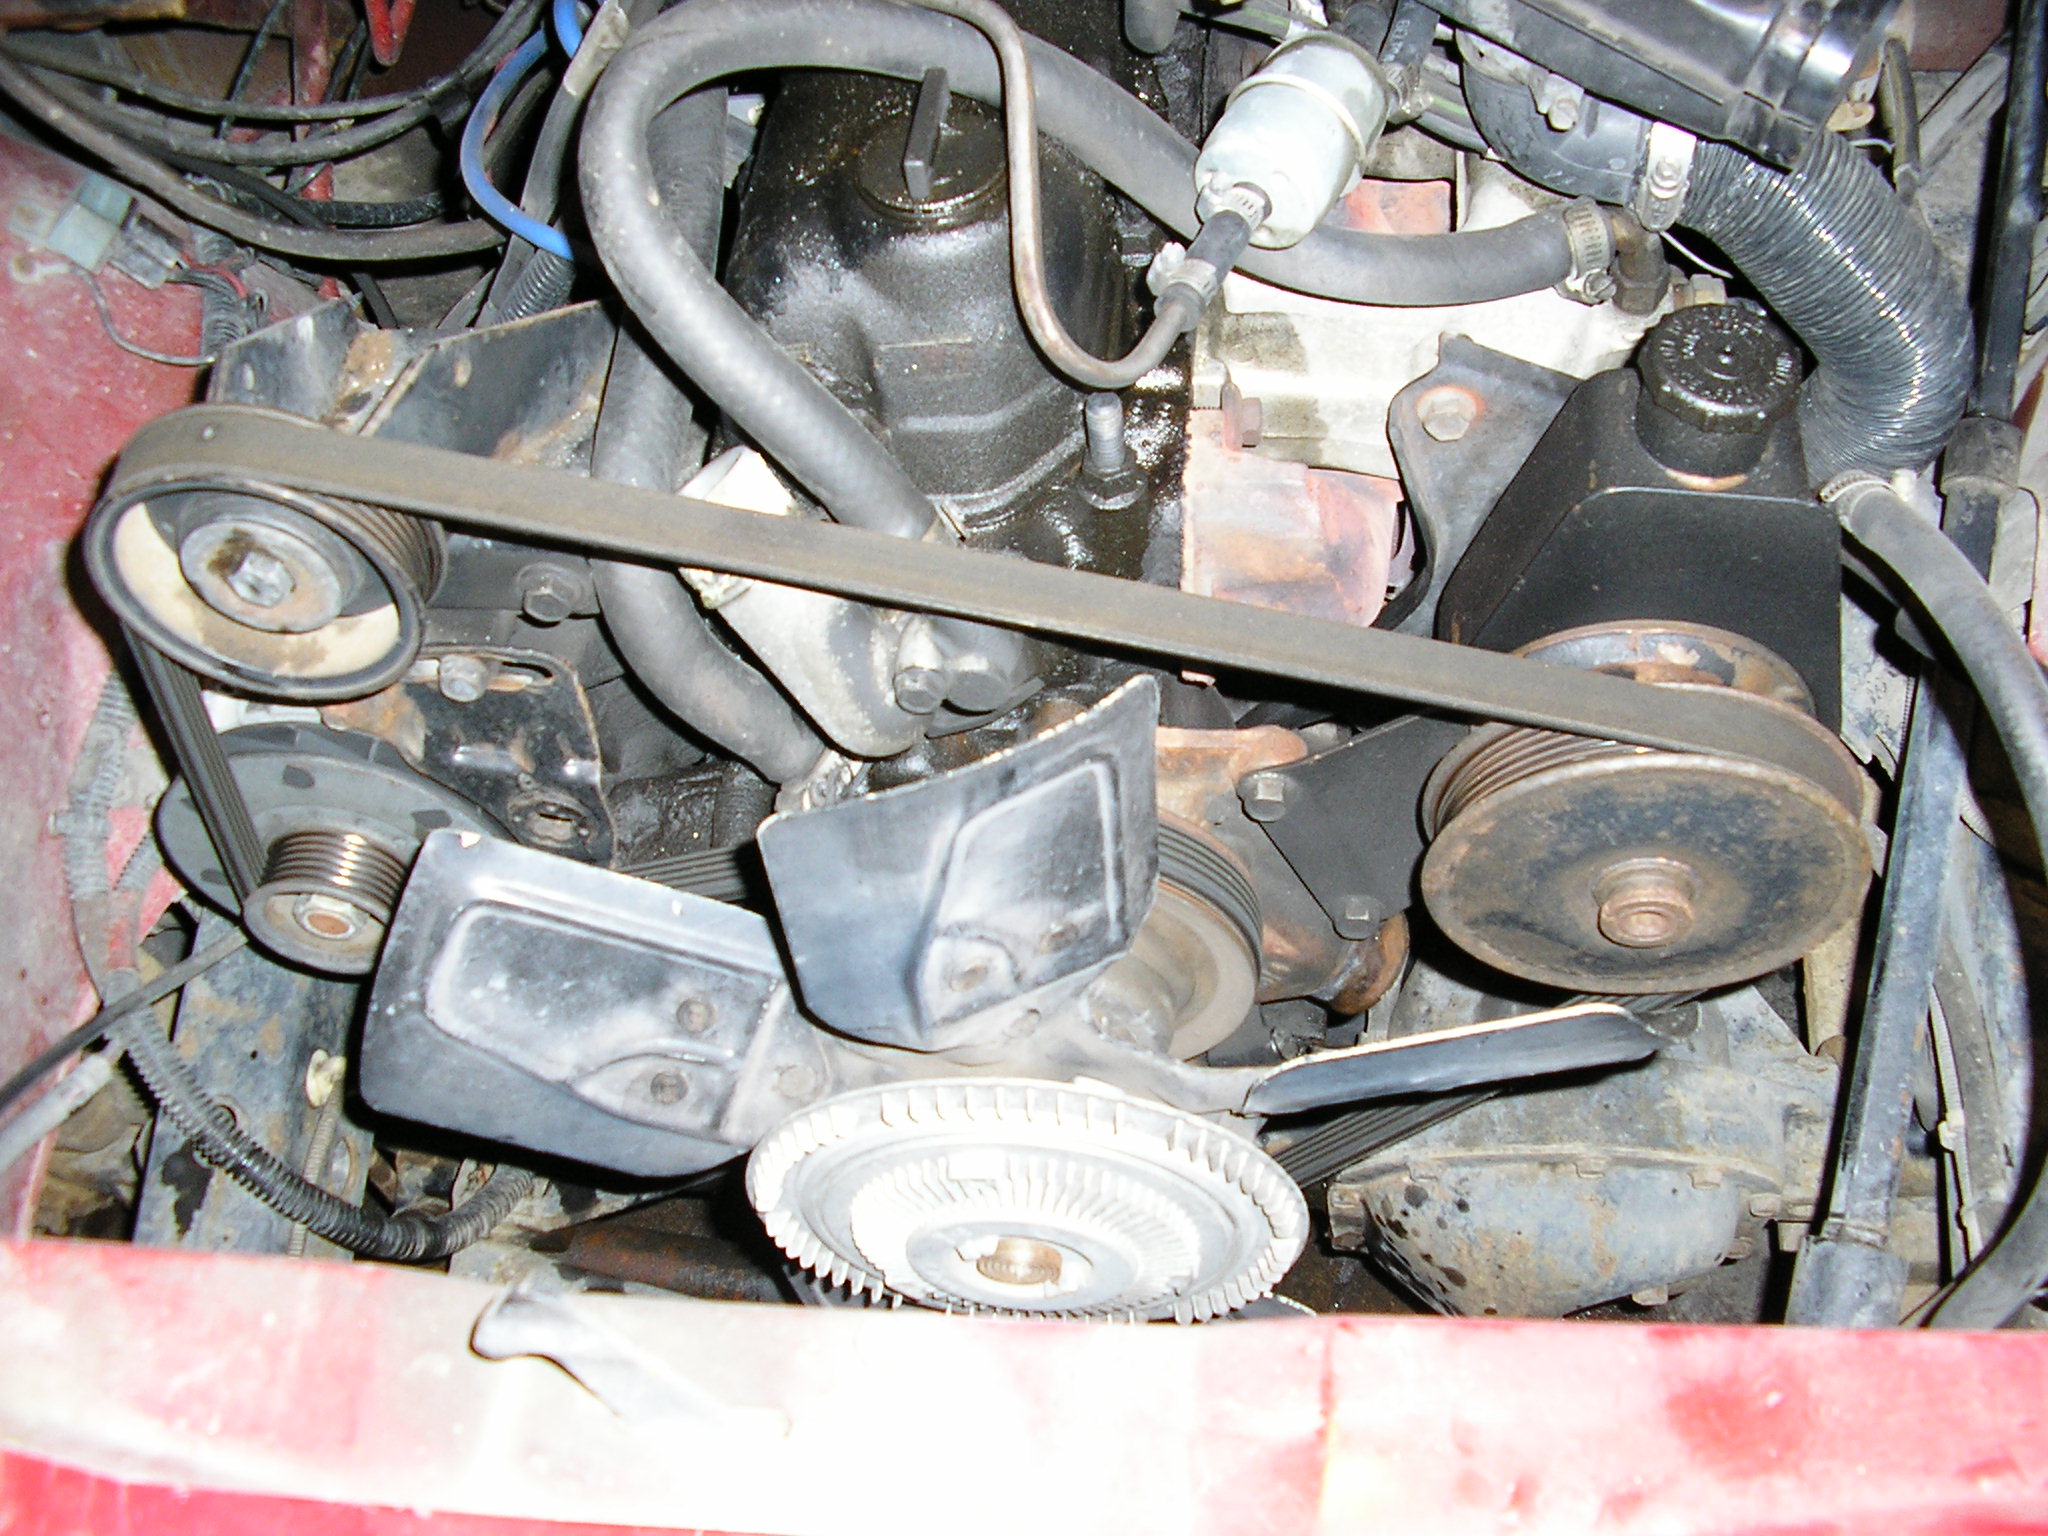
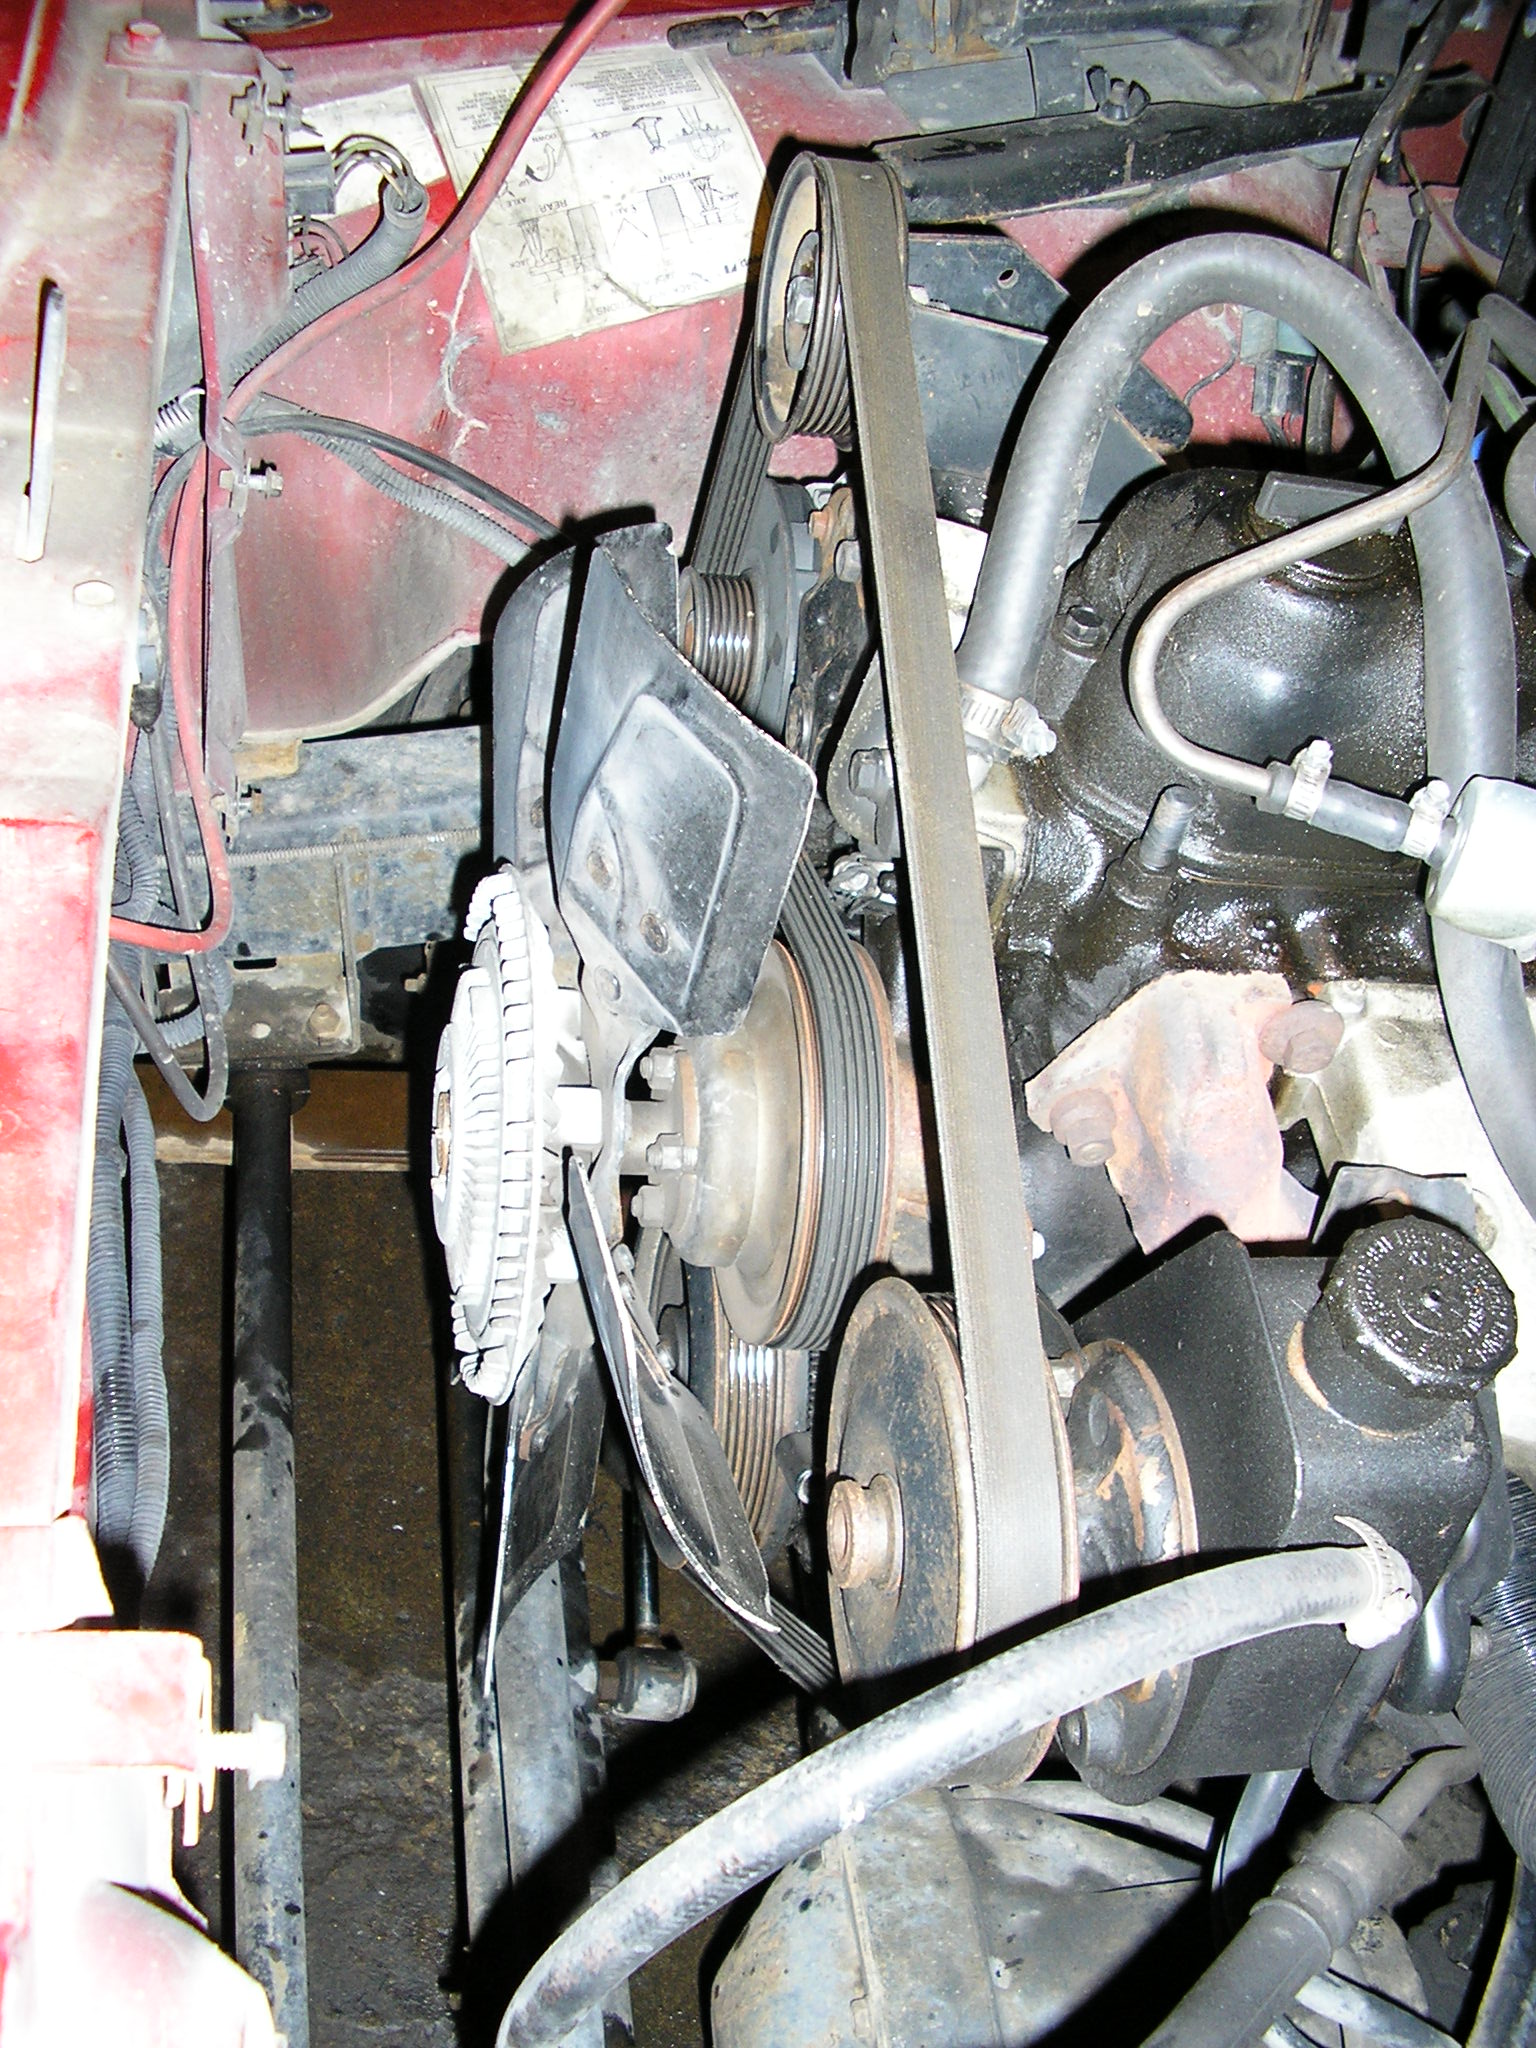
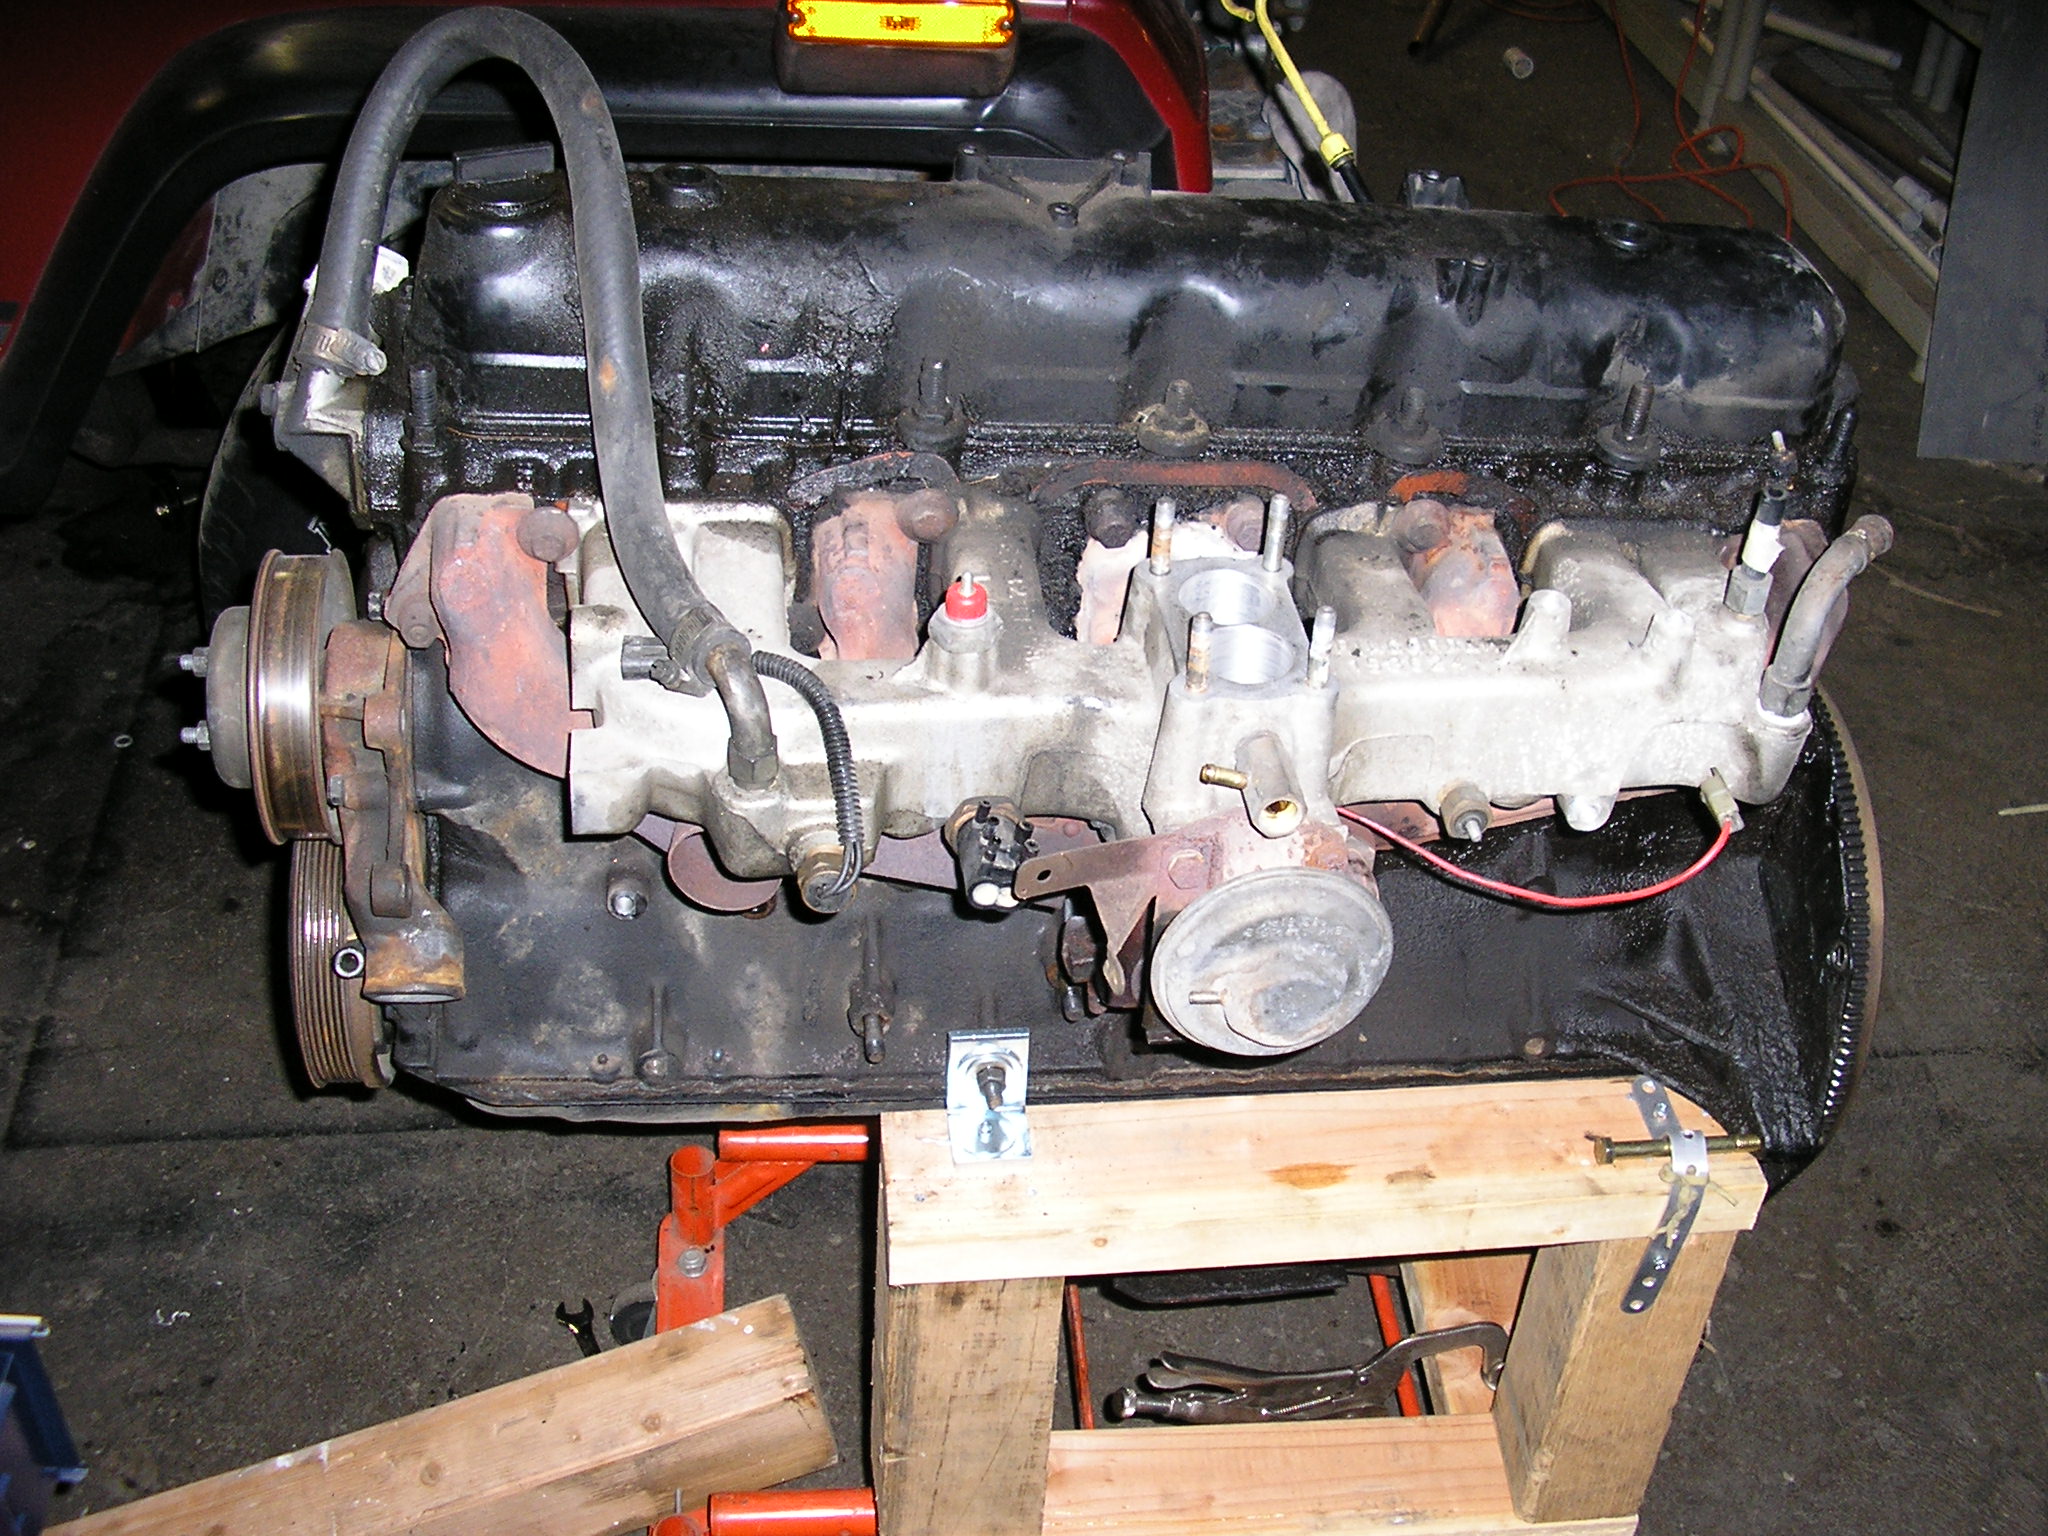
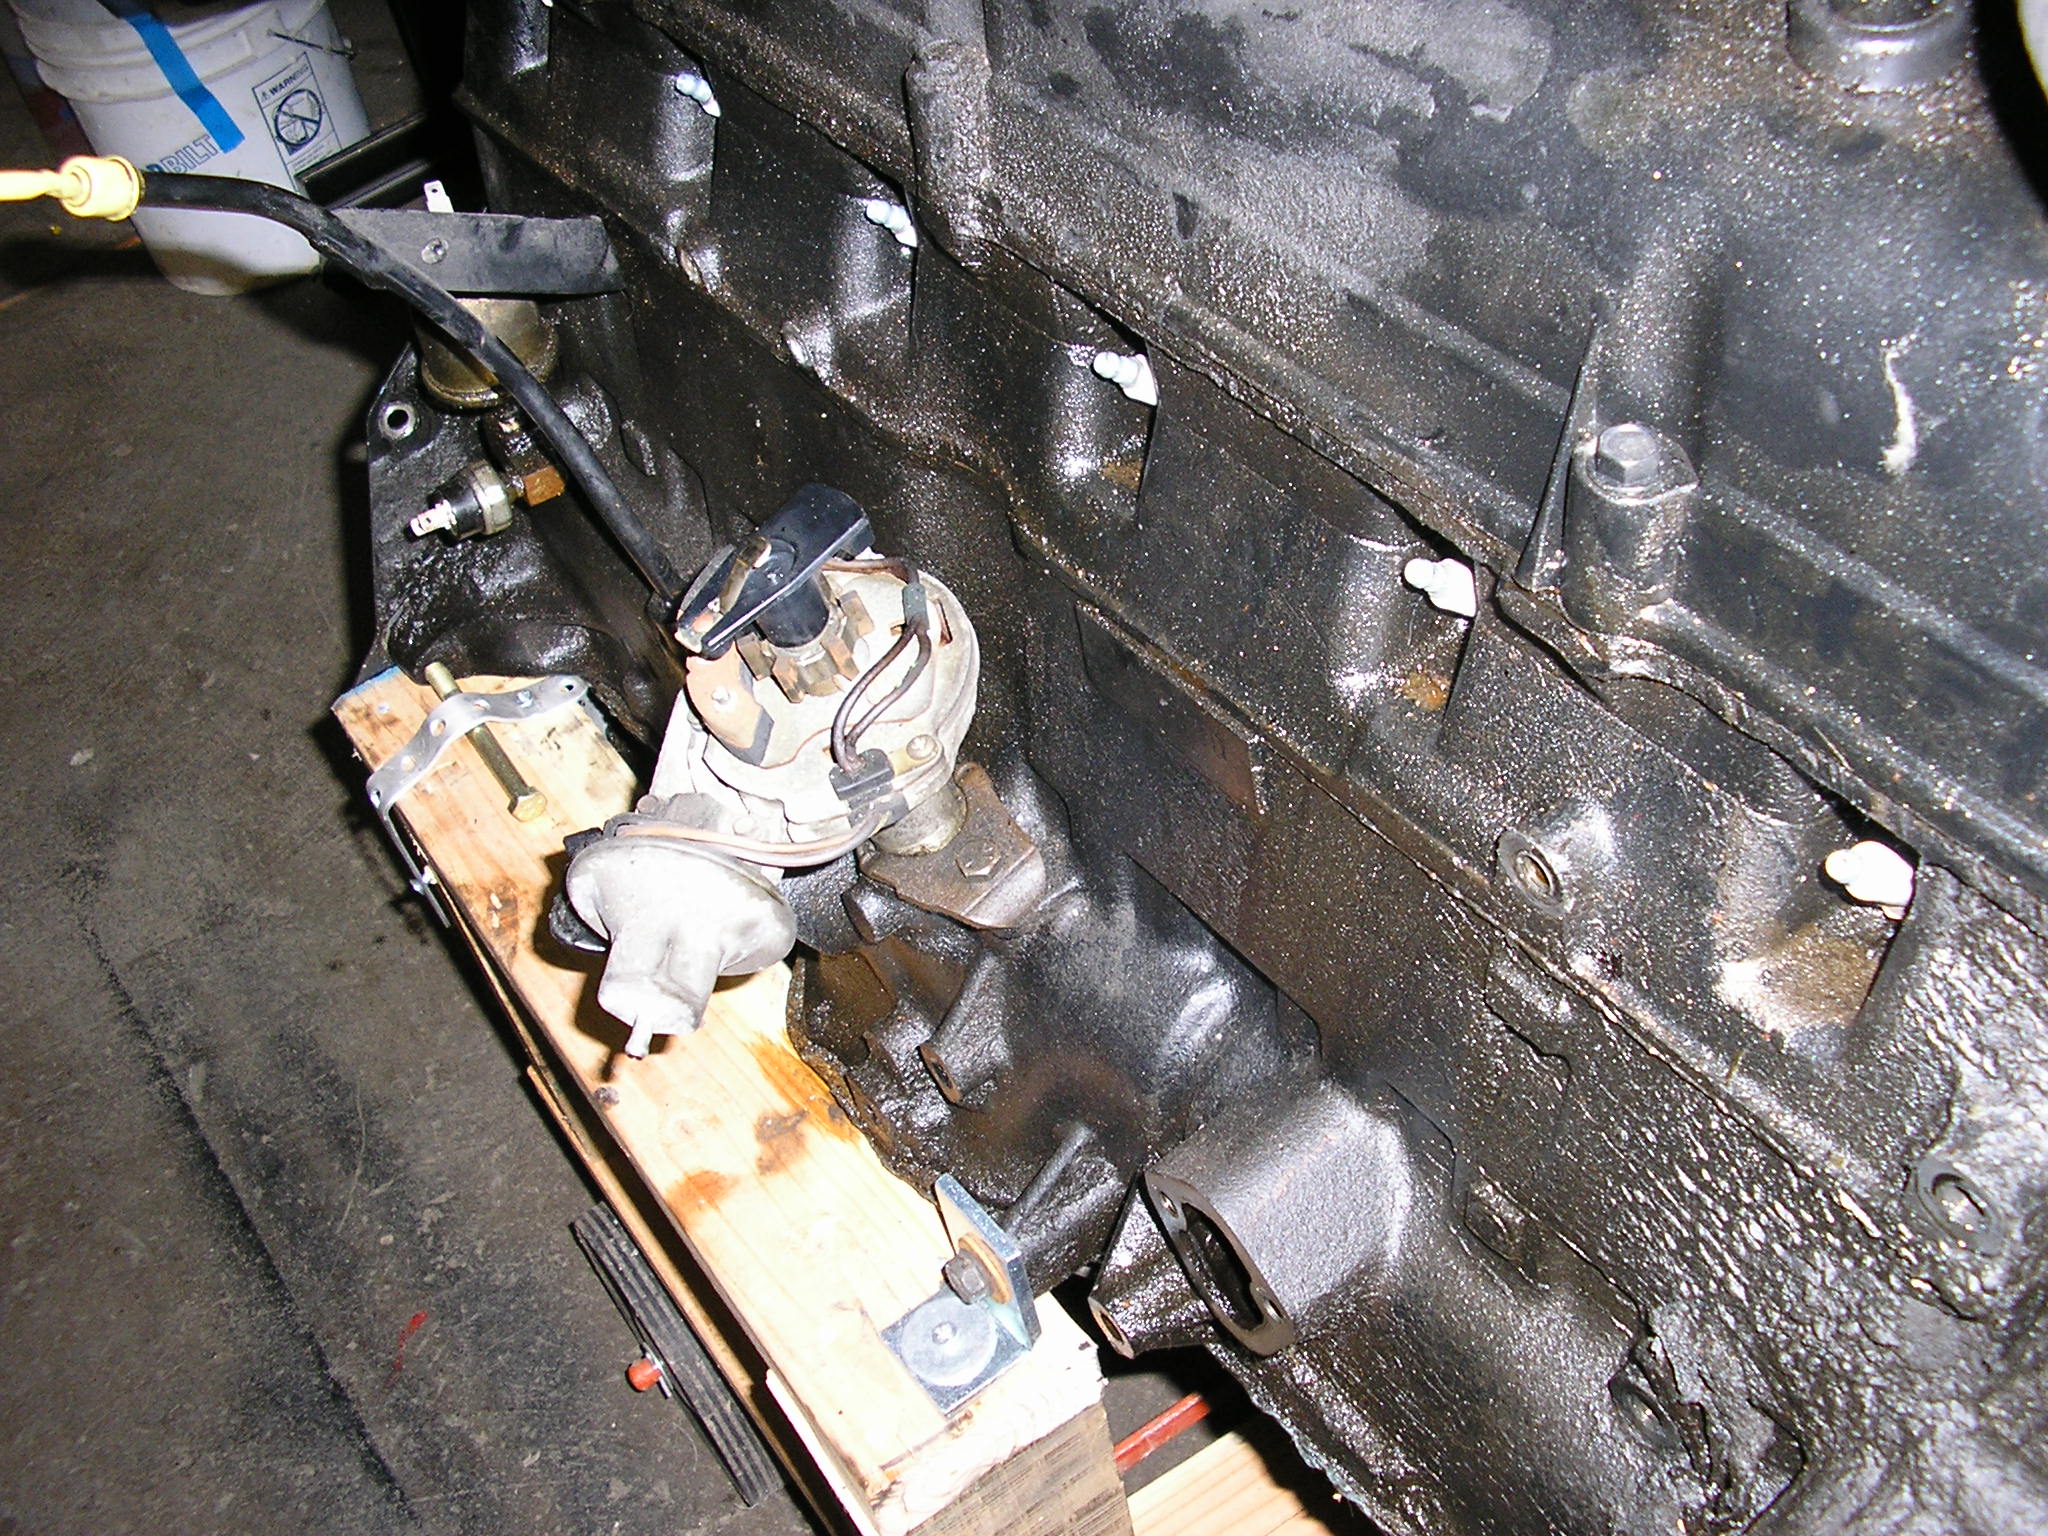
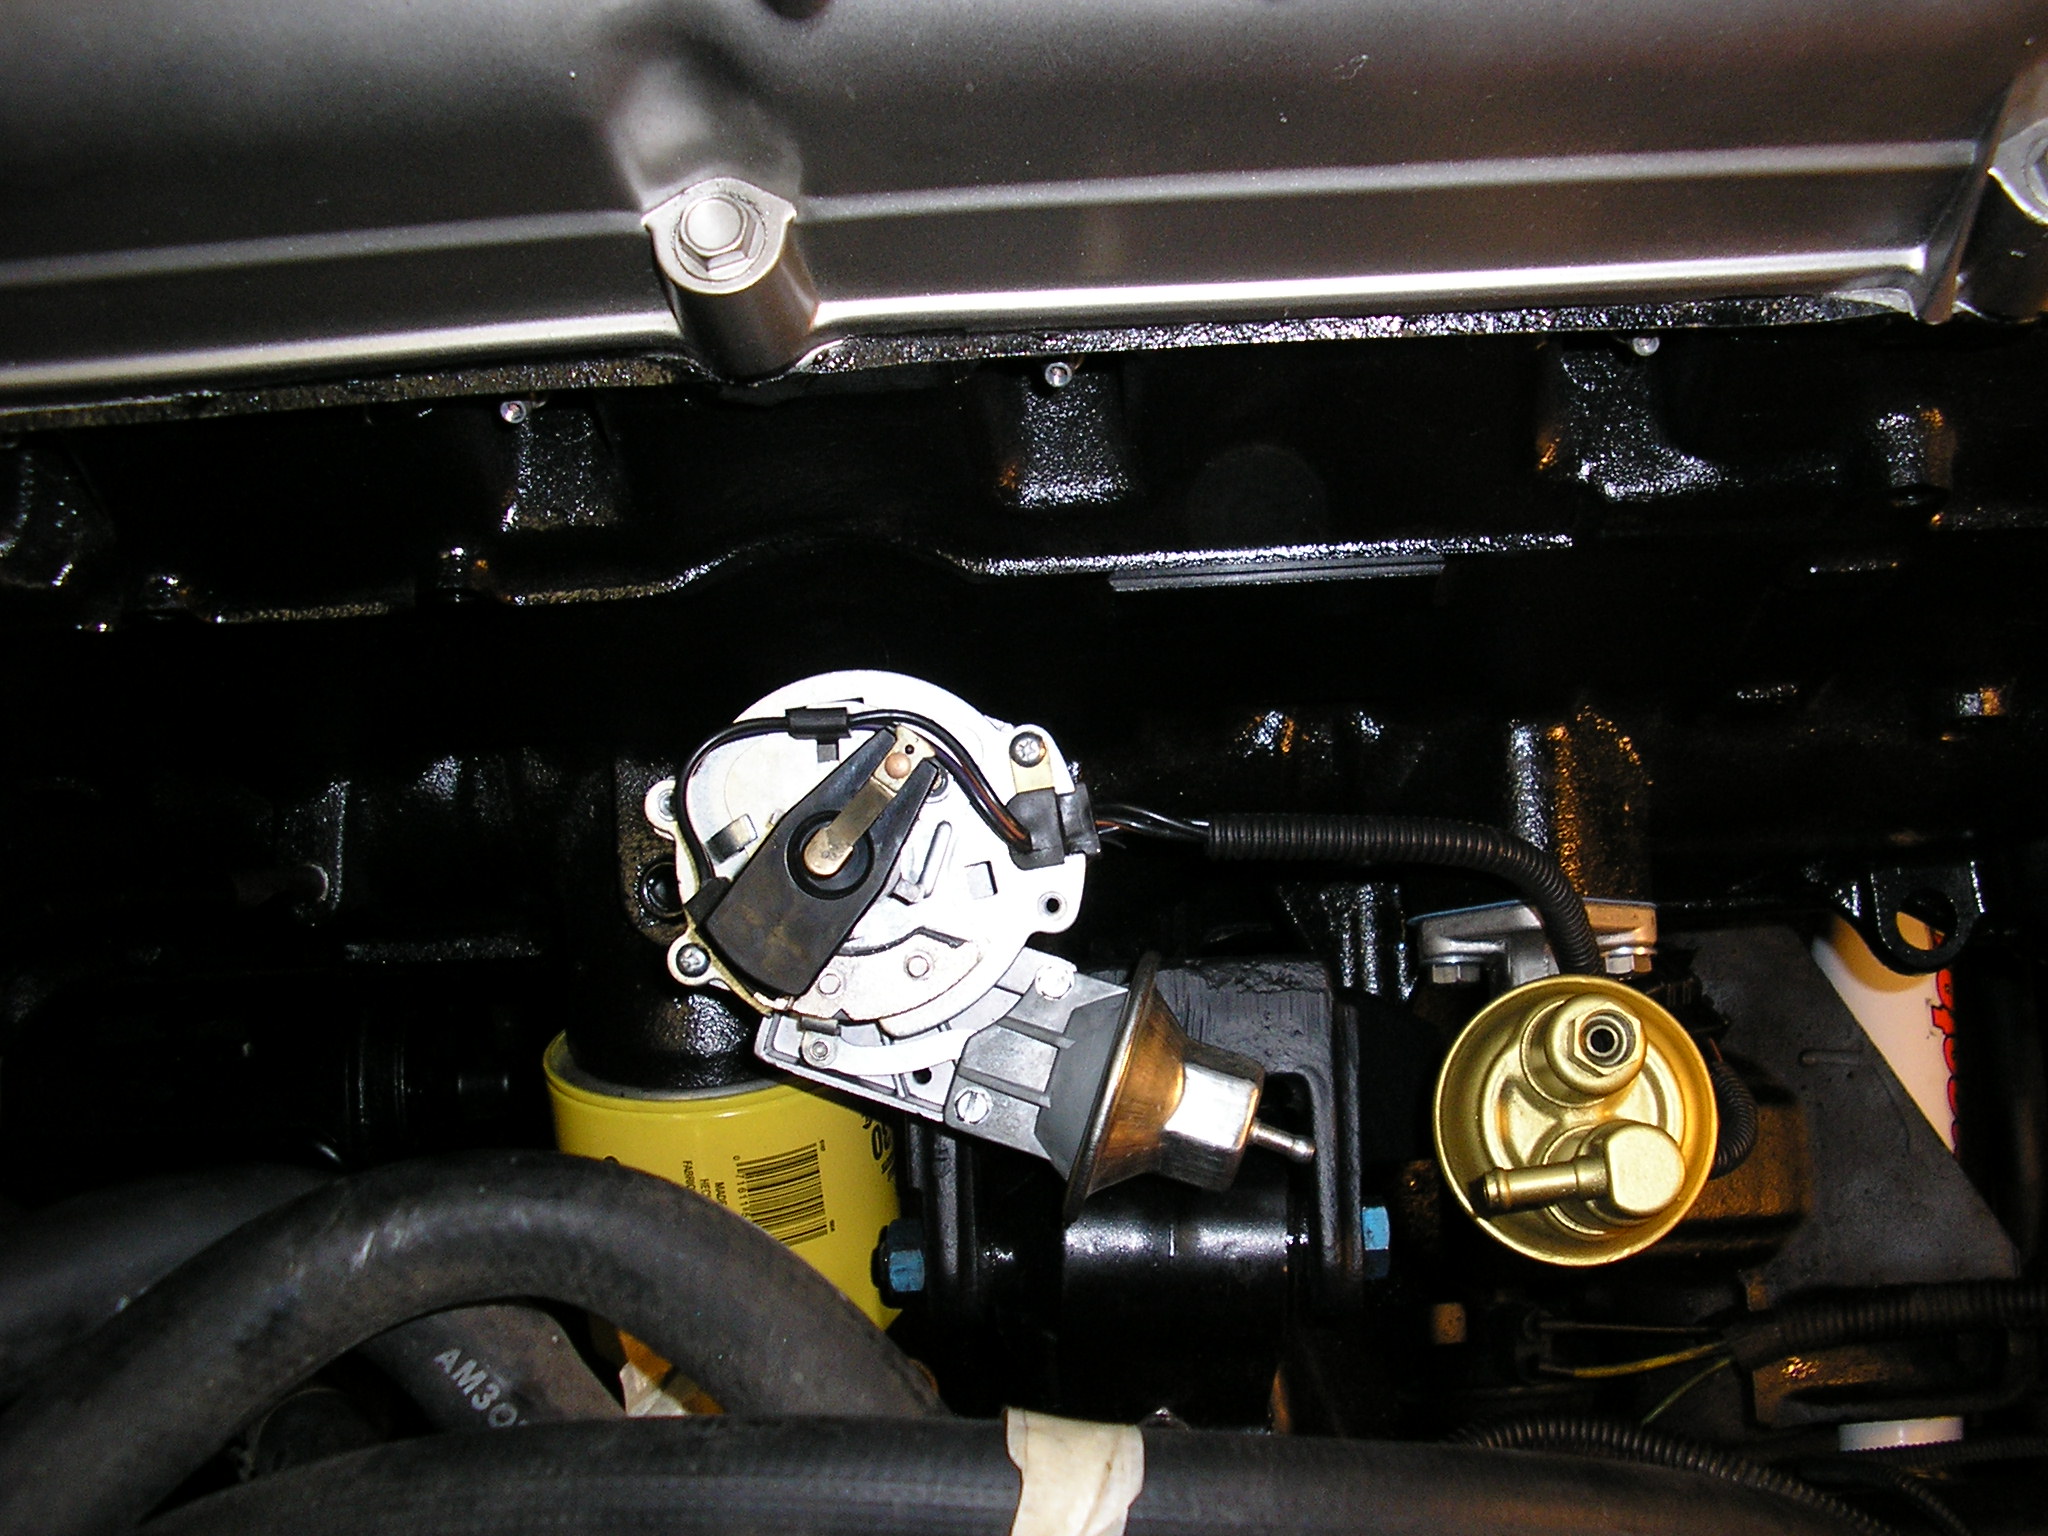
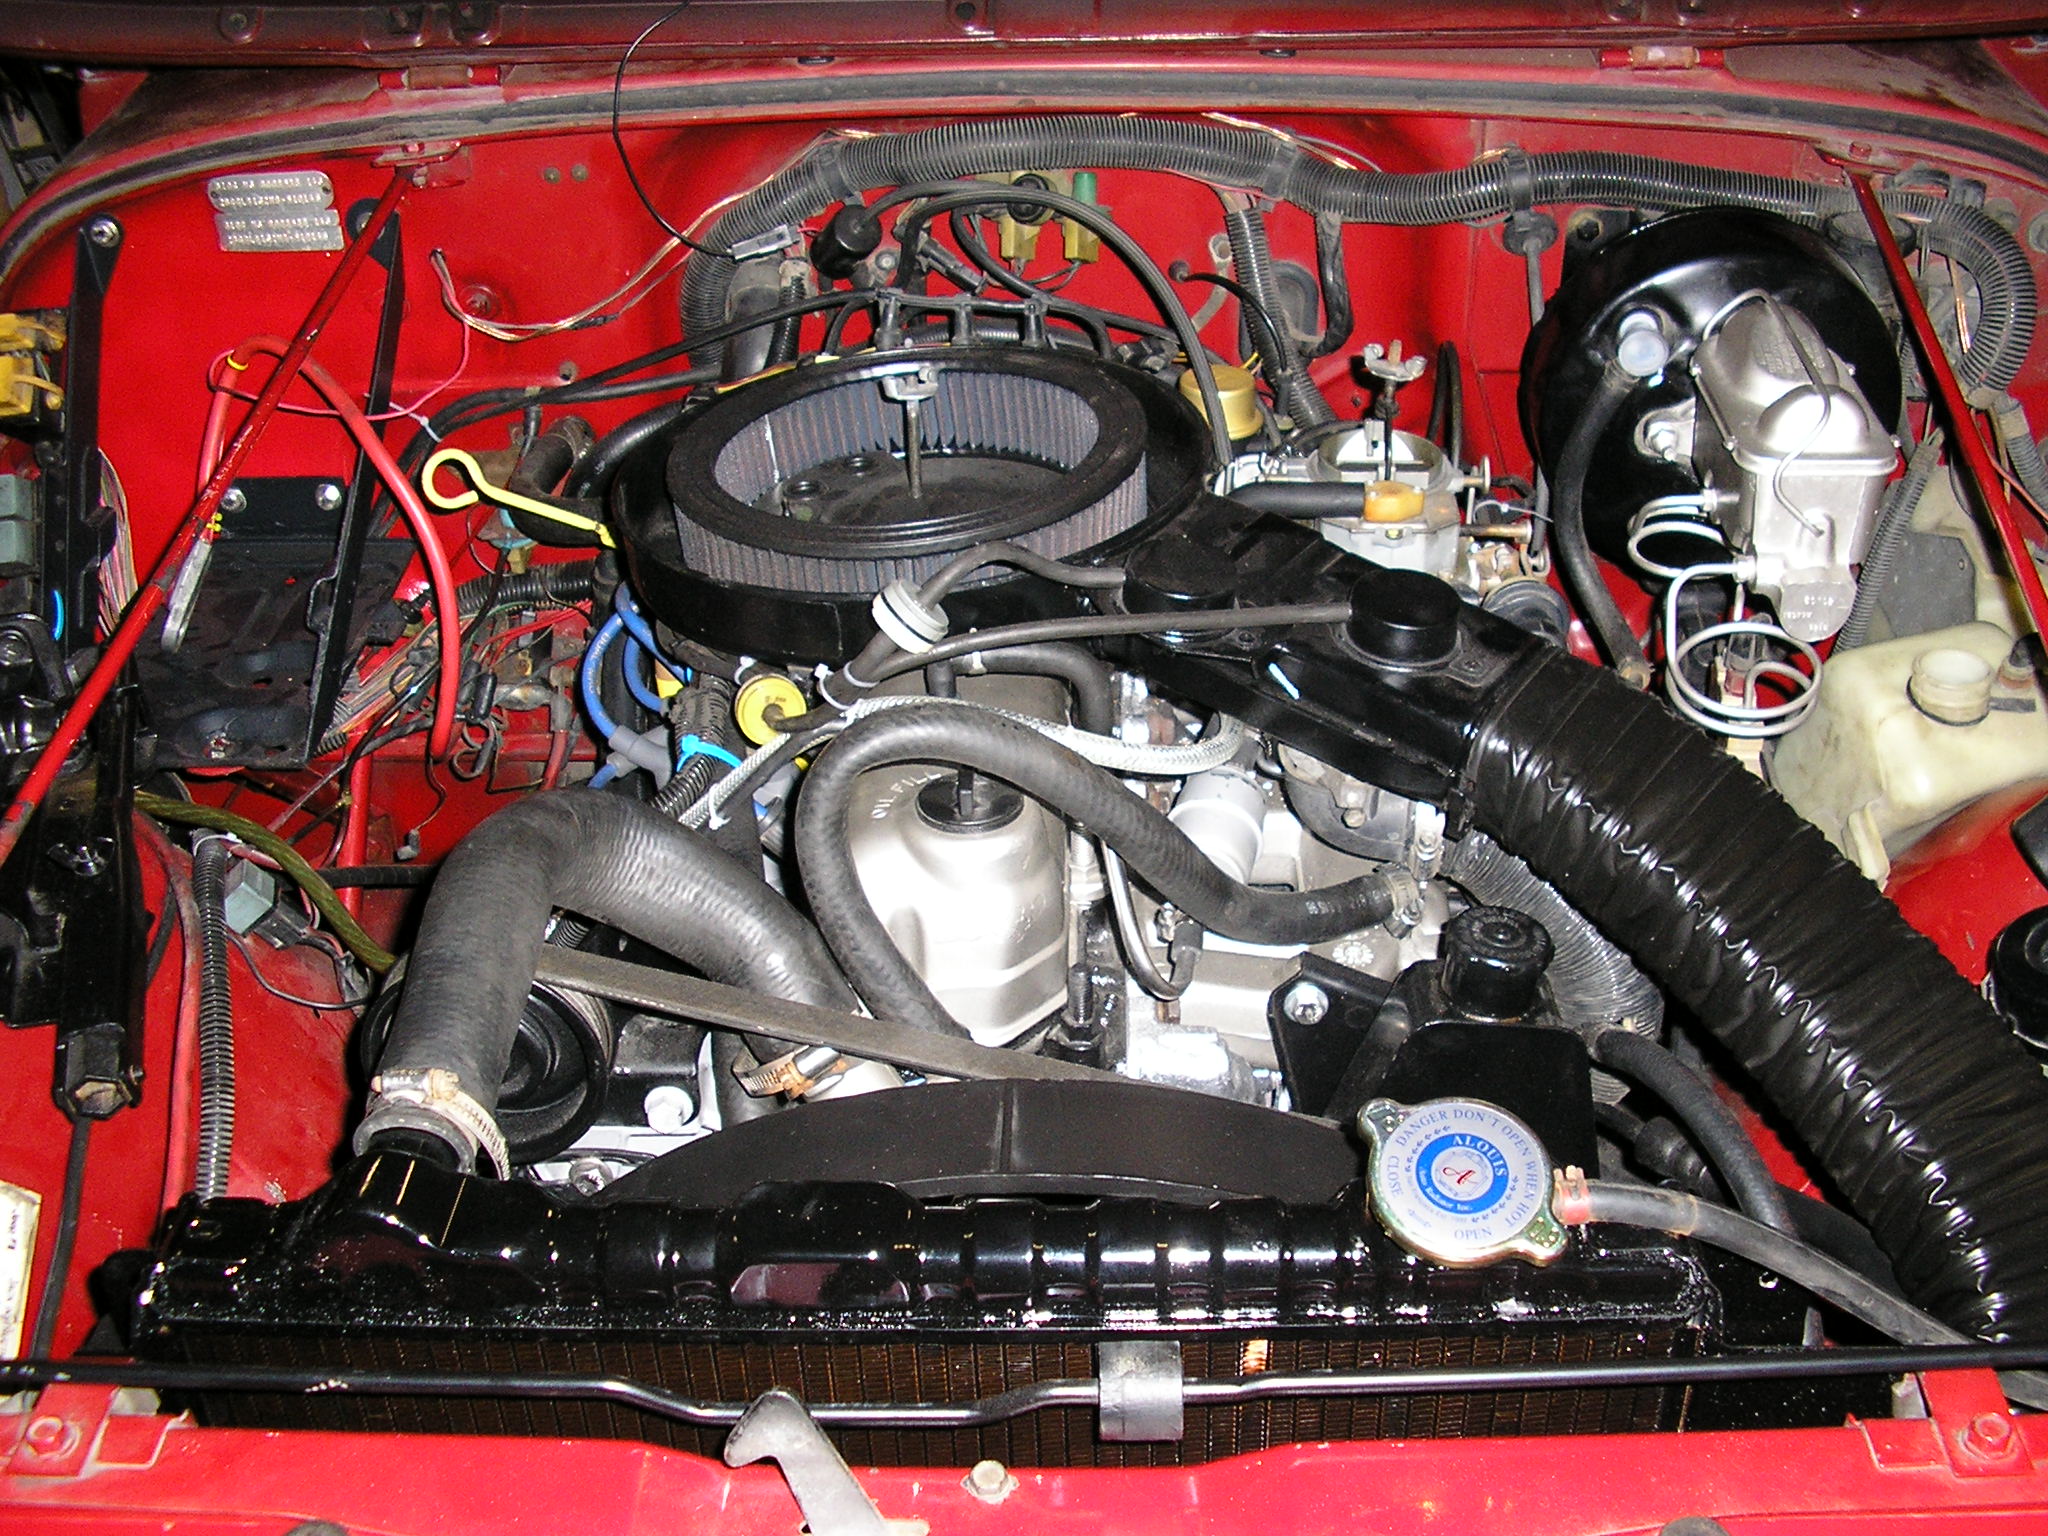
Cleaning and Painting
Cleaning and Painting
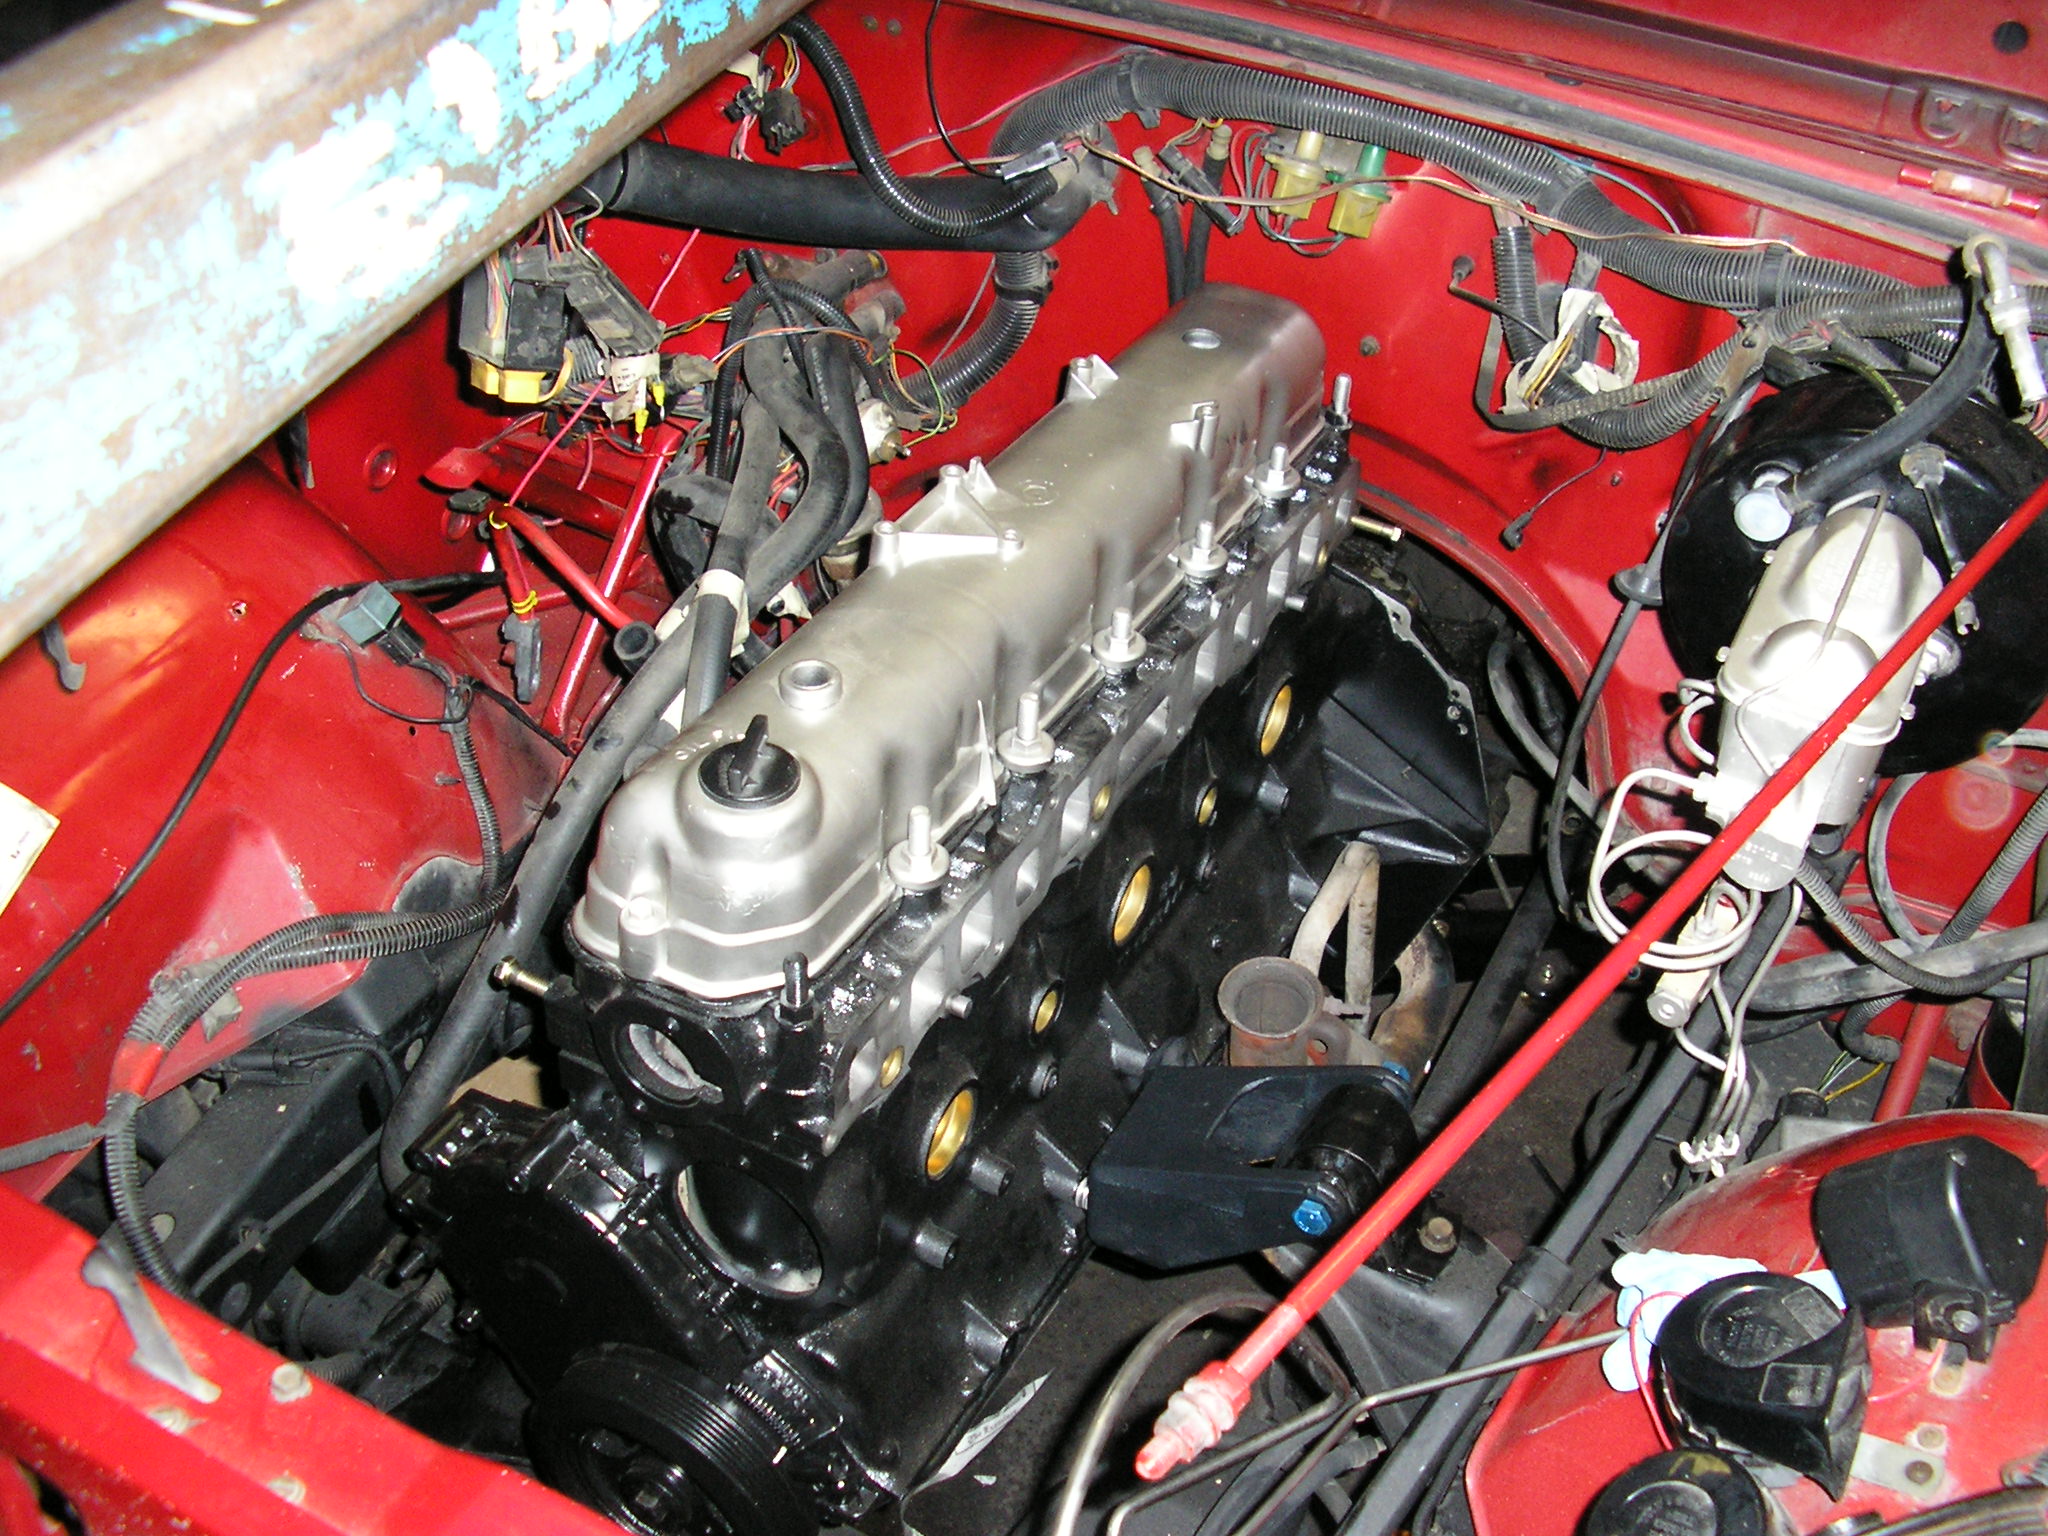
The machine shop that did the rebuild for me was M&M Cylinder Heads in Hayward, CA. They are a clean, well run shop that came with a recommendation from a co-worker. I was impressed with their operation and it looks like they did a really good job and had a reasonable price - $2k for a full rebuild along with balancing the engine. They have the know-how and facilities to do more advanced stuff as well (racing engines and really detailed restorations.) If you live in the greater Bay Area and are looking for a shop I'd suggest giving them a call. I "detailed" the compartment and all the various bits (alternator, water pump etc...) with some elbow grease and some paint. The frame and black parts were all either Krylon 'Rust Reformer' flat black or their semi gloss BBQ grill paint (high temp - 500F) The silver and gold colors were from Eastwood and are their Alumablast, Ti-Coat, and Golden Cad spray paints. The exhaust manifold was done with Duplicolor 1200F Aluminum.


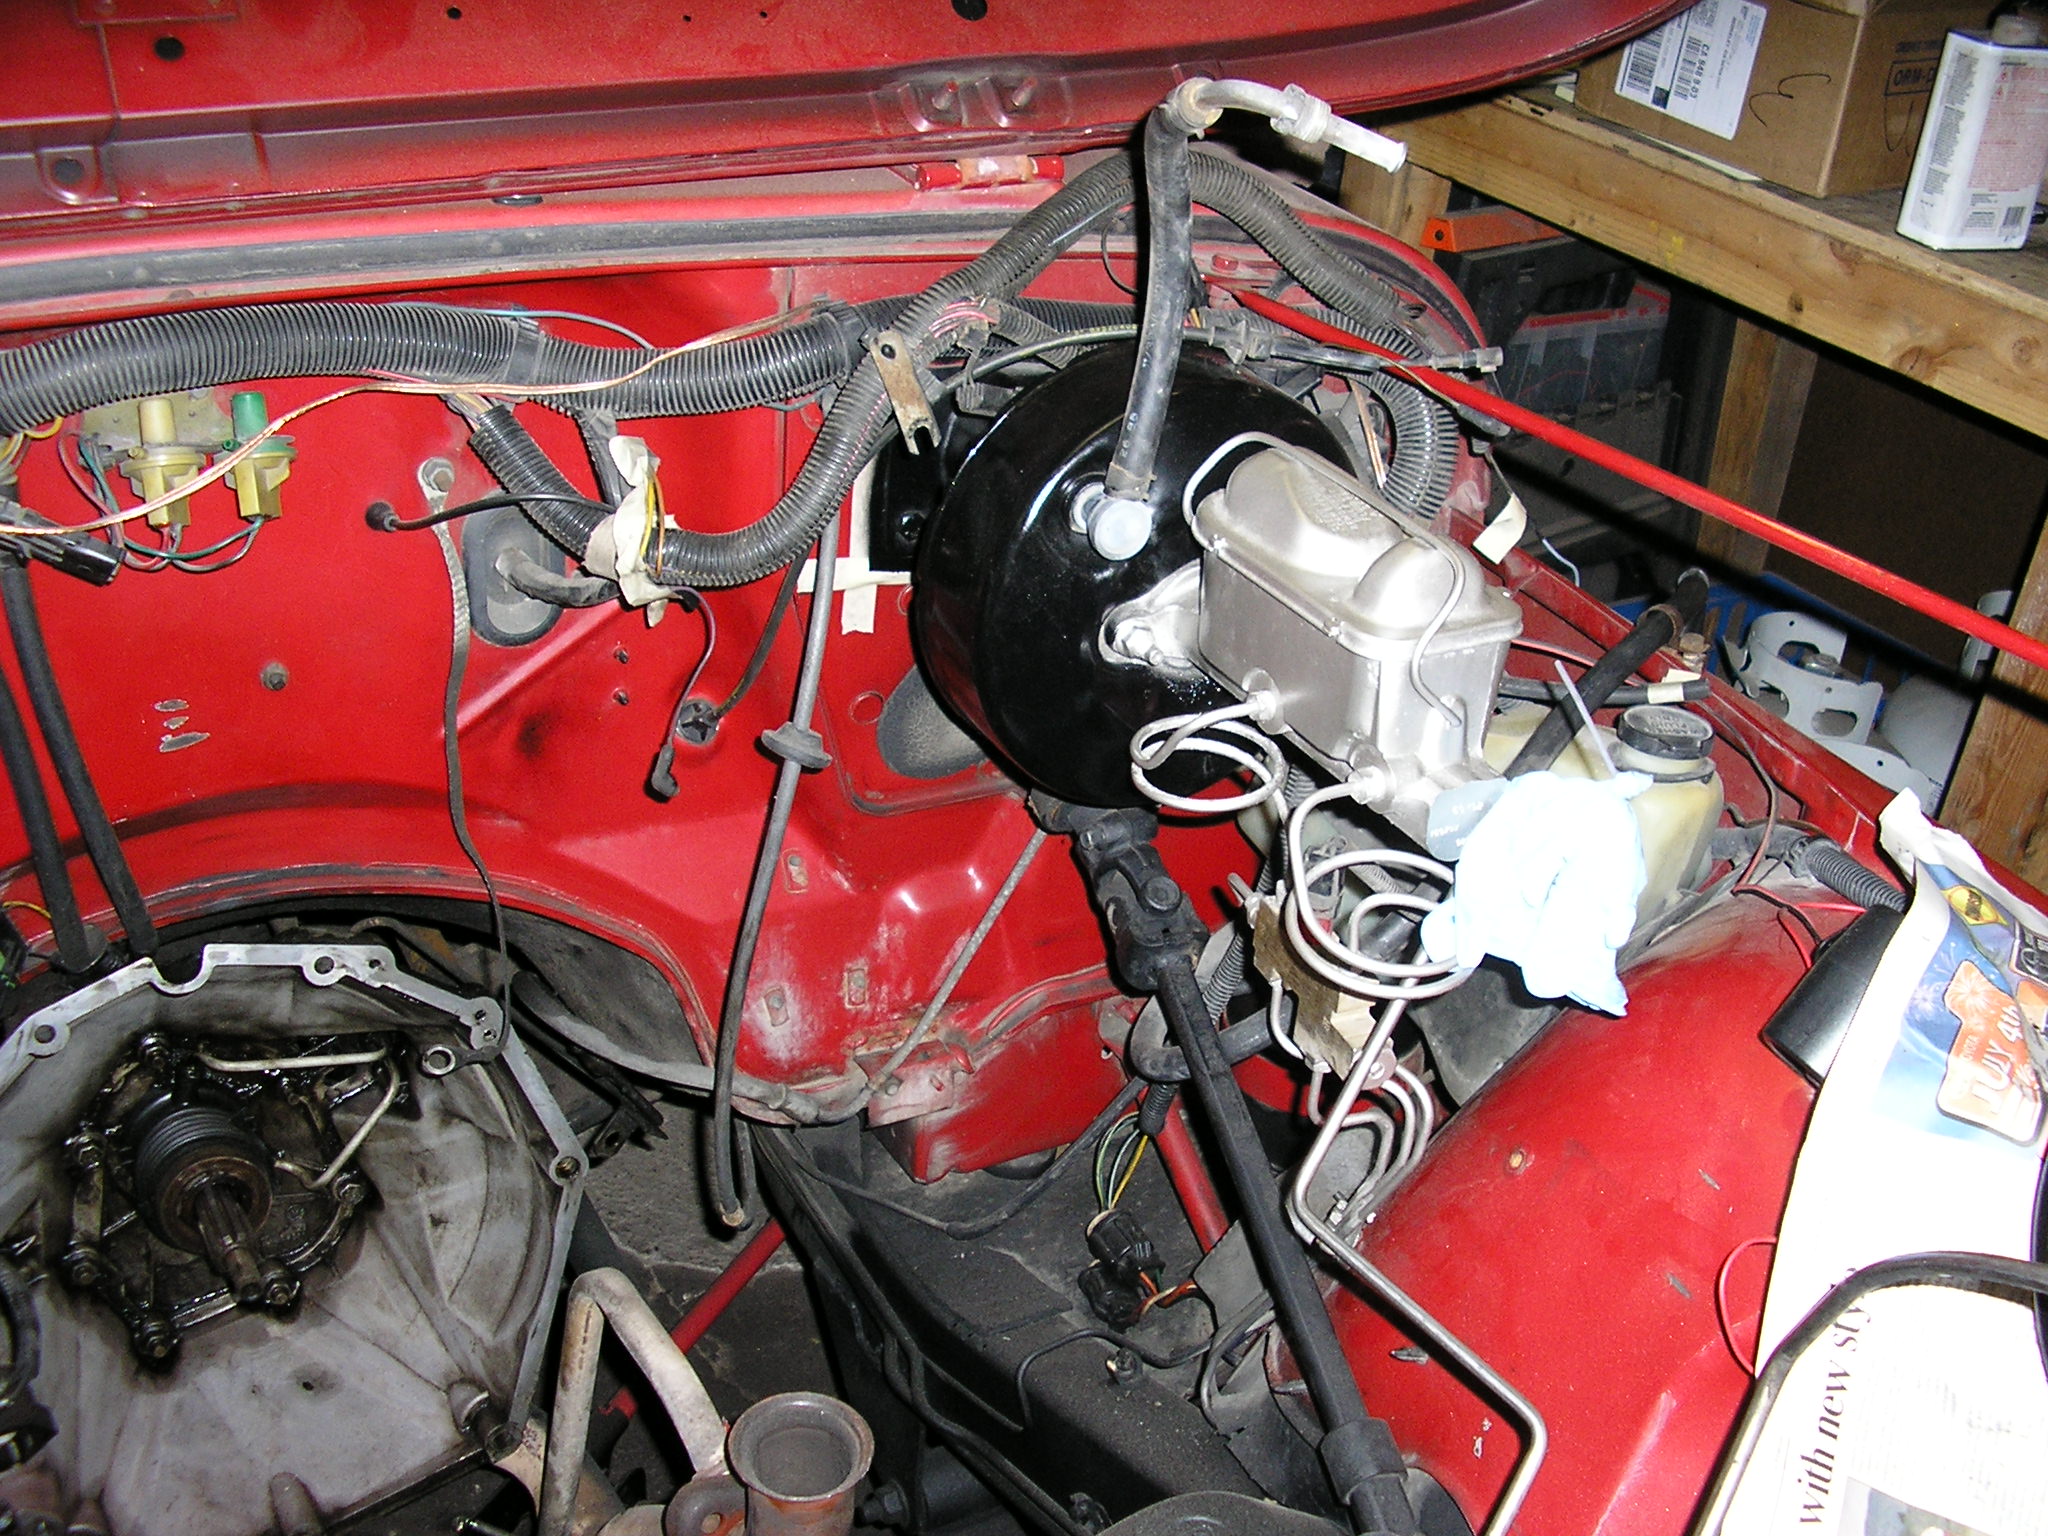
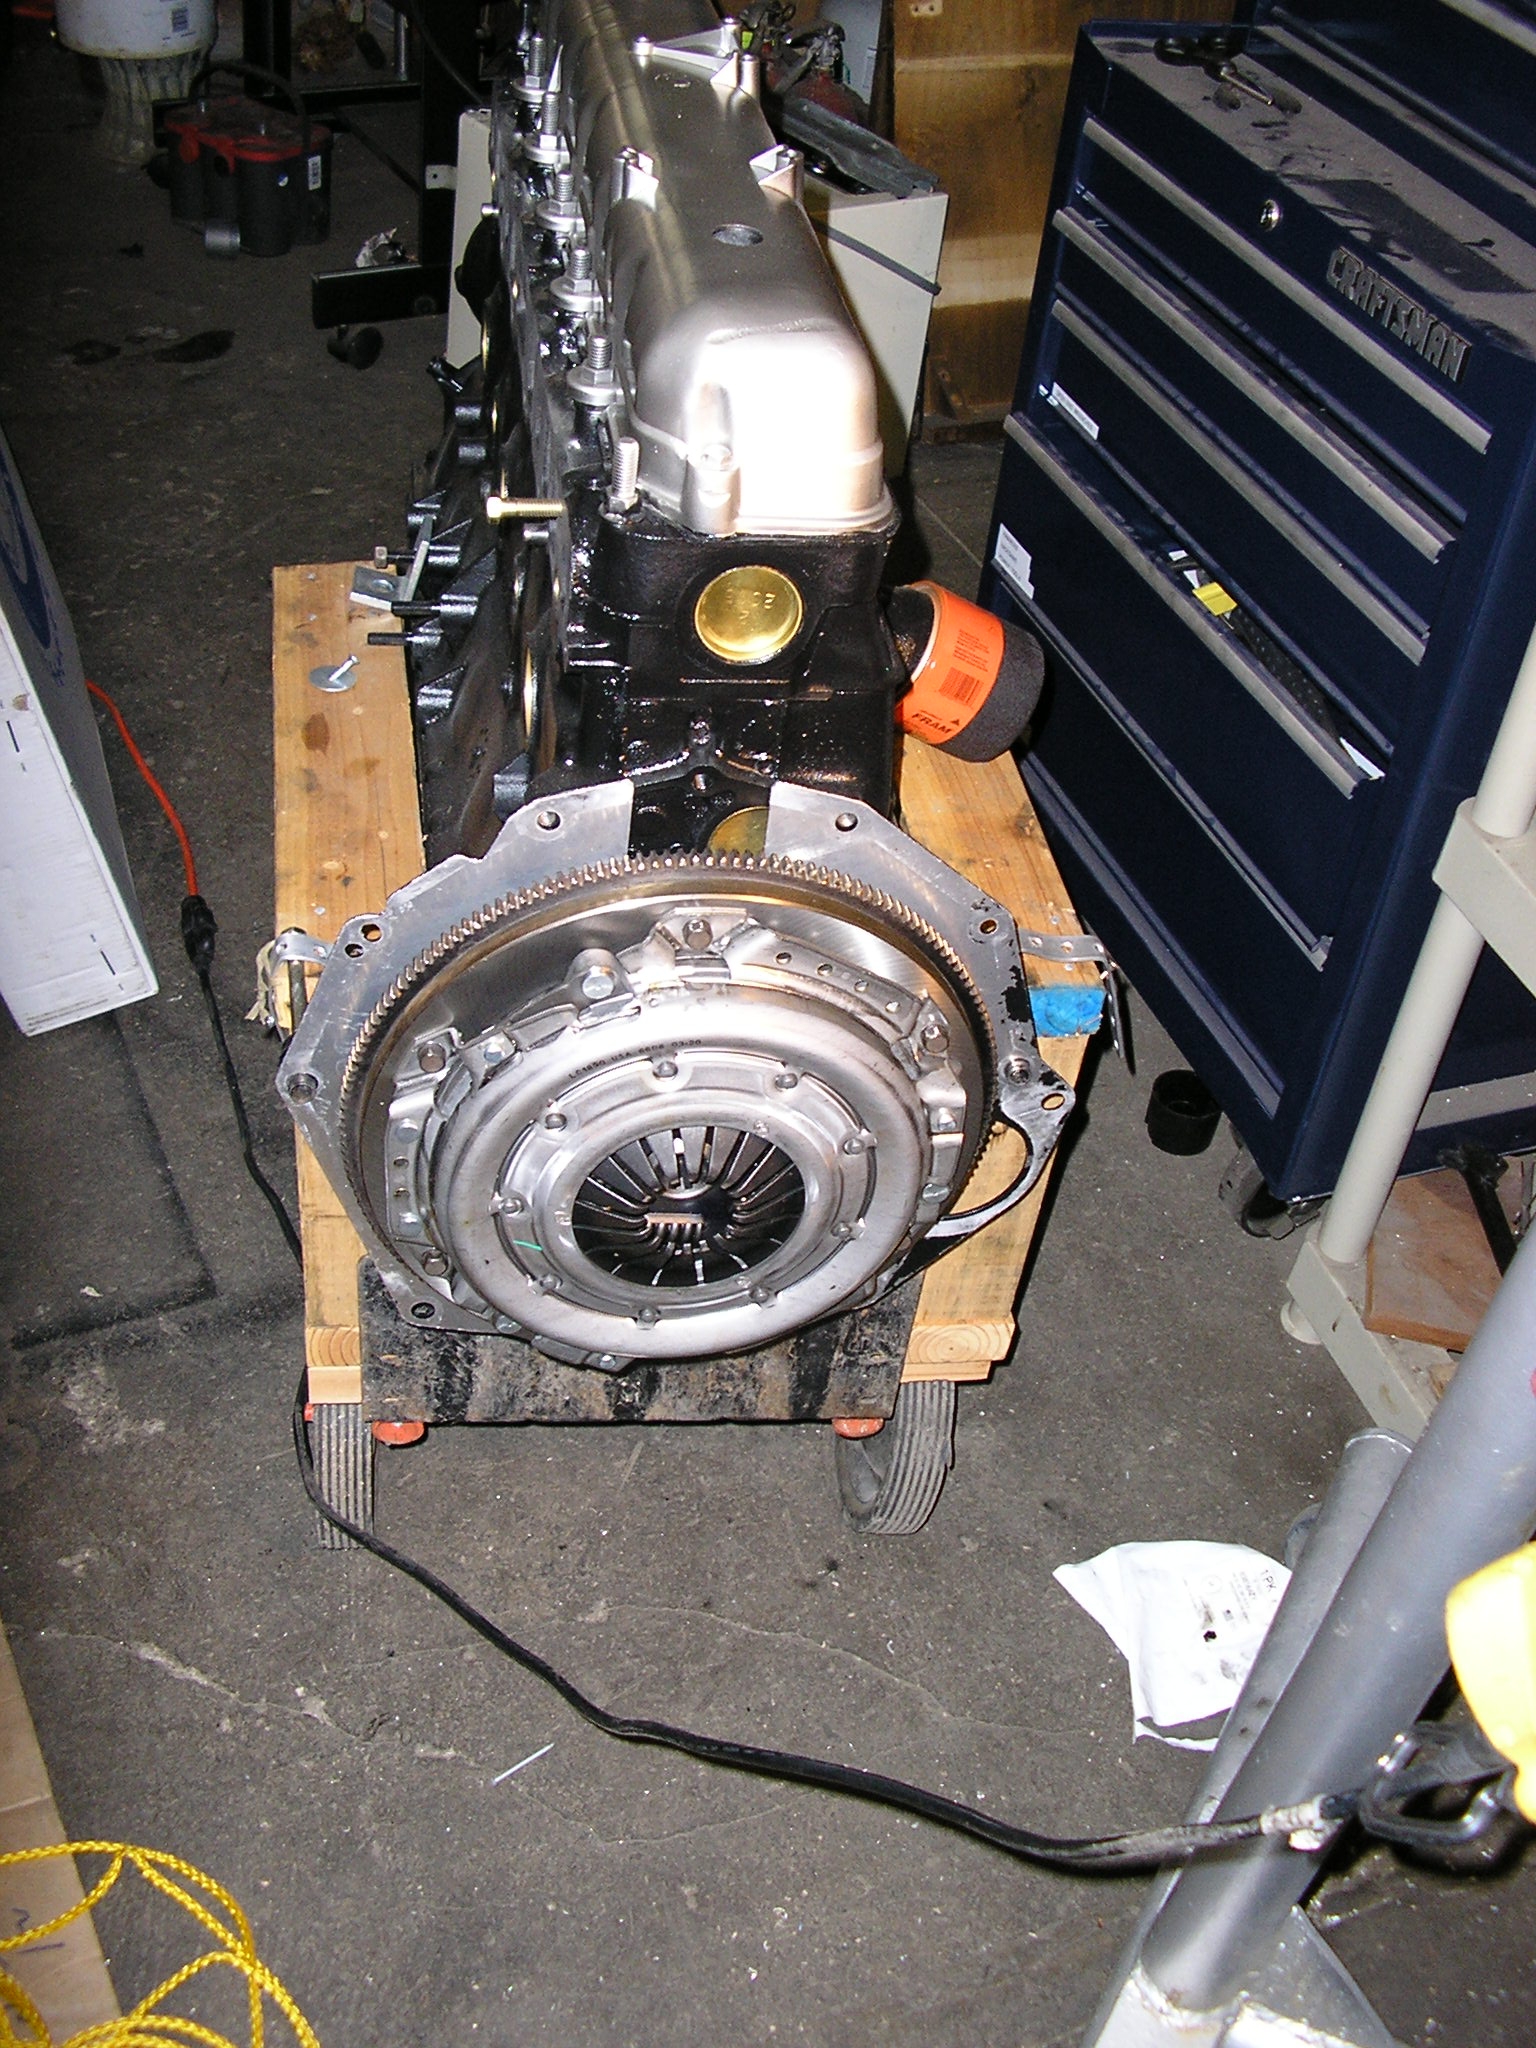
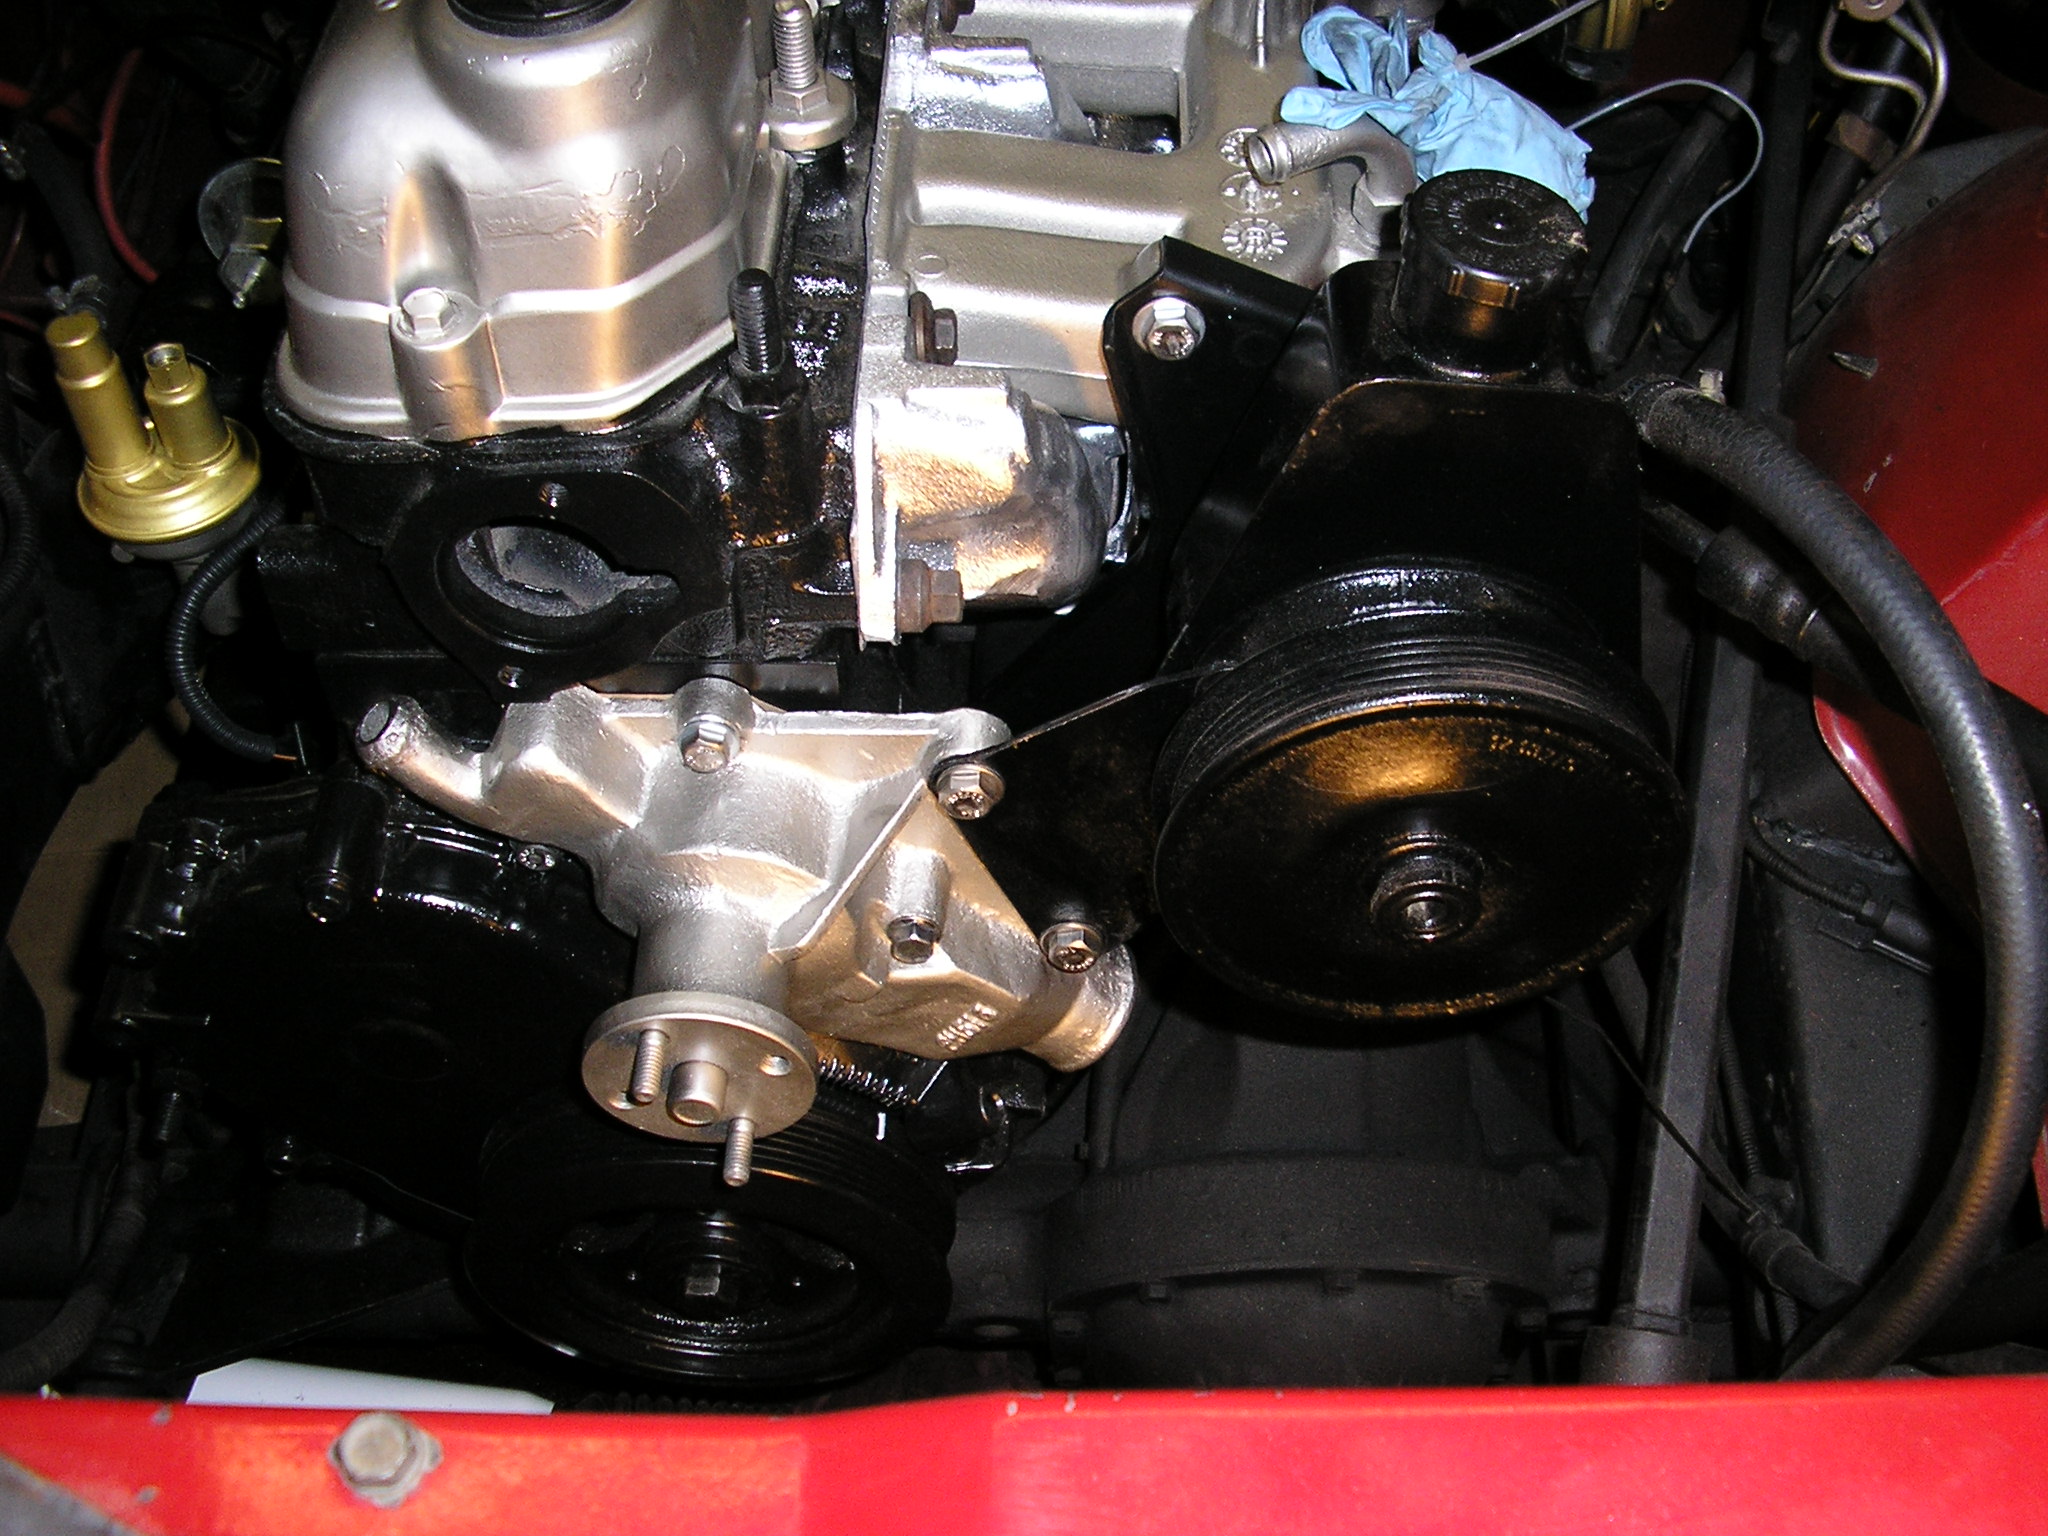
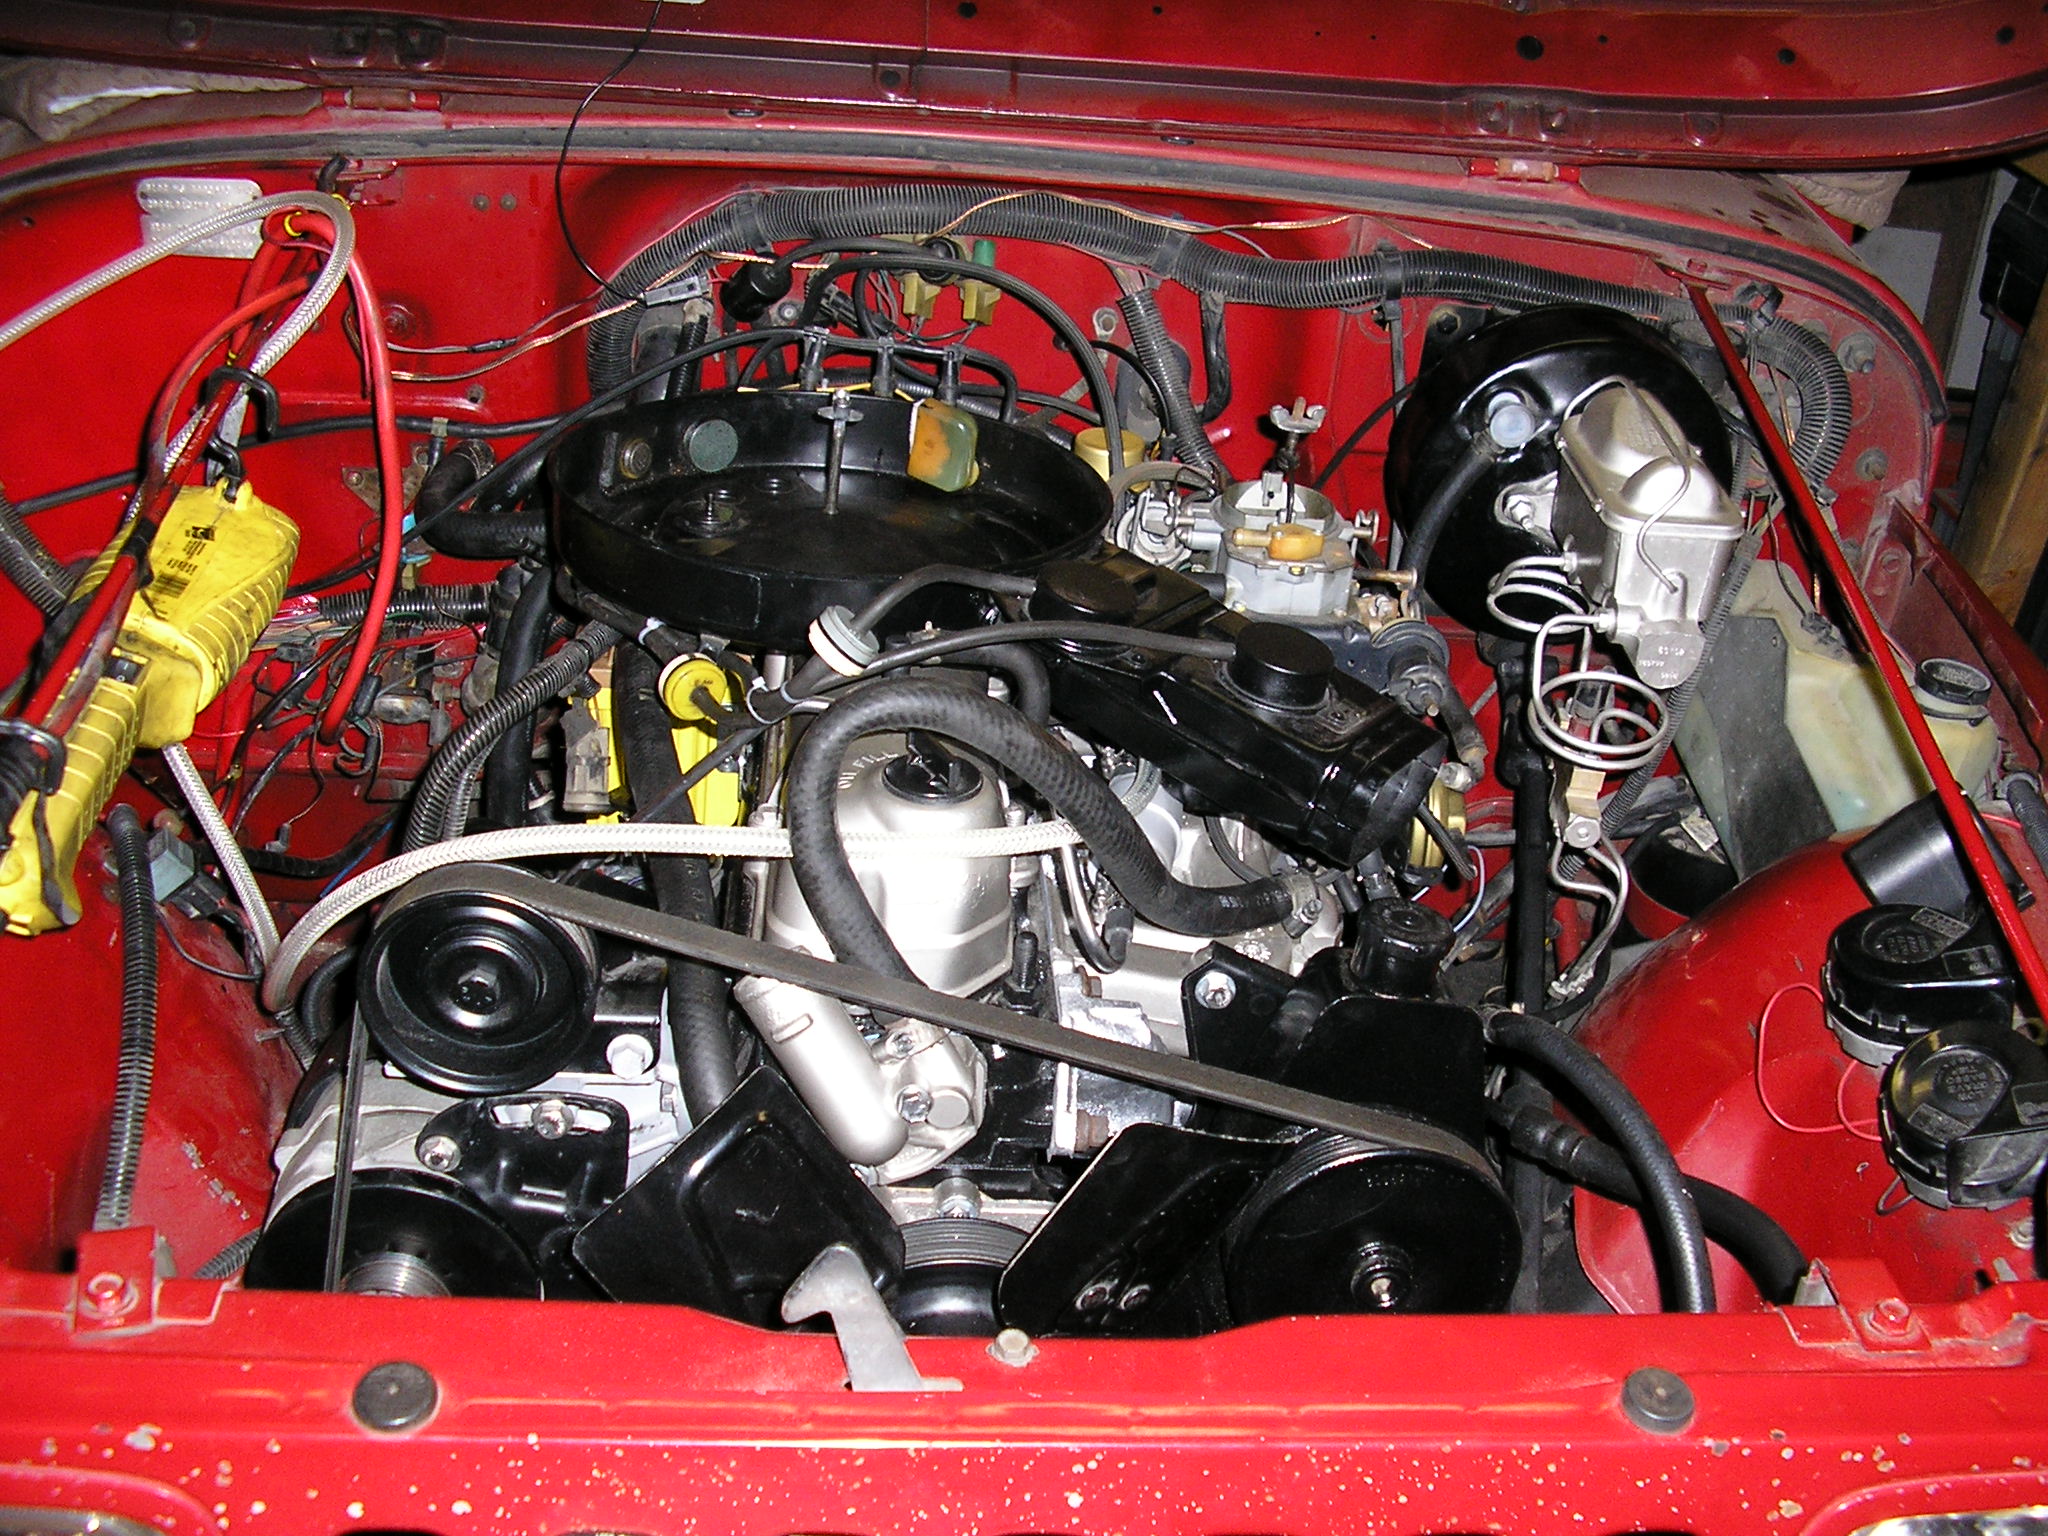
Re-Installation
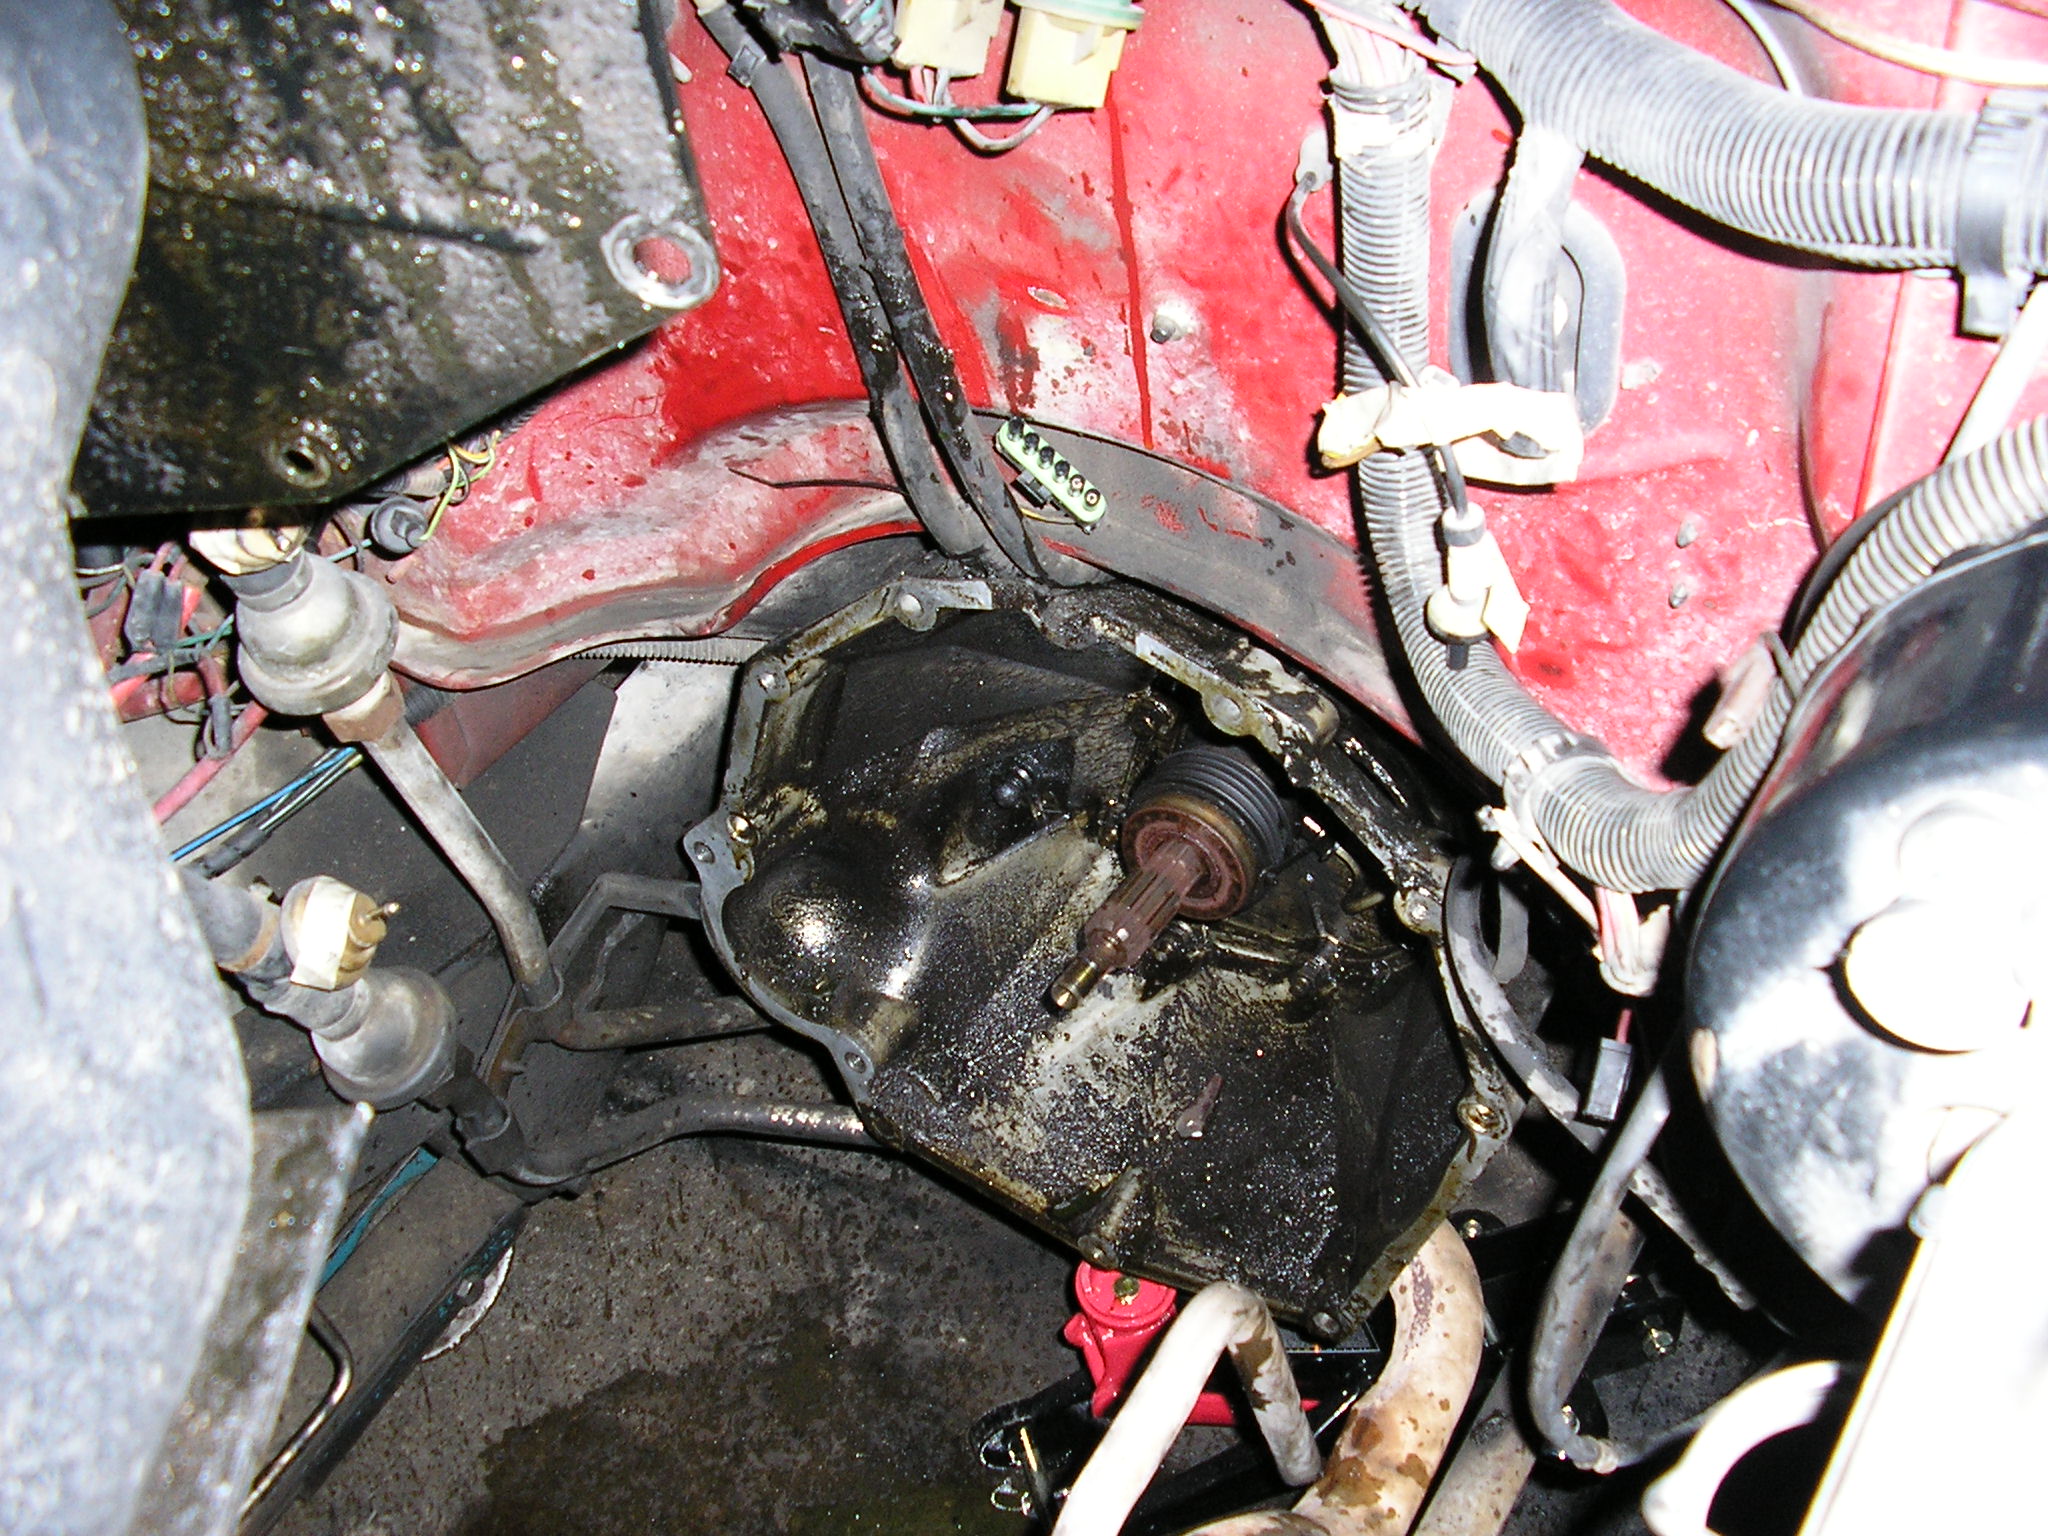
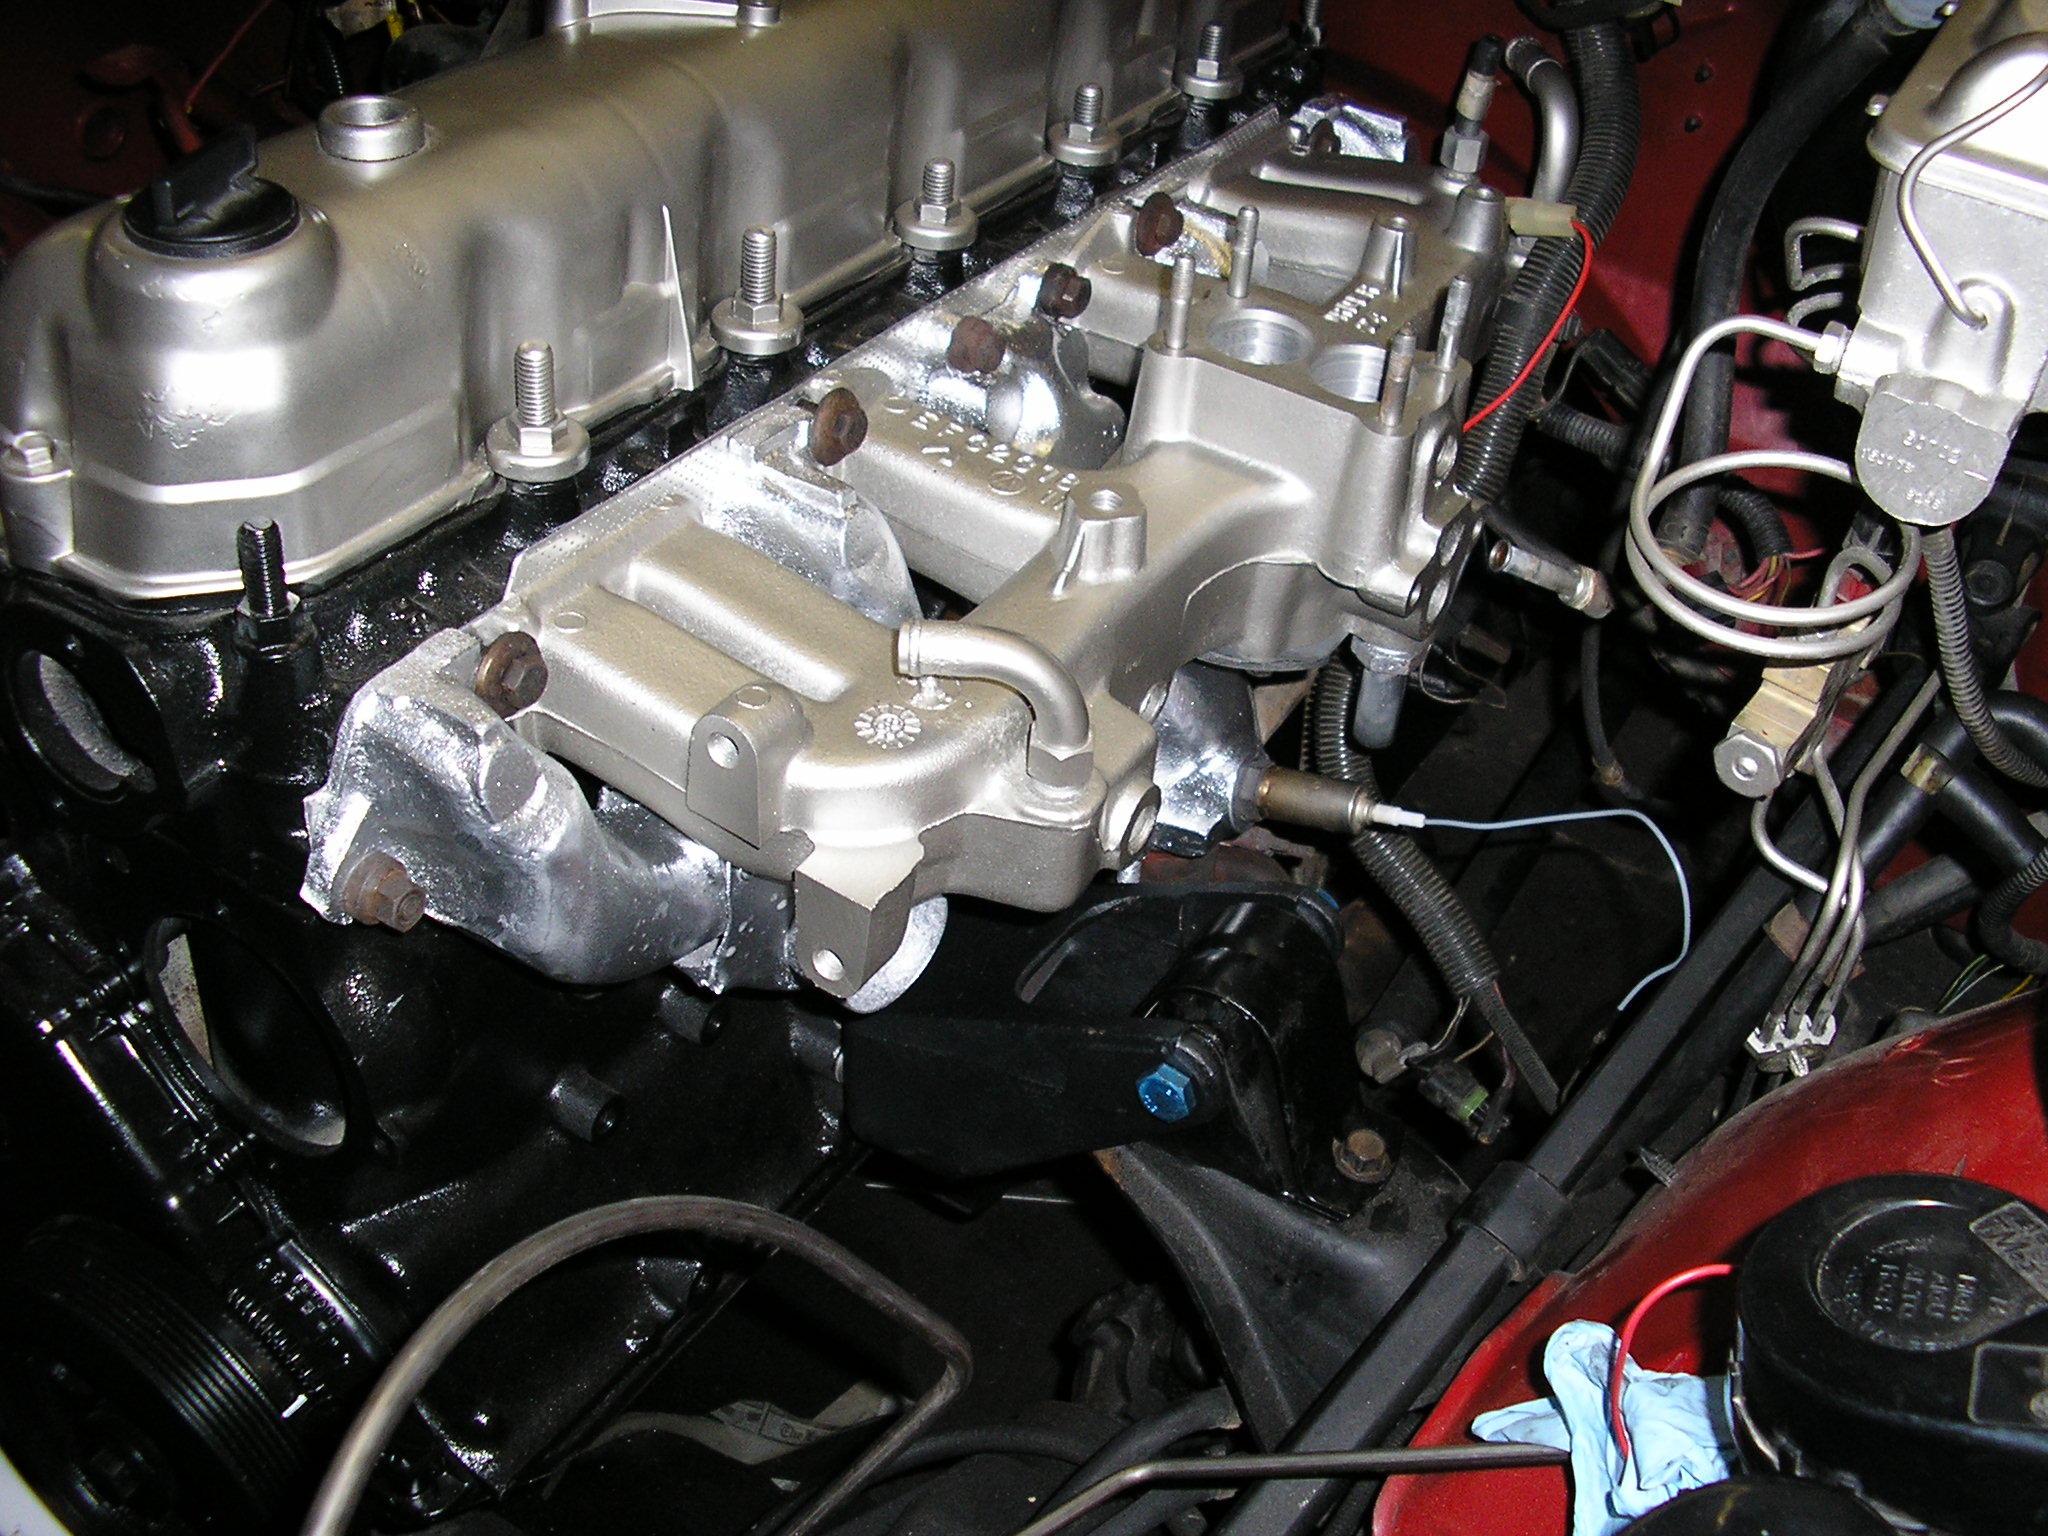
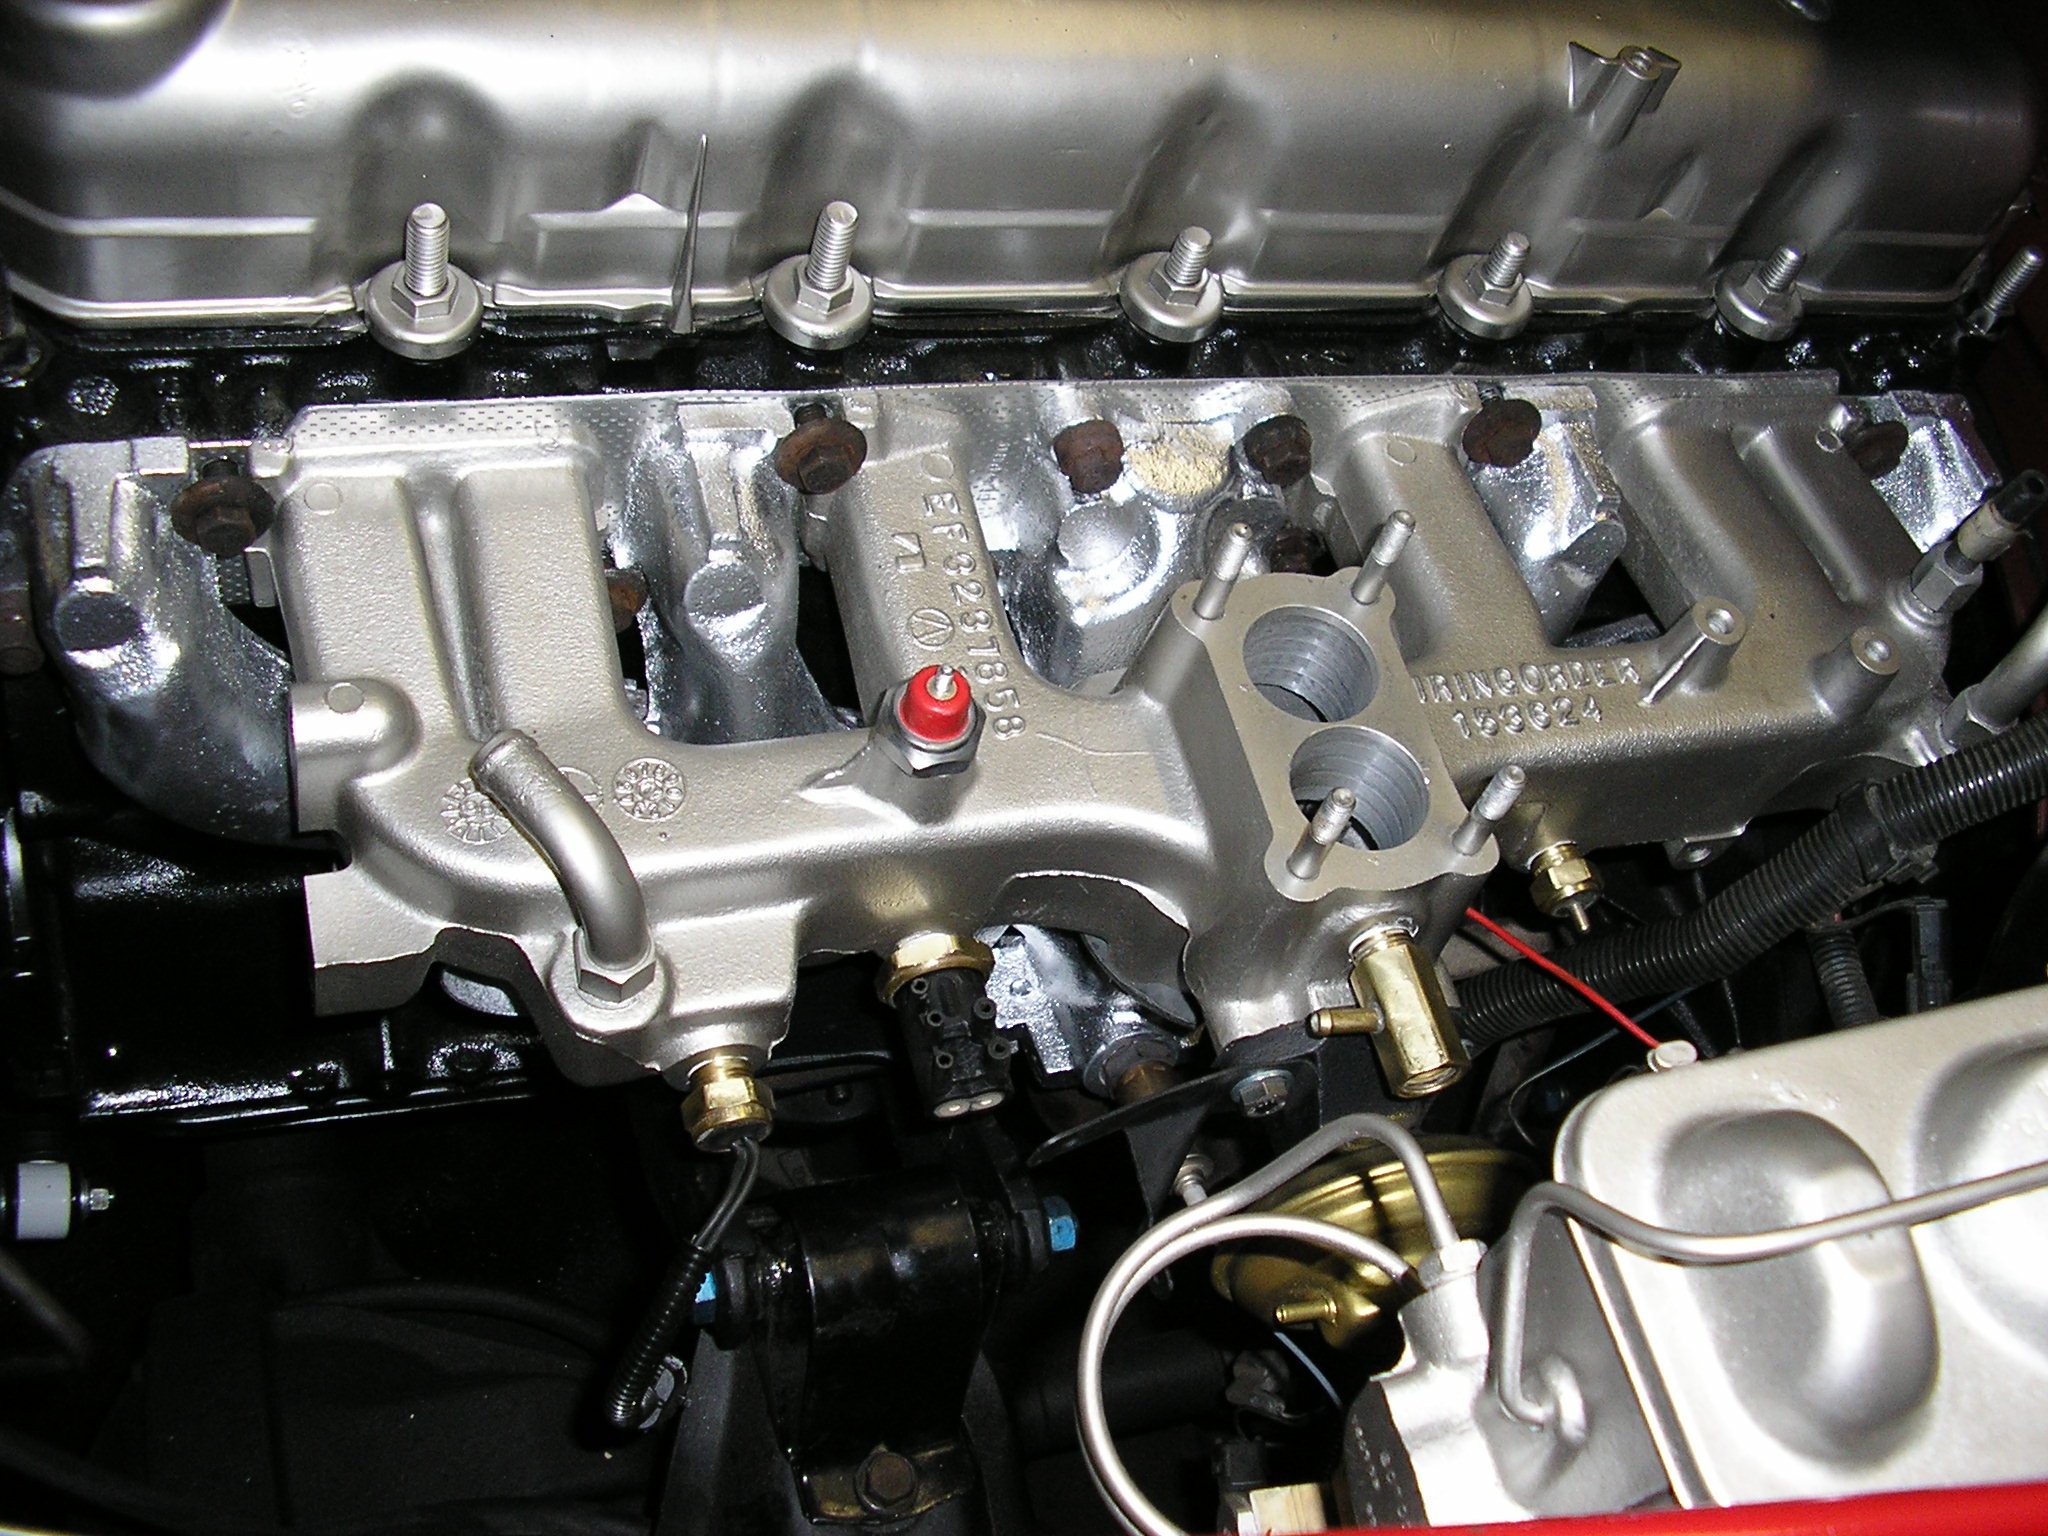
Installation
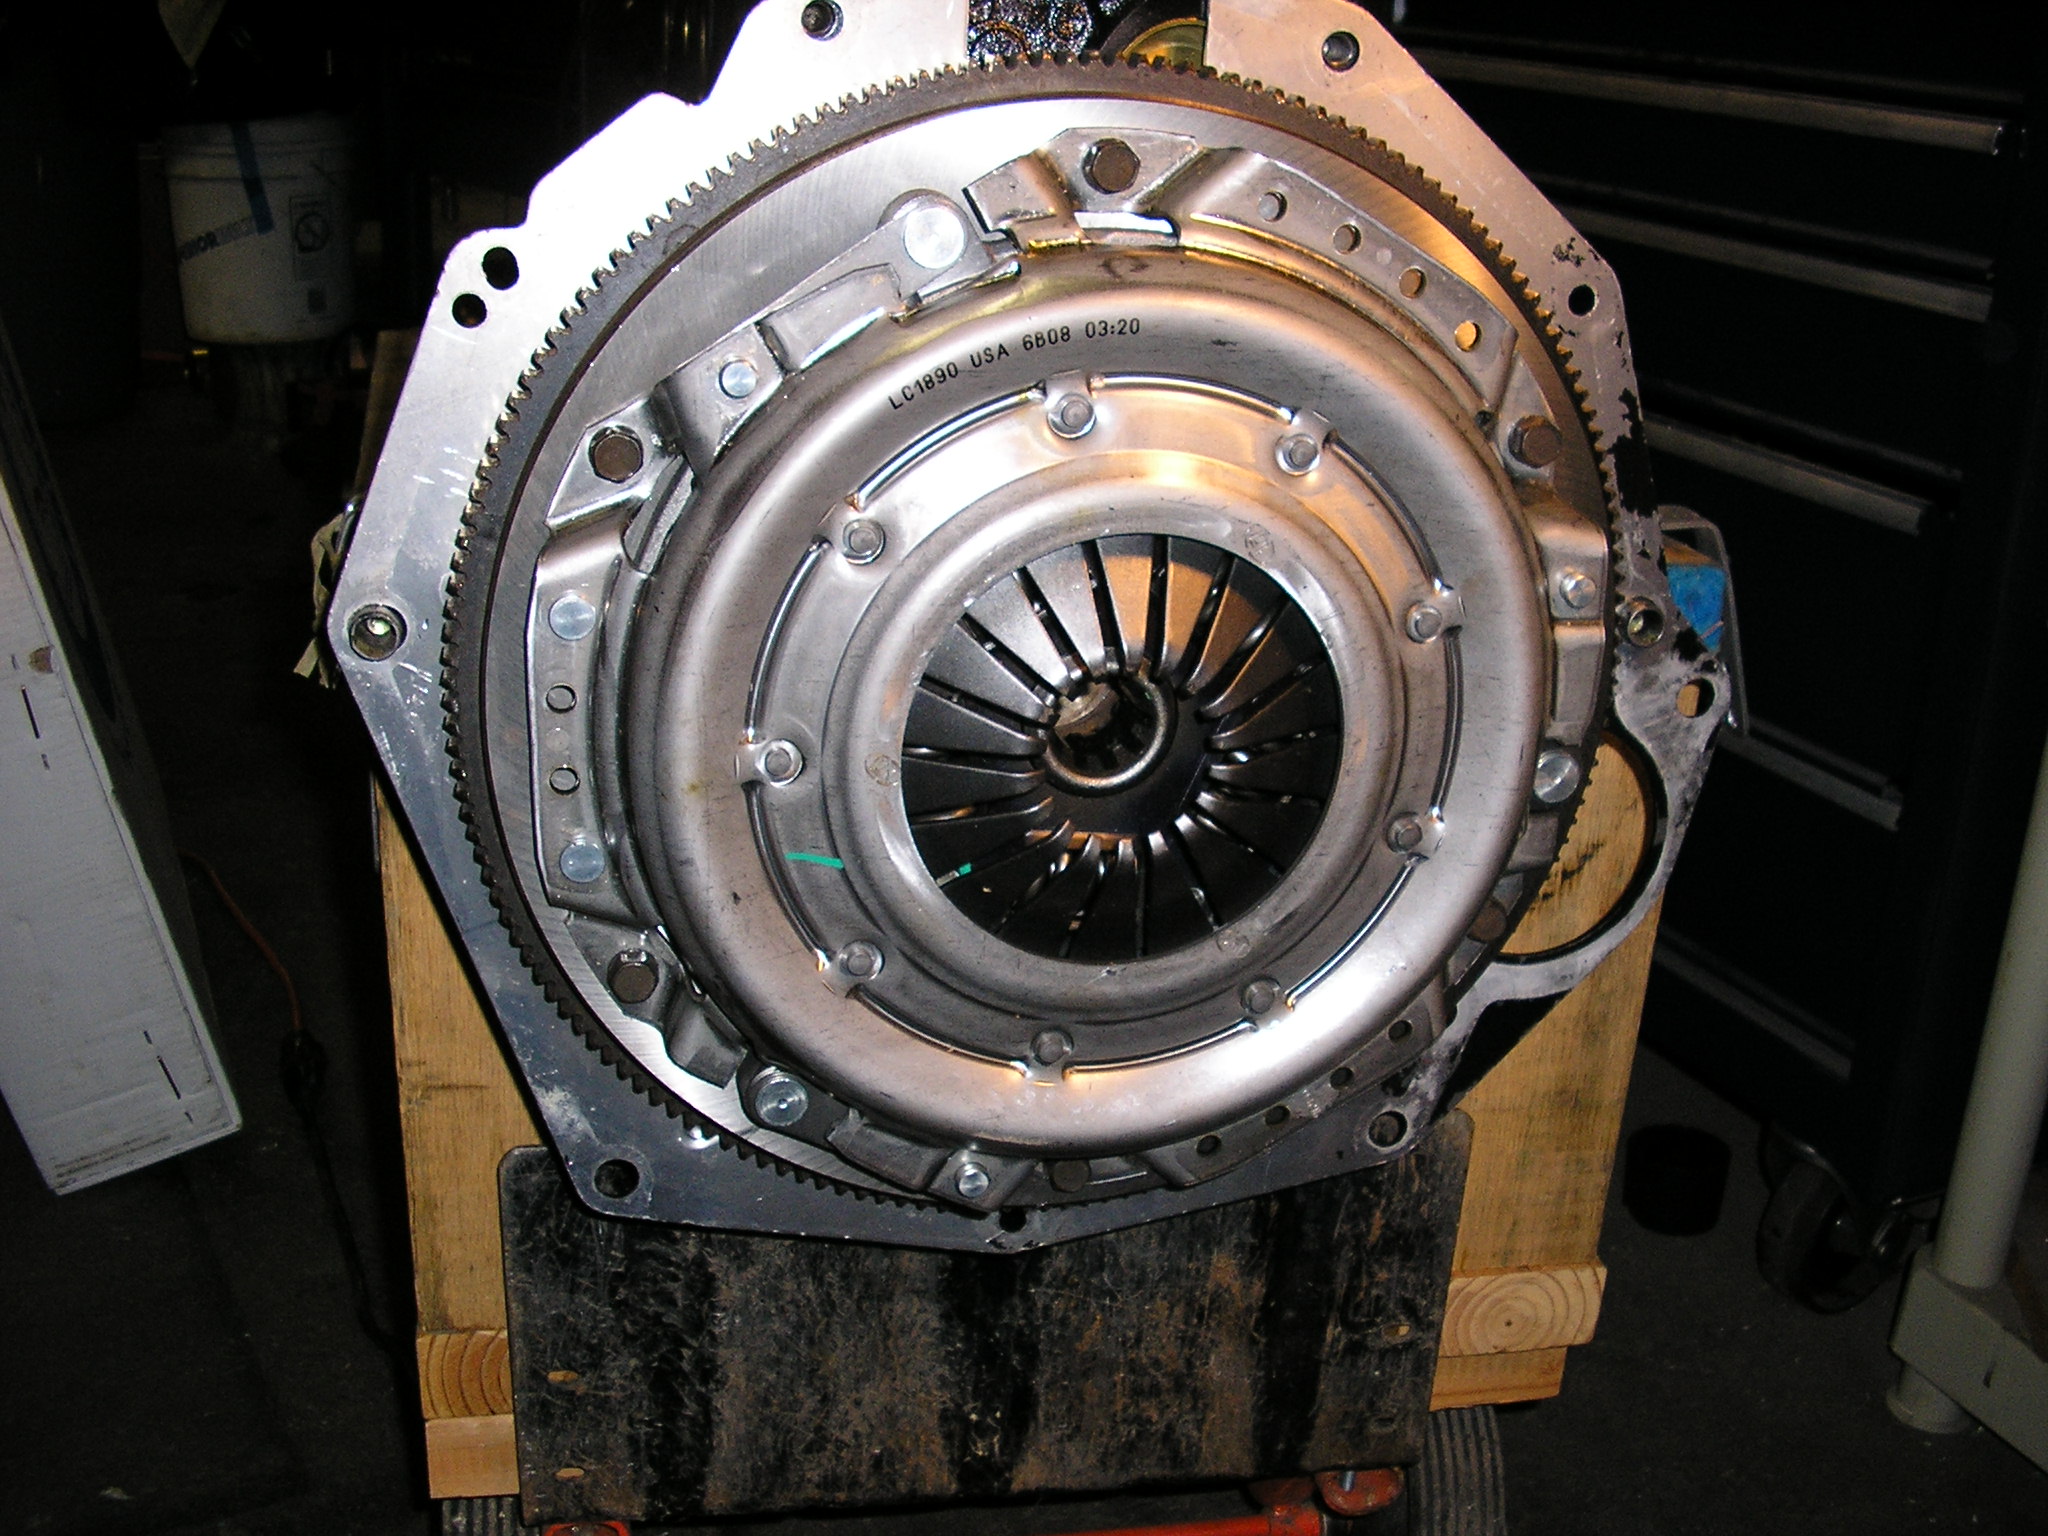
I've replaced a good number of the bolts with either Grade 8 or M10 depending on their flavor (english vs. metric) The clutch went in really nicely too and alignment with the shaft on the trans took a minimum of wrestling around. The grade M10 bolts are all blue, Grade 8's are the standard golden color.
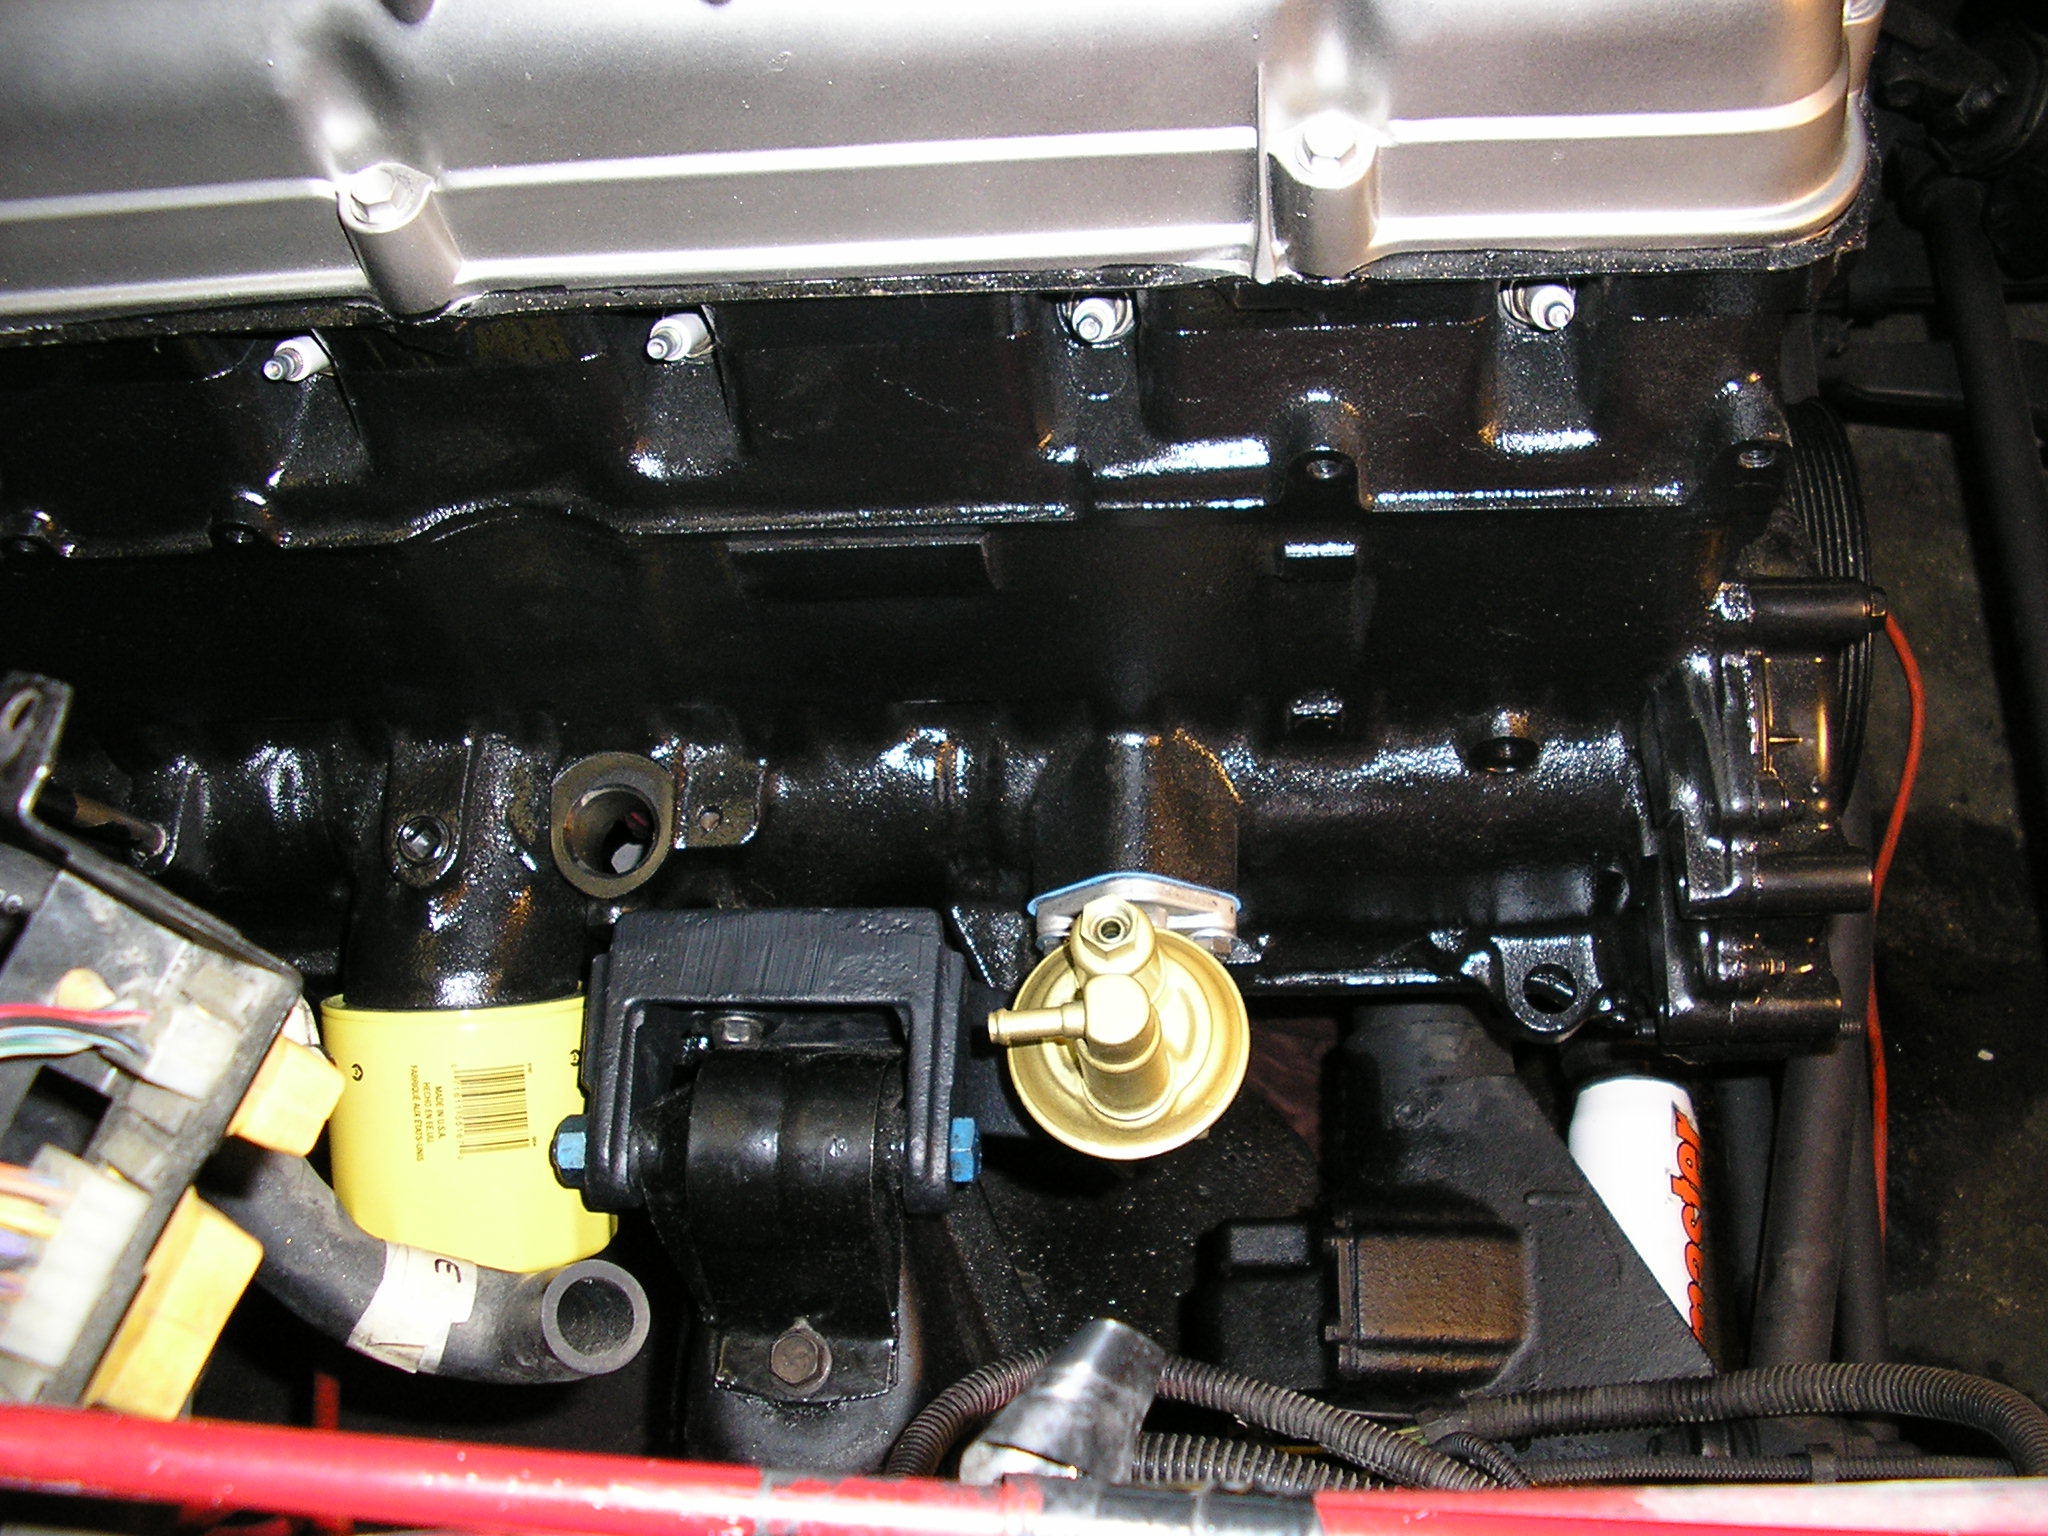
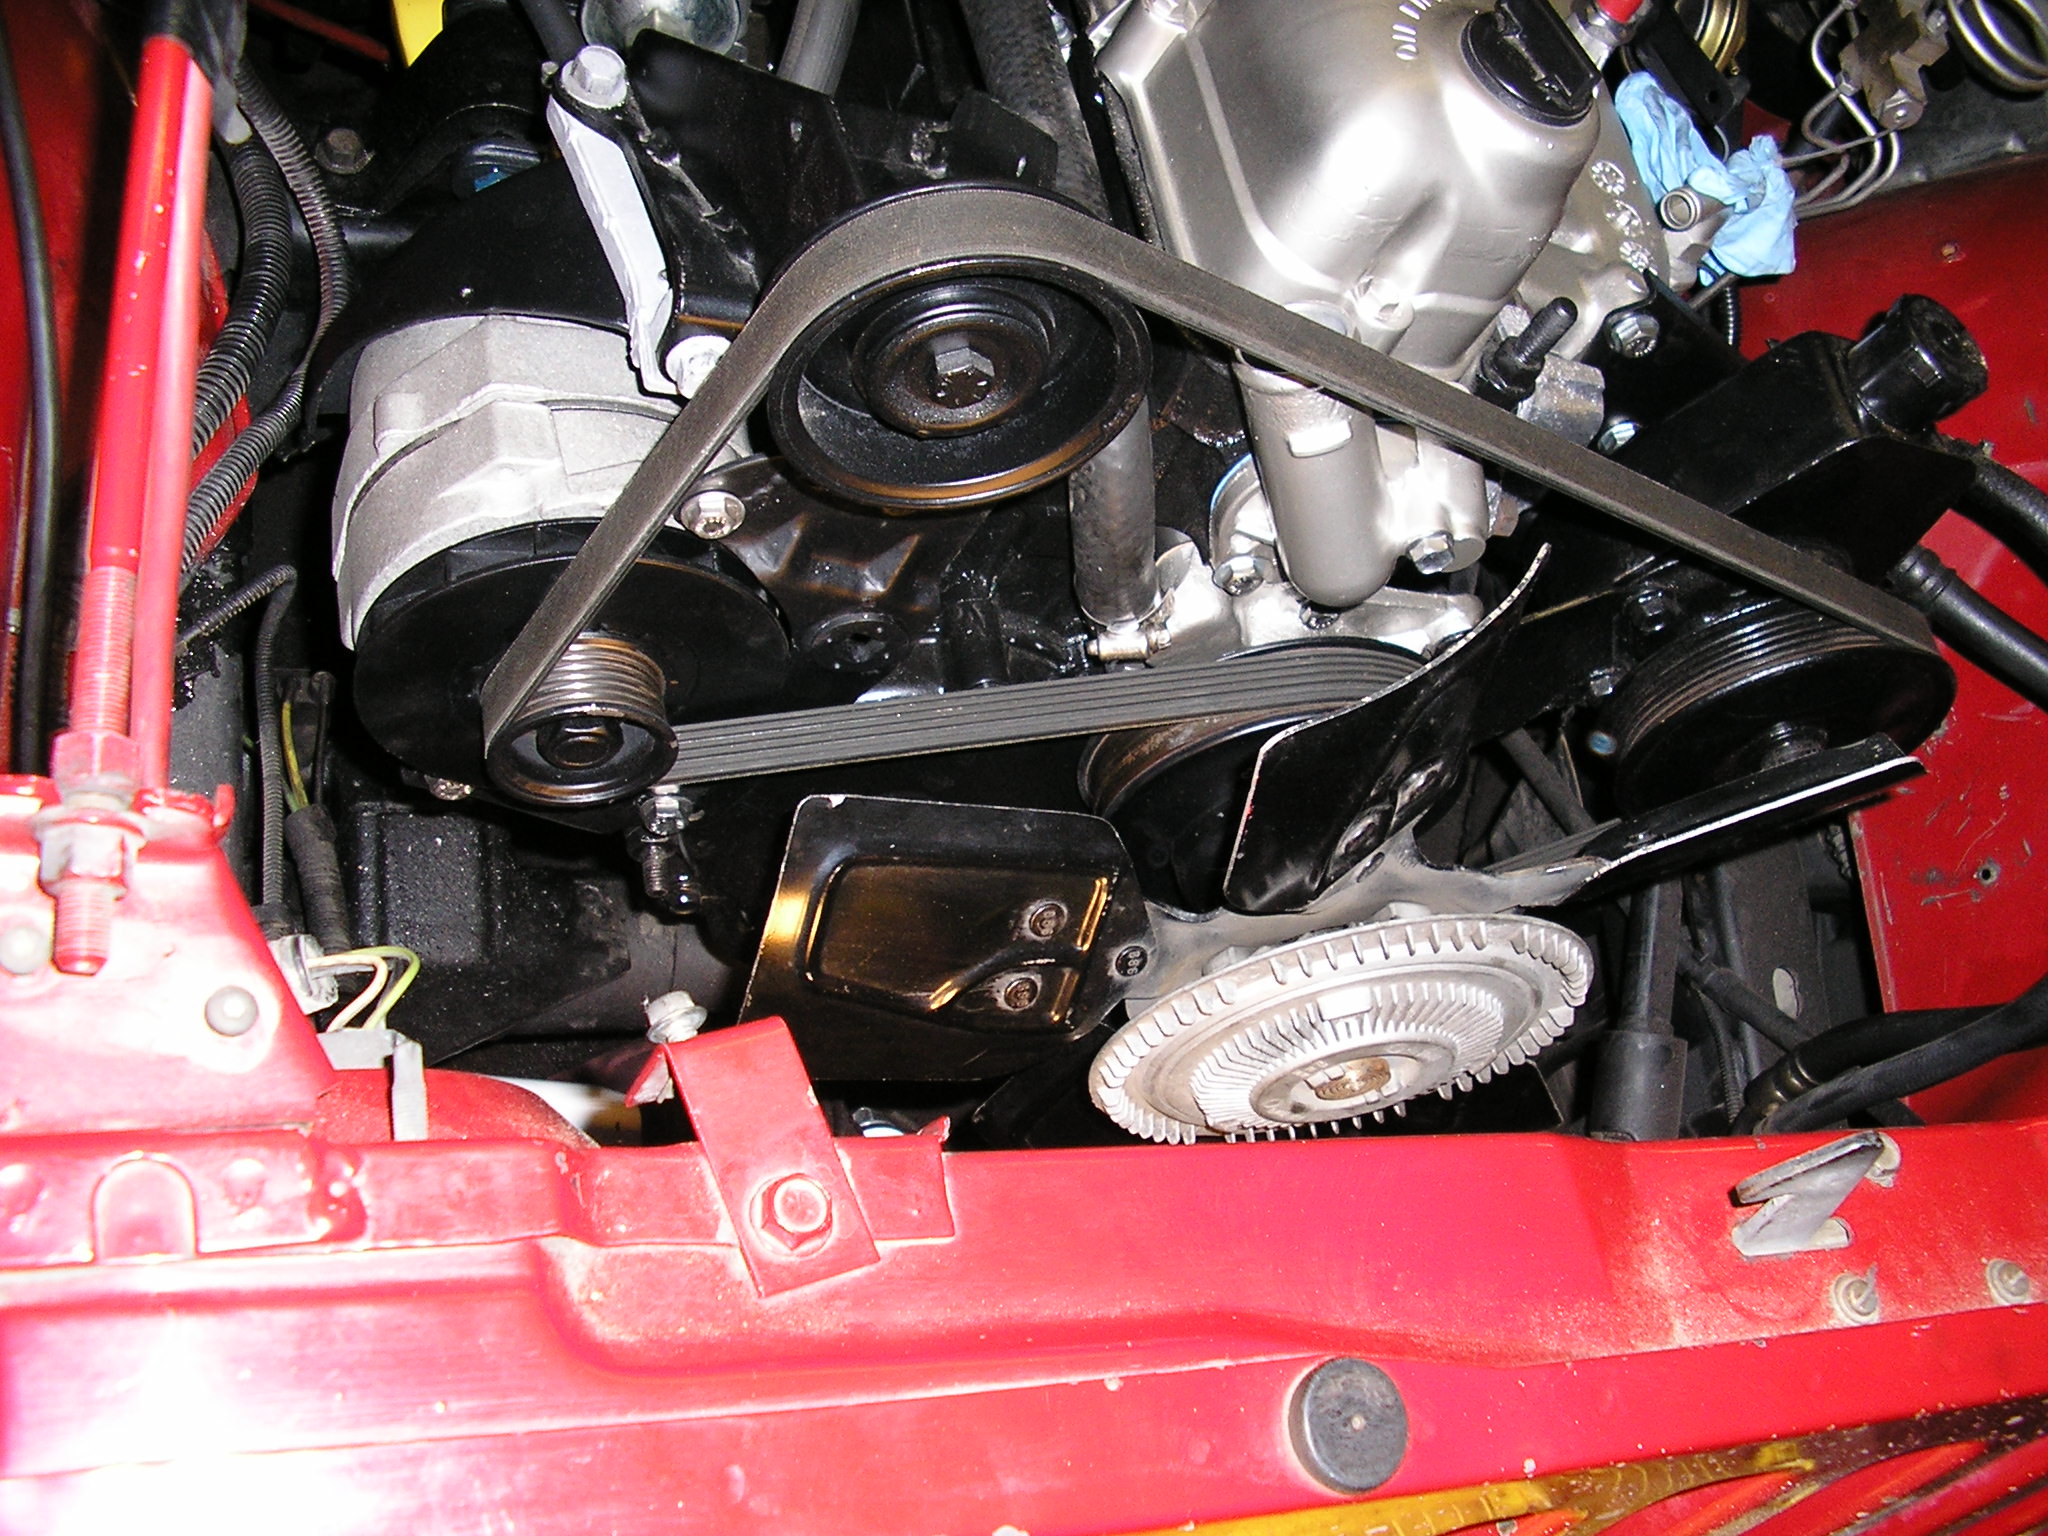
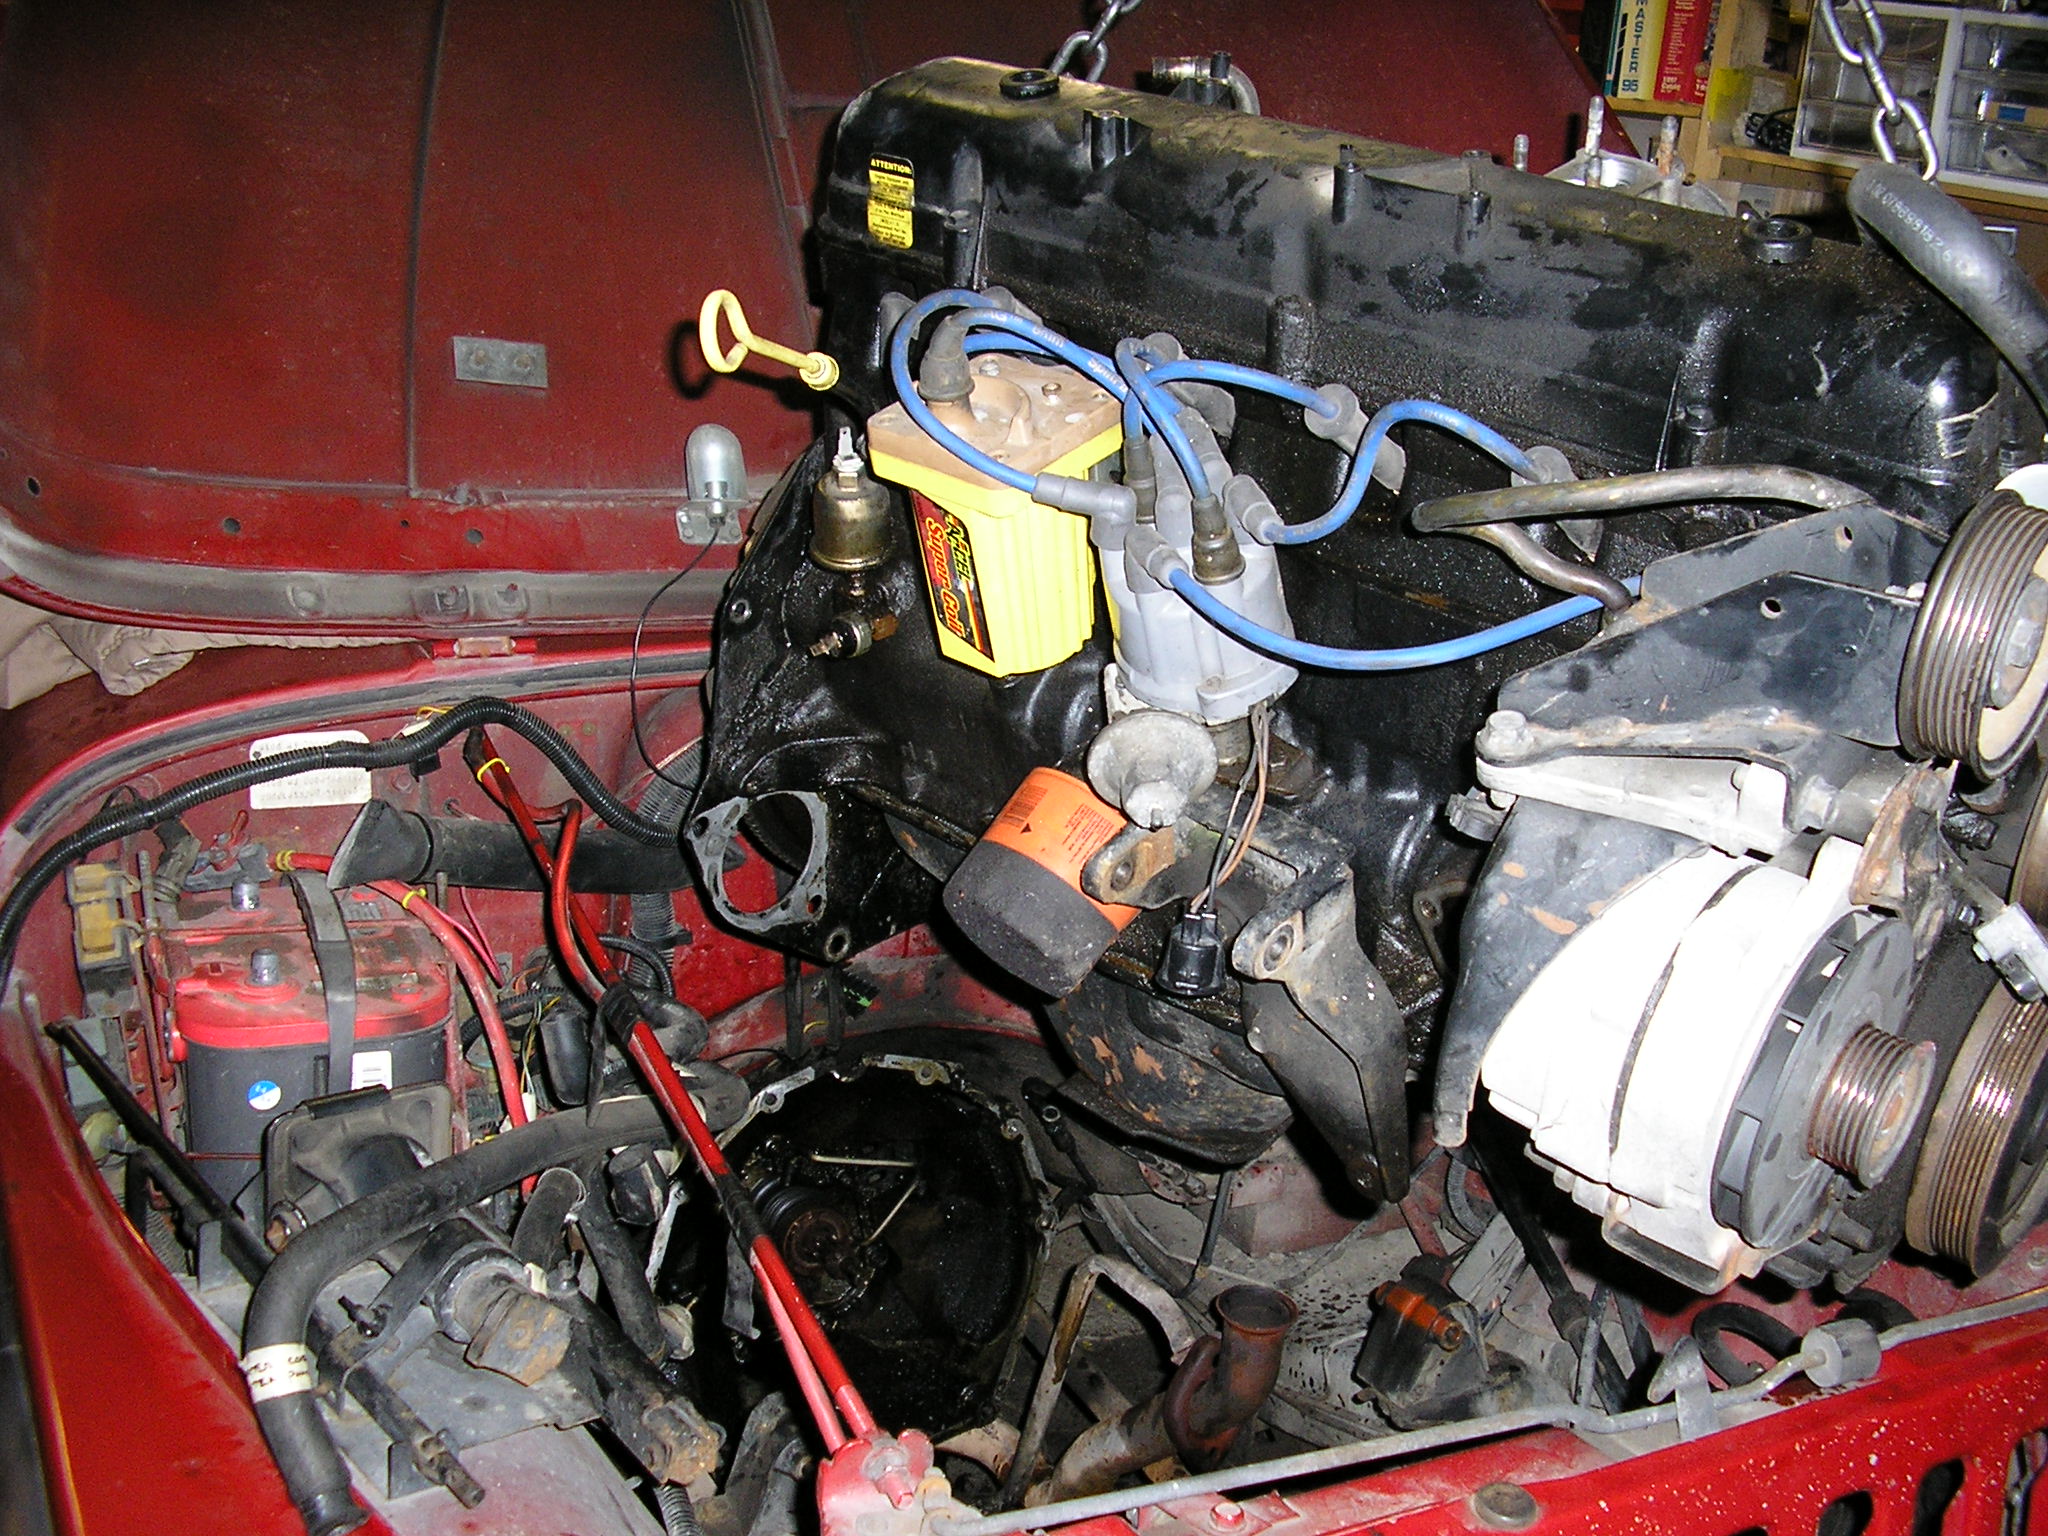
Re-Assembling all the bits..


Starting Up and Heading Out
All the stuff is in, now we're ready to start it up. Final Checklist: * Oil - Check * Antifreeze - Check * Engine at TDC - Check * Oil Pump Primed - Check * Distributor pointing at #1 cylinder - Check * Battery Charged - Check It starts and life is good. Looks like Beer-Thirty to me.