
My older coffee roaster is a standard, unmodified West Bend Poppery II that I picked up on E-Bay. It works really well, but I found that doing small batches was time consuming and kind of tedious - between the roasting time and the requisite wait for the popper to cool down, doing a weeks worth of coffee could easily take up 2-3 hours. A nice way to spend a Sunday afternoon, but there are times when I'd rather be off doing other things.
All of the large-scale roasters (capable of doing over 1/2lb or so) I've been able to find have been pretty pricey - on the order of $500, so I decided to go the homebrew route and build my own.
For those of you interested in finding out more about the basics of coffee roasting, I suggest checking out Sweet Maria's website. They have a lot of information there and can also supply you with a good selection of green coffee beans and equipment.
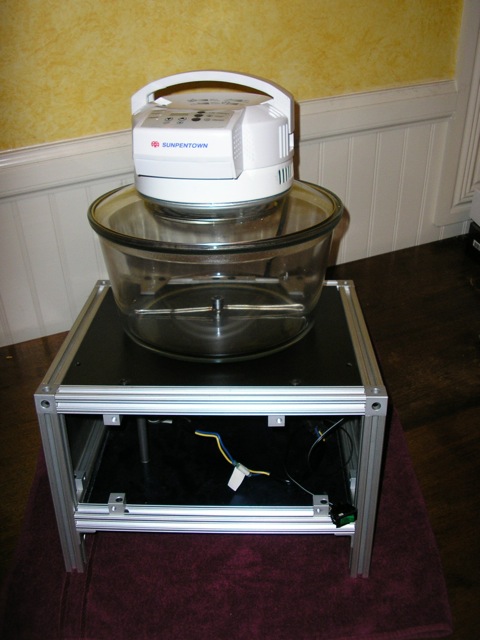
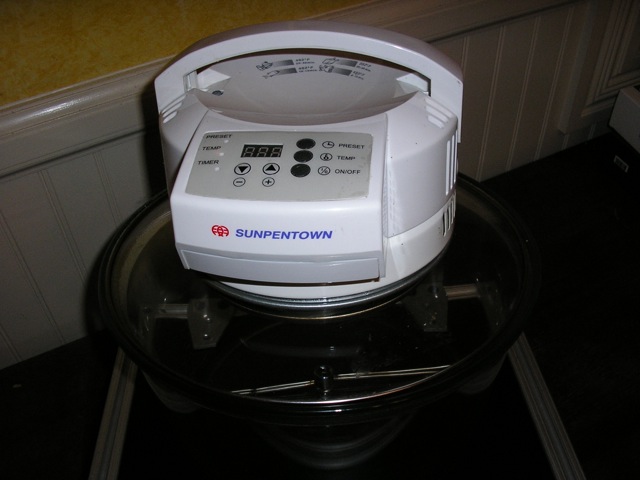
The design I used is based on a commercially available 'Turbo-Convection Oven' - most of the one's I've found using this design involve taking the top of the convection oven and marrying it with the bottom of a West Bend 'Stir Crazy' electric popcorn popper. Since my glass-drilling and machining skills are much better than my sheet-metal talents, I decided to try and use the whole convection oven and maybe get even larger batches. The Turbo-Crazy designs look like it can do about 1lb. I wanna be able to do 2lb.
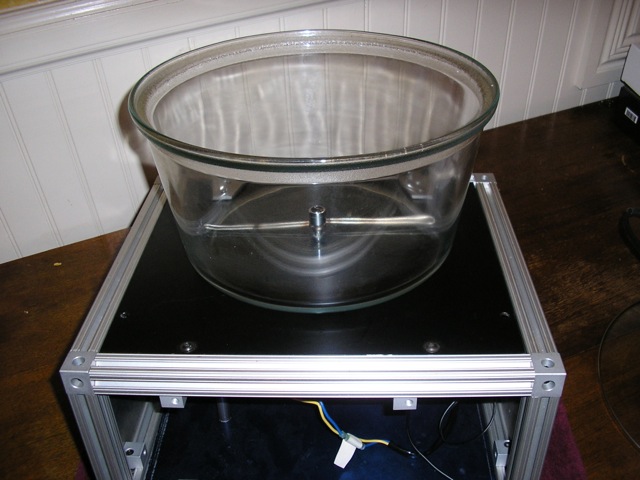
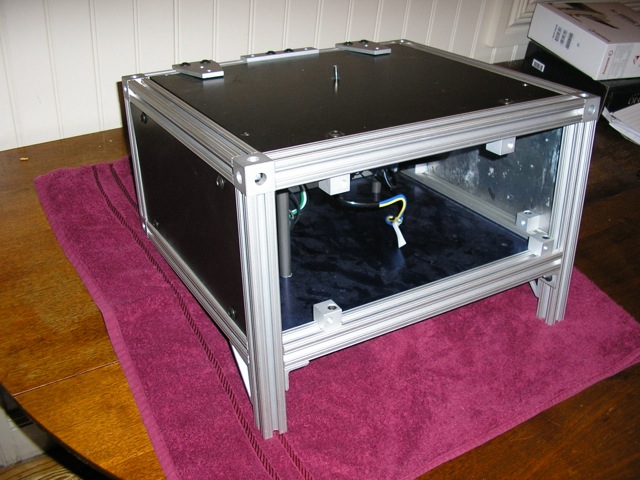
What I've done is taken the stock convection oven, plopped it on a support frame, put a hole in the bottom of the bottom of the cooking chamber for a stir-bar and hooked that up to a surplus car window motor.
One things that's currently missing is a cover plate for the front of the unit. I've got some Aluminum that I'm going to use to make that and properly mount the switch for the stirring motor. If I can figure out where to put a temperature probe in the system, I'll also add a thermocouple readout as well.
Equipment and Assembly
Support Frame: The motor base is made from some spare 1" 80/20 rail that I picked up on e-bay for a different project. The rails aren't super expensive, but the fittings can be, so I machined a number of the corner connections to save some money. The top and sides are all 20ga 6061-T6 Aluminum sheet that I painted black. There's a standard IEC power connector on the back for power into the system, and two 120VAC outlets on the inside and outside. I use one of the inside plugs for the stir motor wal-wart, and one of the outside plugs for the convection oven so I don't have to use multiple wall sockets.
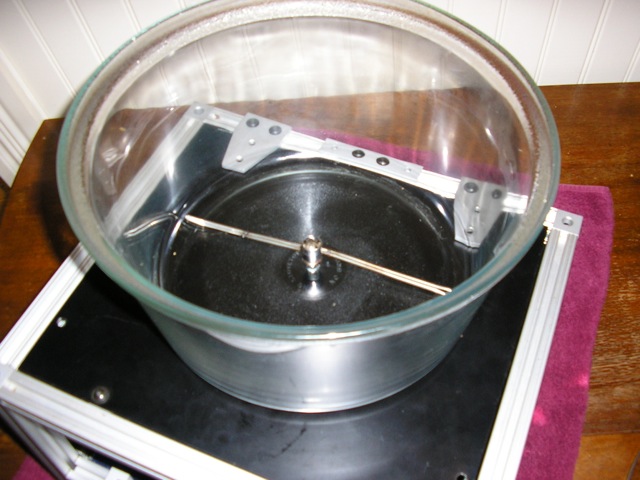
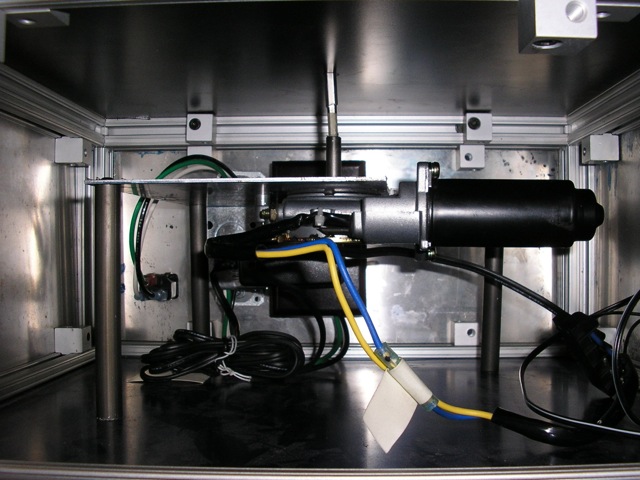
Stirring Motor: This is a 12VDC motor from Marlin P Jones. It was originally meant to be a power window motor for a car. A full 12V makes it spin faster than I like, so I slowed it down by using a 9V power supply. I will probably go back to 12V and add a variable resistor to regulate speed if I can find one that will handle the power. The motor is mounted on an Al plate supported by some Al rods.
Stir-Bar and Rod: The stir-bar is made from some 1/8" dia 304 SS wire from McMaster-Carr wrapped around and welded to a 1/4" socket from Ace Hardware. The connecting rod is some 1/4" hex stock (again from McMaster.) I machined down one end to match the 4mm hex from the power window motor.
Convection Oven Base: To allow the shaft for the stir-bar to get into the oven chamber, I drilled a 5/16" hole in the center of the Pyrex bowl from the convection oven. This isn't a hard as it sounds. Harbor Freight sells cheap diamond-coated bits for drilling glass (and they are cheap, not just in pricing, but they do the trick.) To do this, put the bit in a drill press, place the bowl underneath, form a little moat with some modeling clay around the area you want to drill and fill that area with some water to act as both a coolant and lubricant. Fire up the drill press and go slow. I had never done this before, and succeeded on the first try.